After cleaning the scarf joints (with a lot of elbow grease and mechanical assistance), we laid the pattern on the full length plank blanks, and traced out the two garboard planks, the first planks that fasten to the keelson.
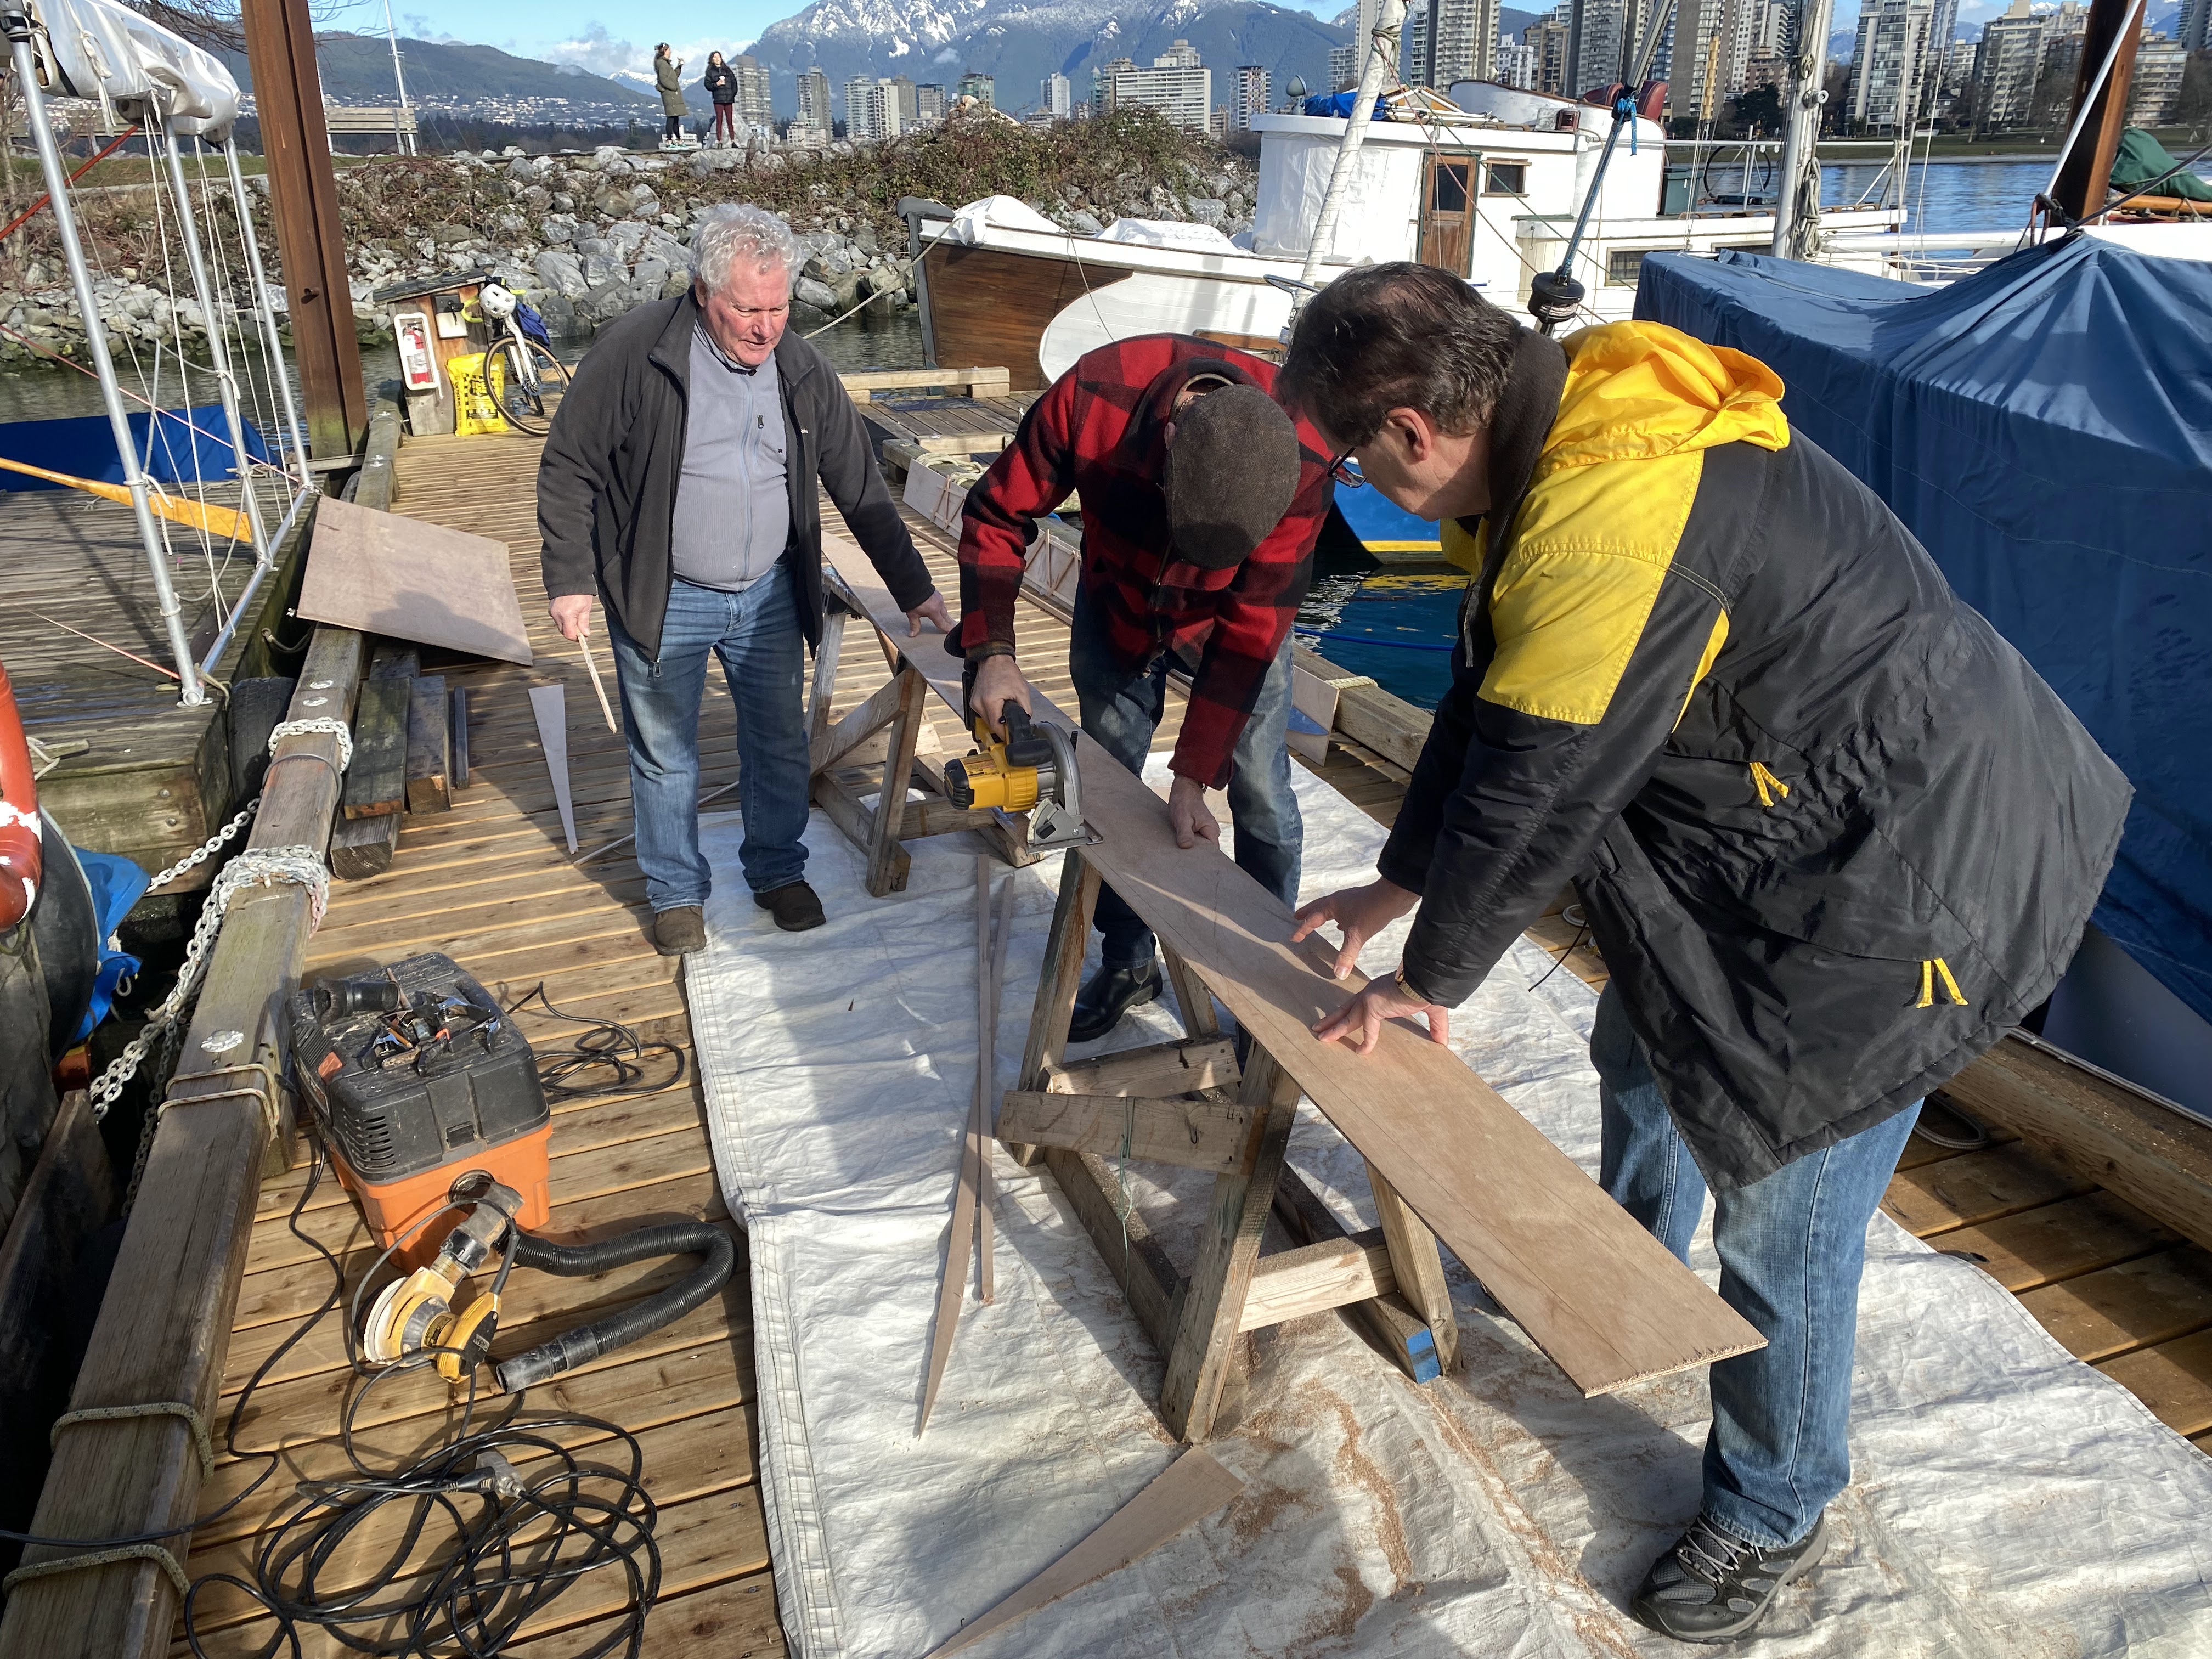


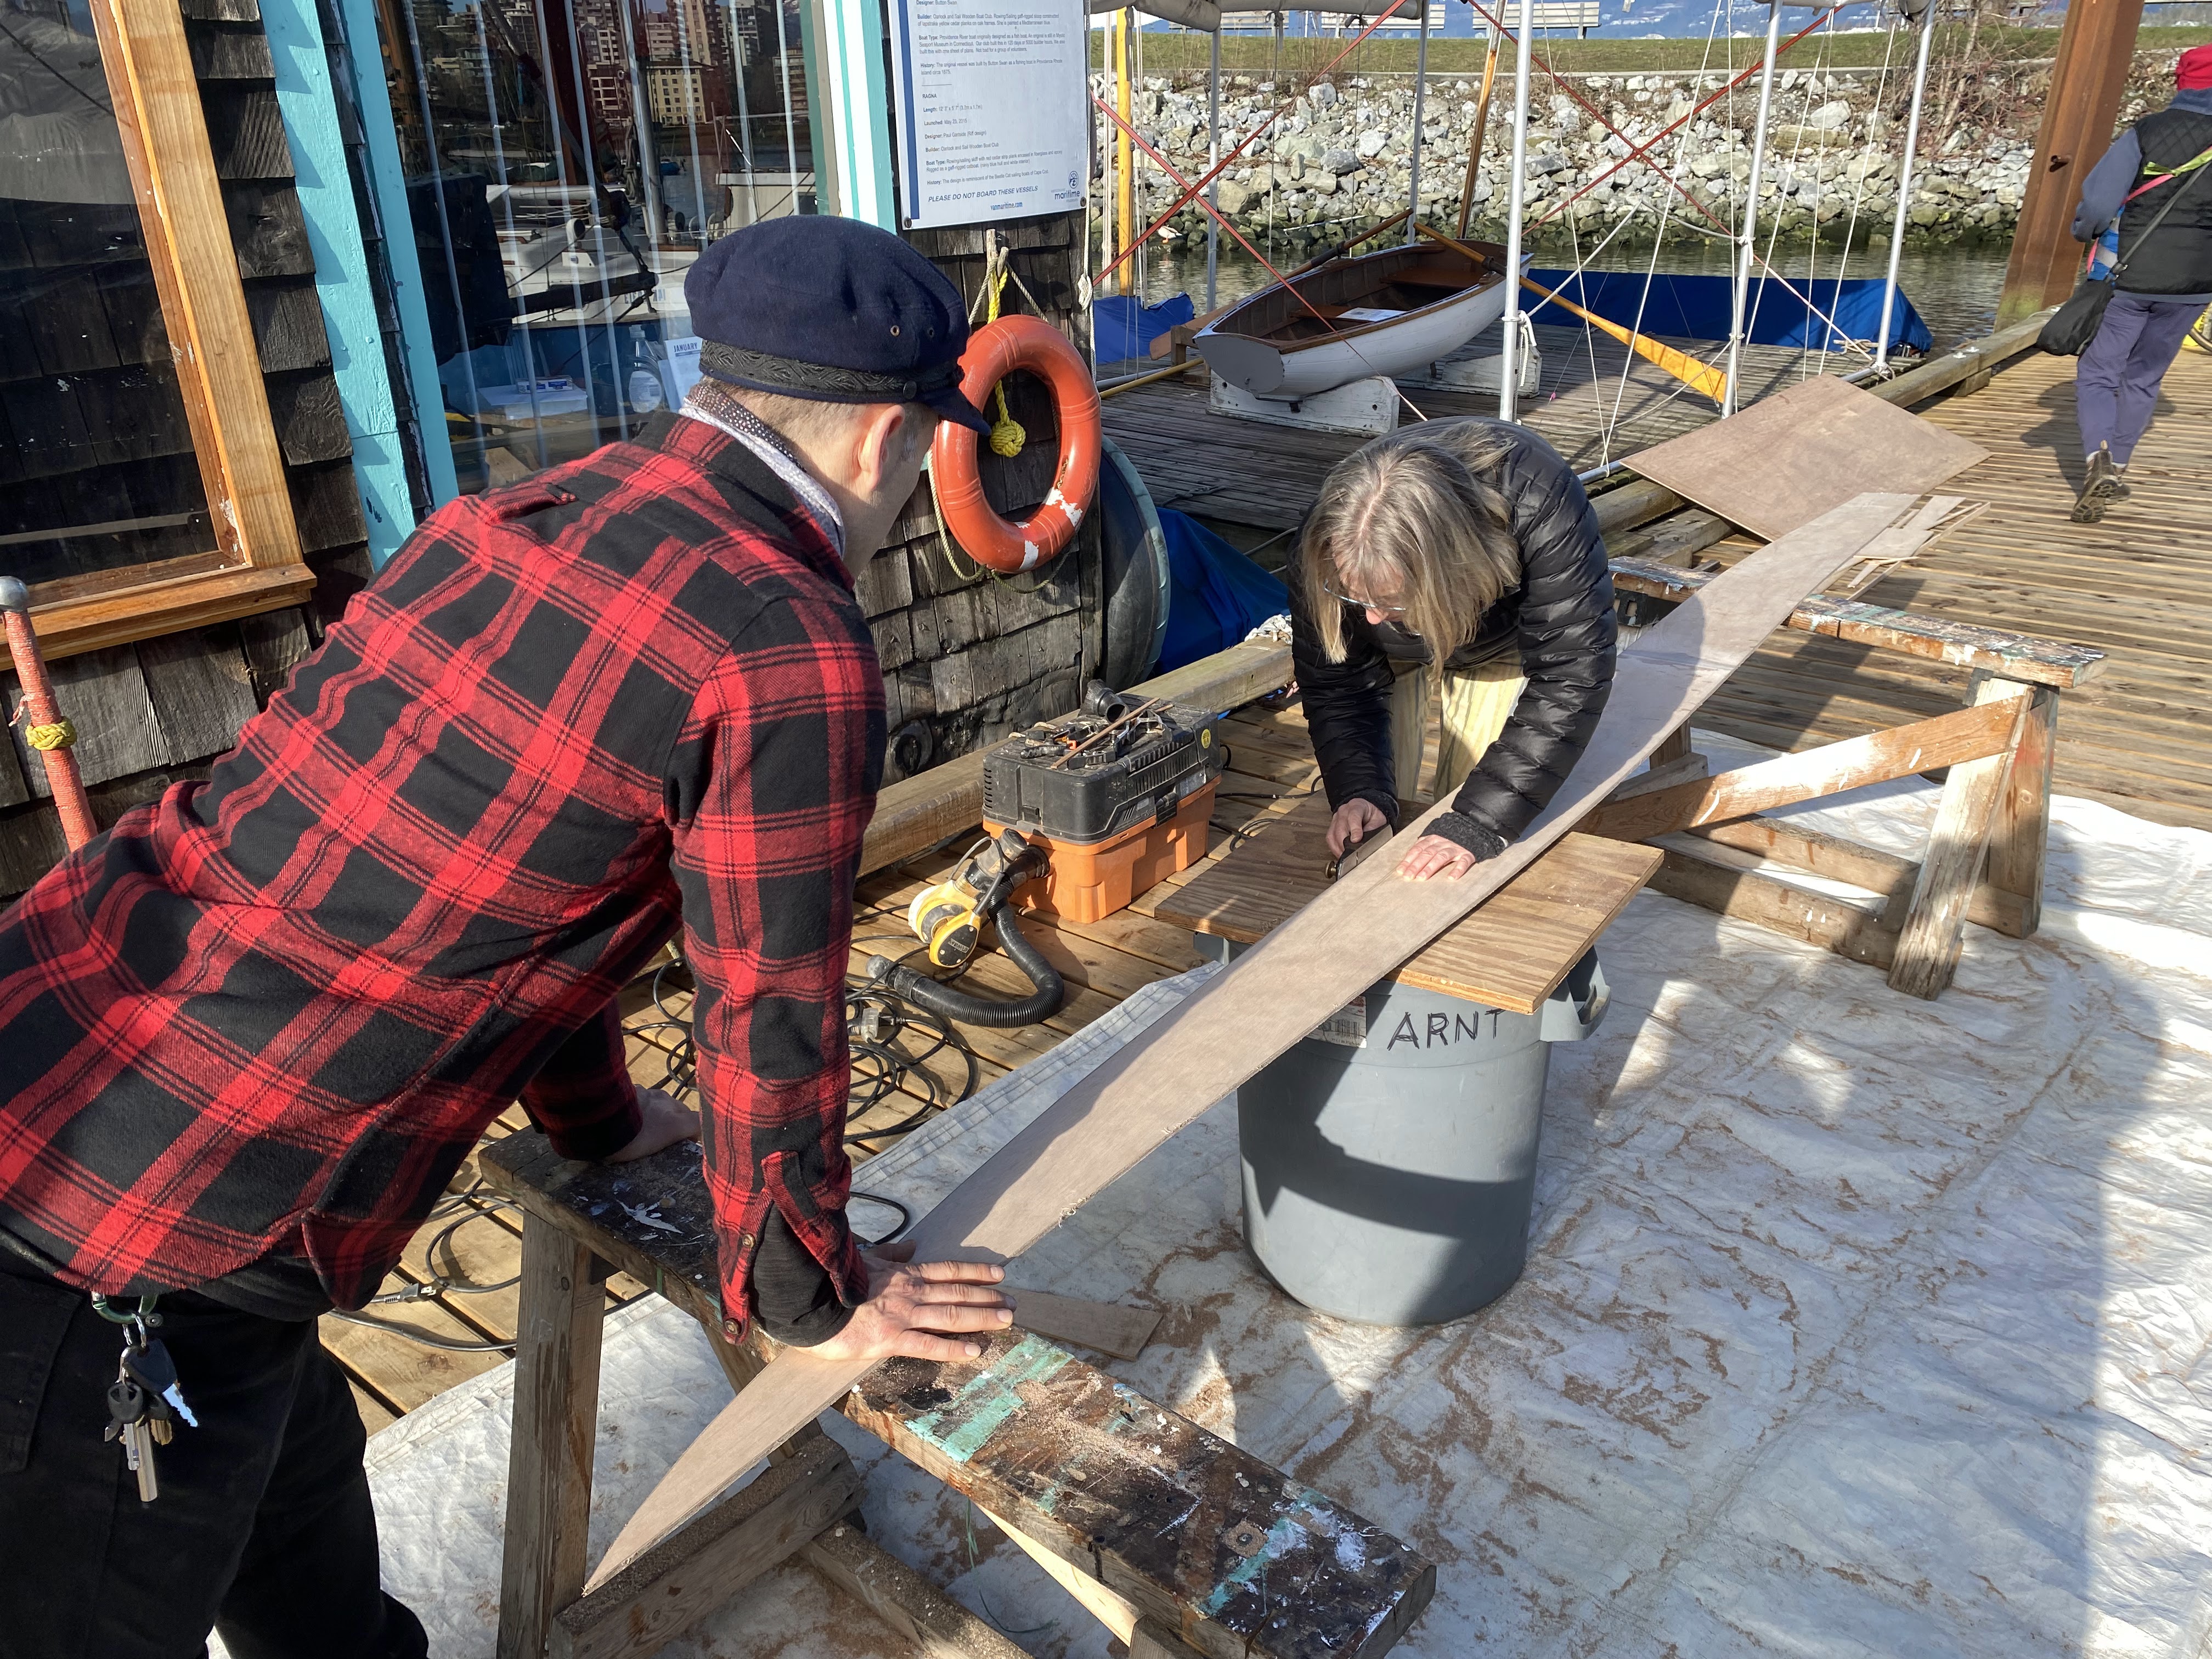

We cut the planks using a small circular saw, and then cleaned the edge with a block plane. A few test fits and further trimming produced a very nice fit!


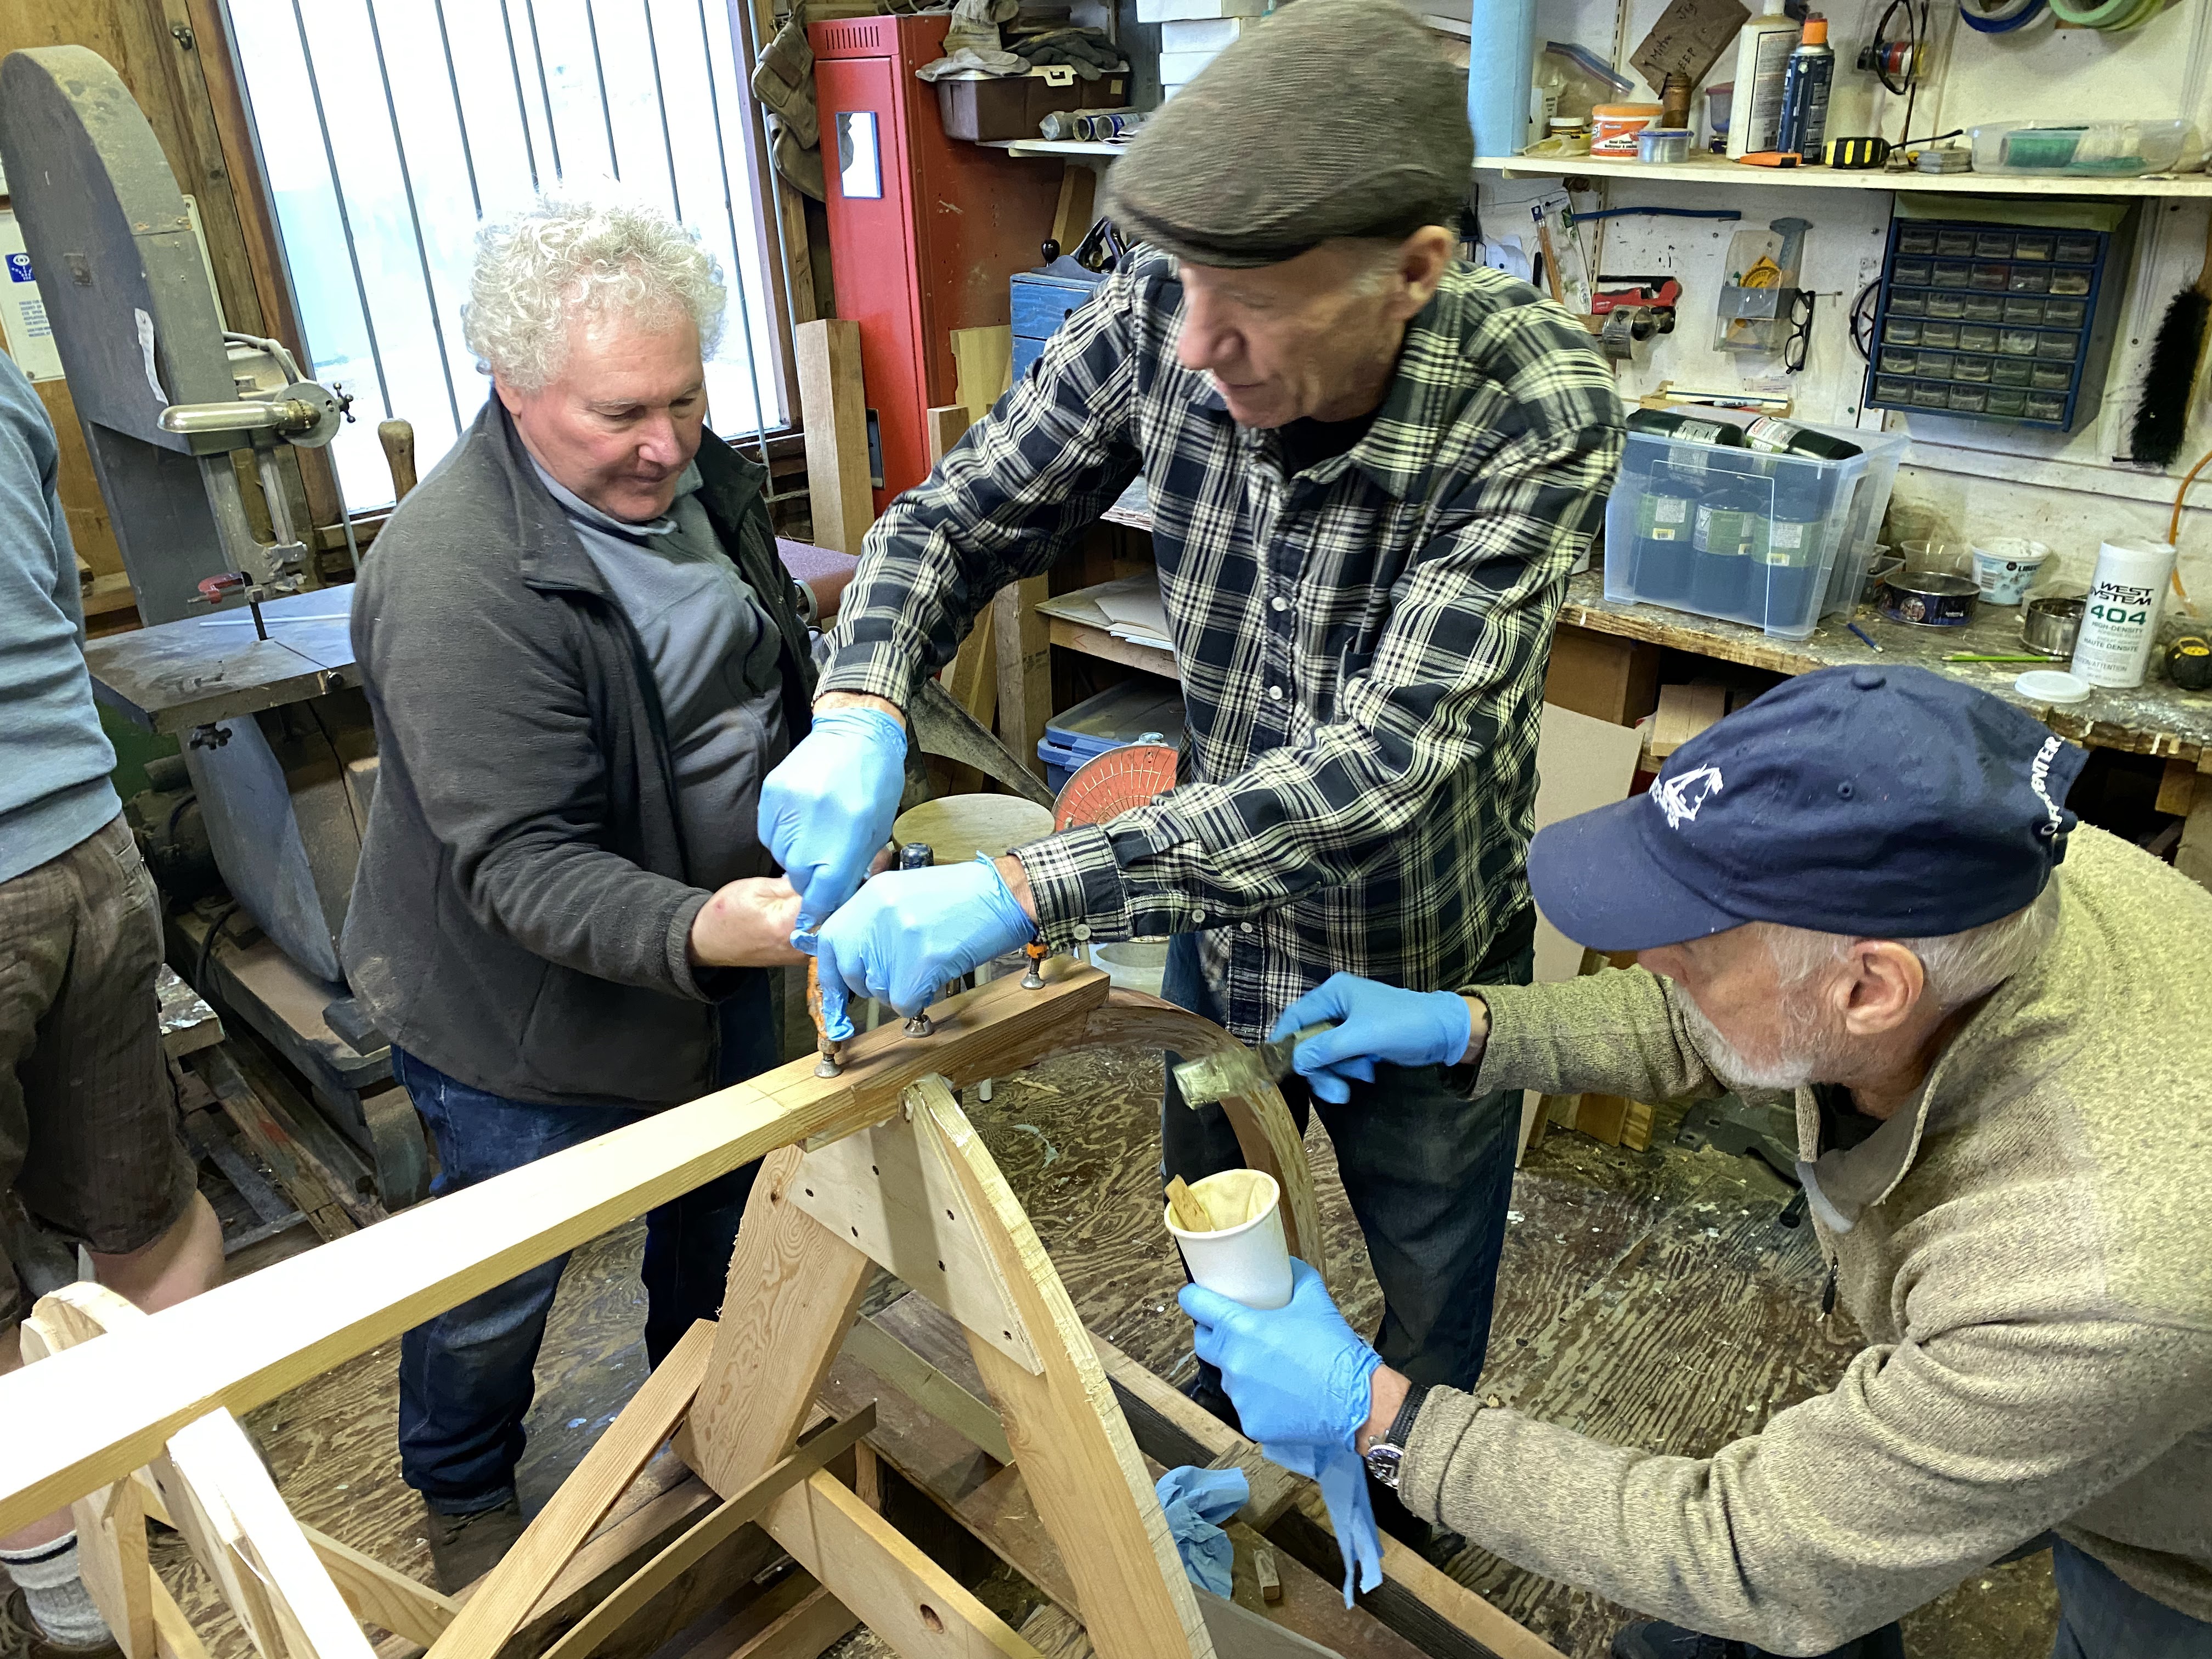
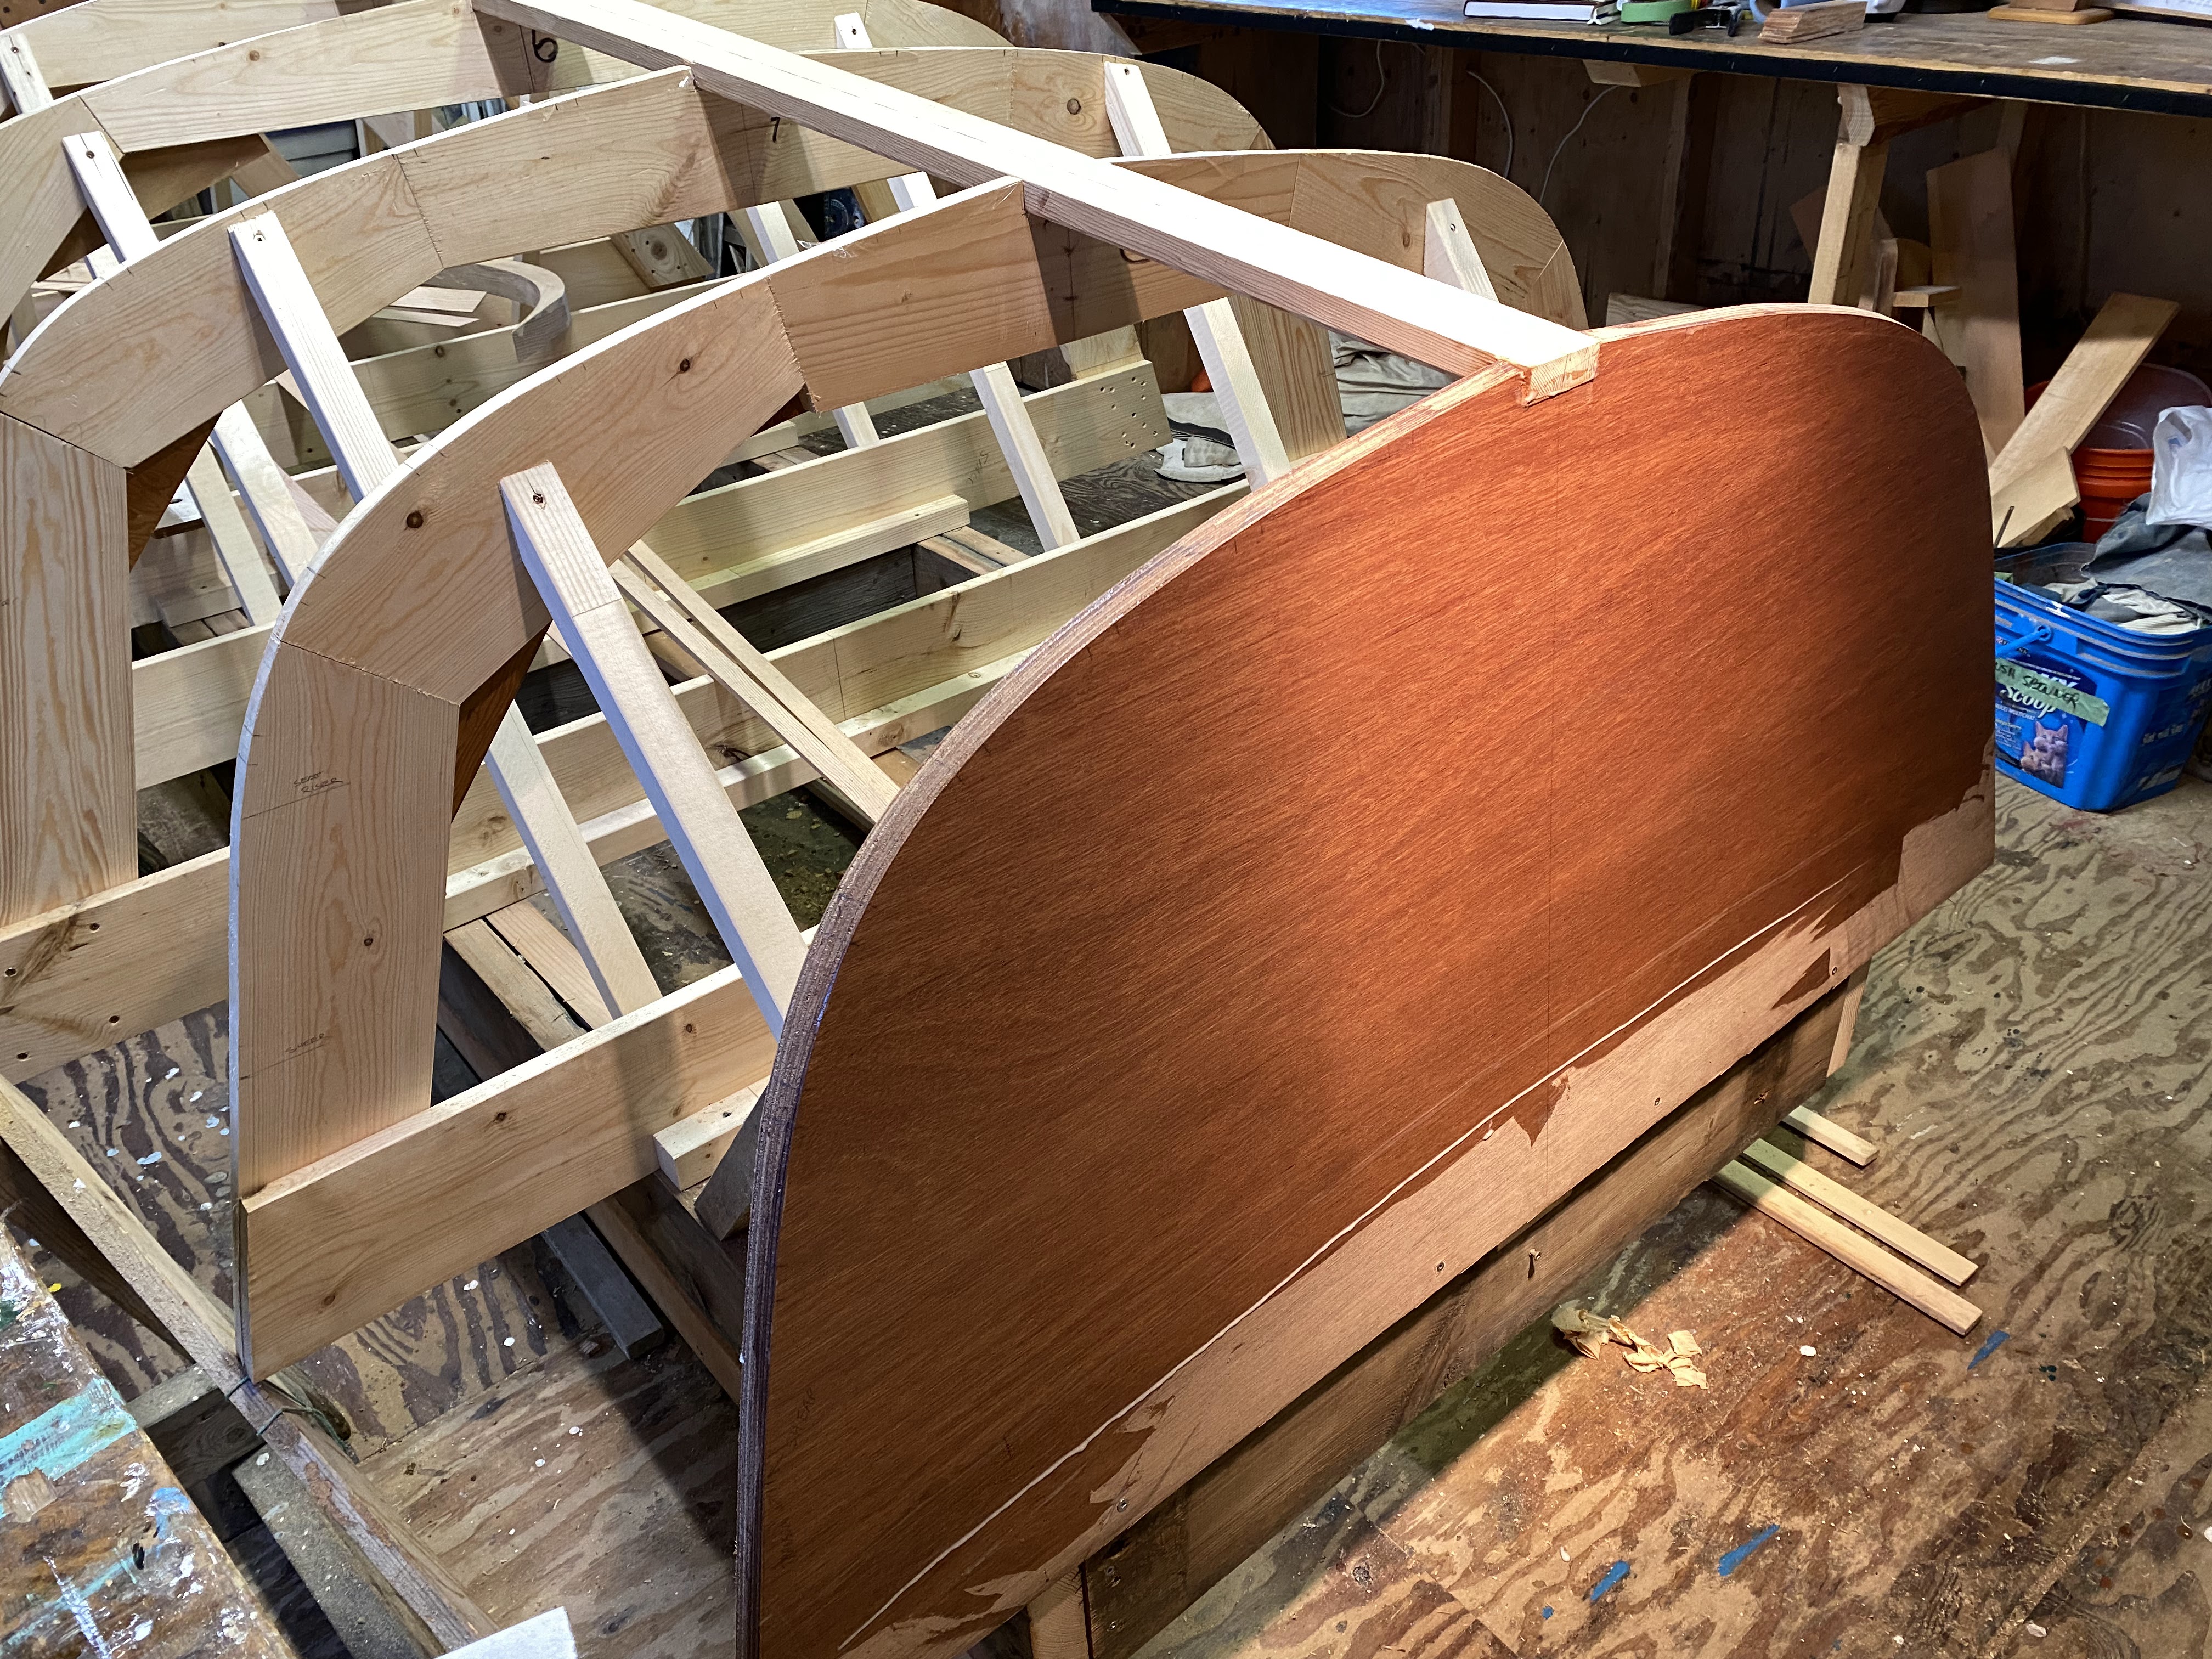
We’re going to try screw-clamping the glued joints, so that clamps won’t get in our way to make the next patterns. We did a dry-fit, screwing one plank to the keelson. That allowed us to plane the bevel for the next plank, which was a very minor bevel near the stern, and a slightly greater angle forward. Some careful work gave us a nice gradual rolling bevel. We should be ready to glue the first plank or two this Saturday!


[ed. SOLD, to a restaurant on Saltspring Island] We have advertised our little Fancy Pram for sale to a good home! Check out the ad, and let us know if you or someone you know wants to take care of her.
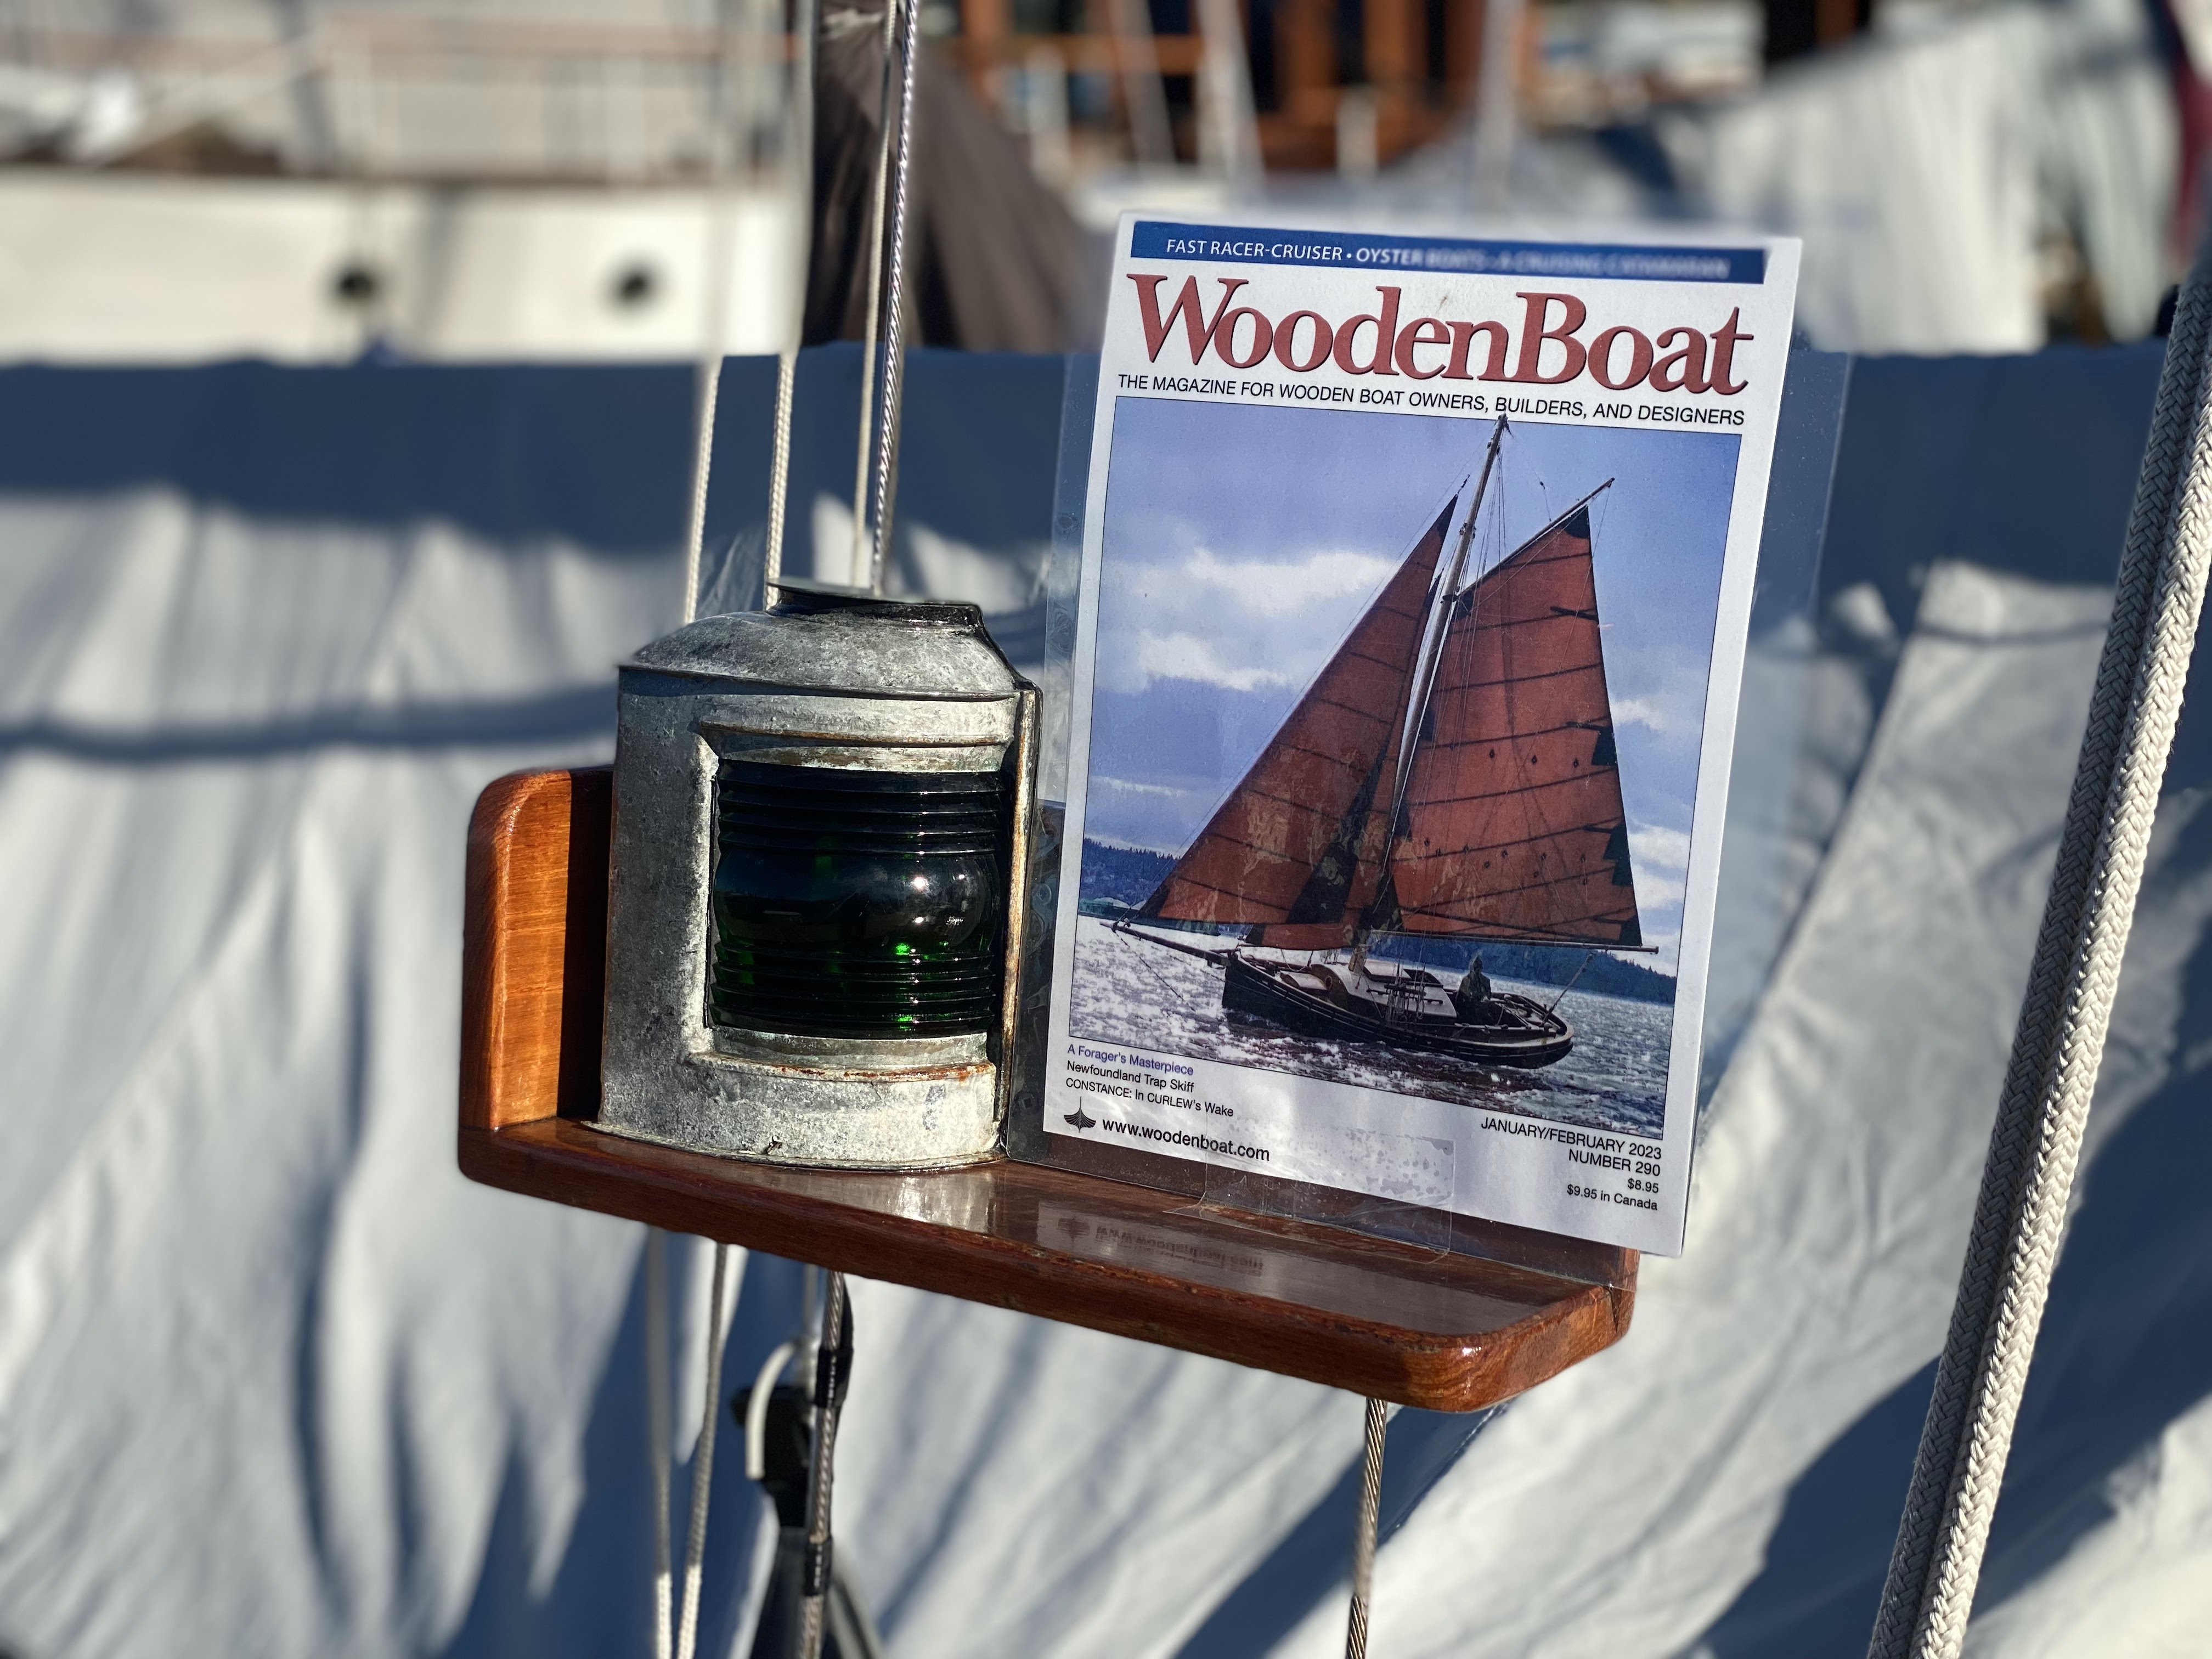
If you get Wooden Boat magazine (and if you love wooden boats, of COURSE you do!!), you’ll probably recognize the gorgeous boat on the cover of the January/February 2023 issue. Arnt & Valerie’s lovely boat Anja has an extensive article, with photos by Dale S. Congratulations to all of you on that exciting achievement!!
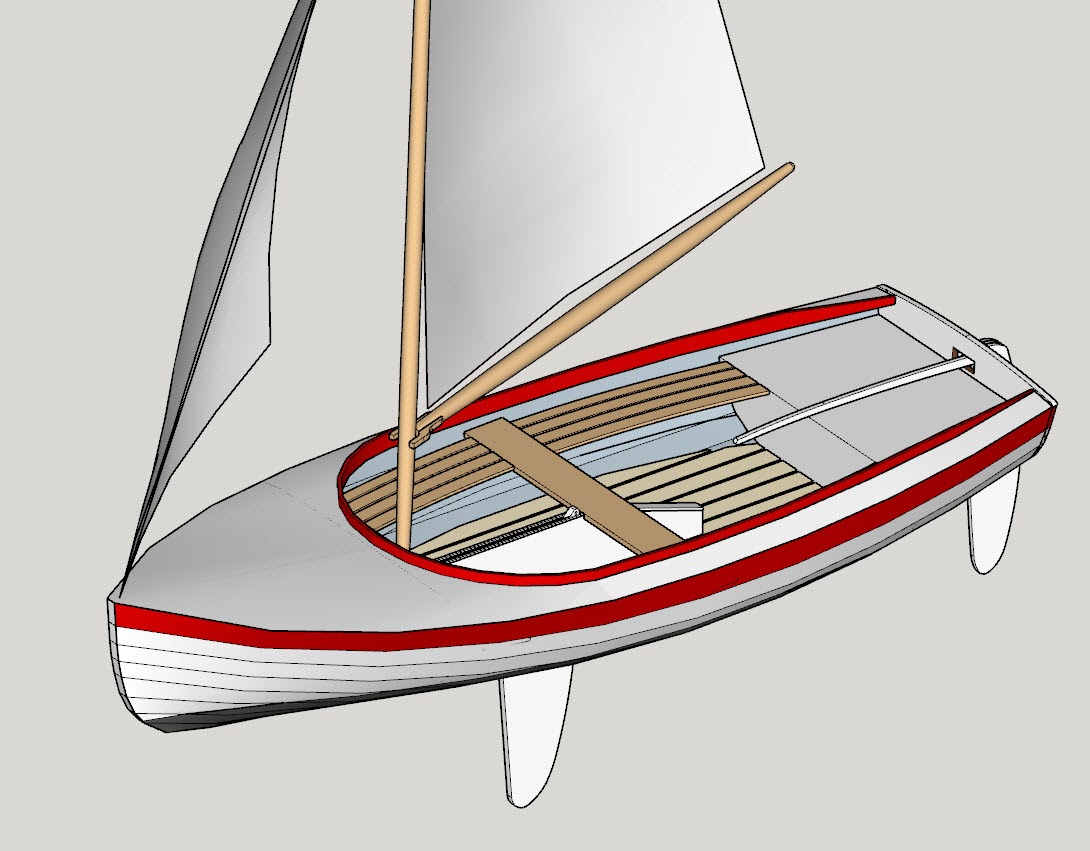
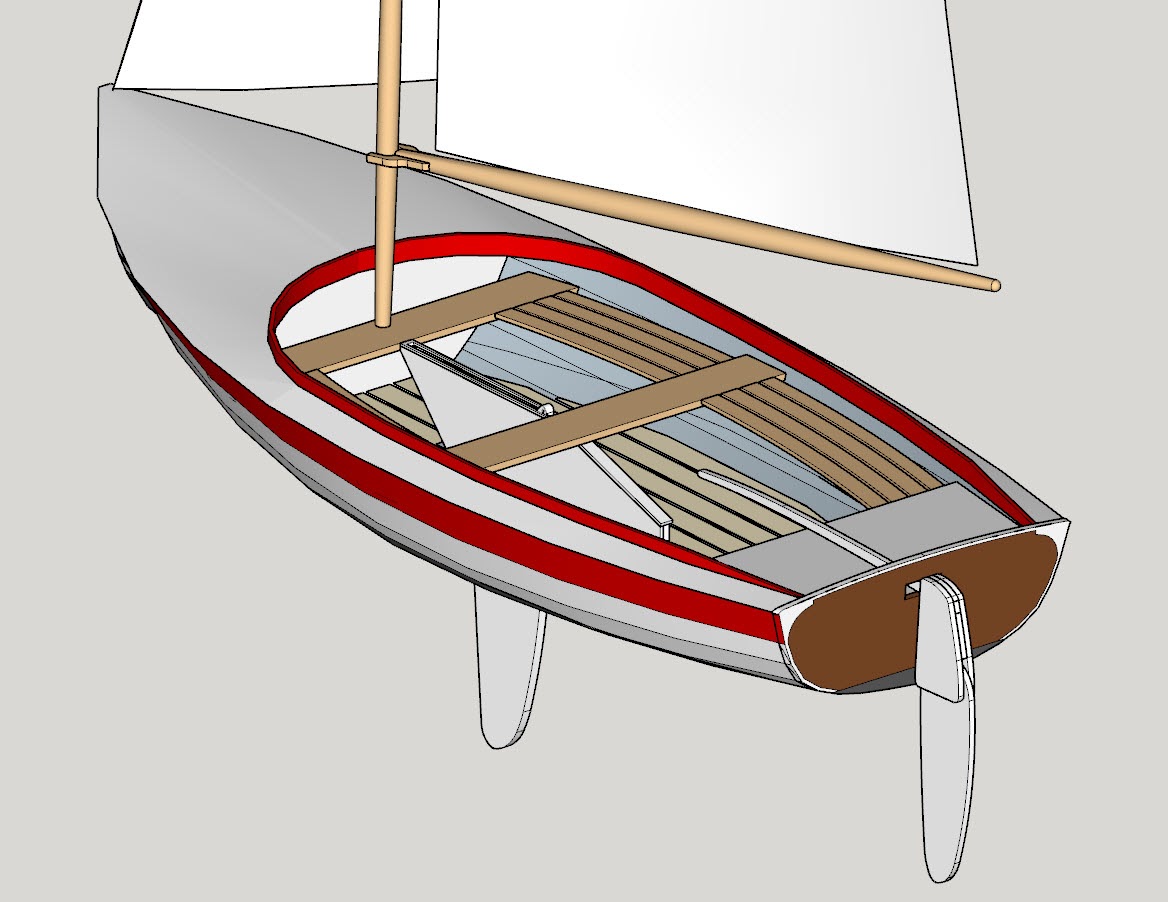
I did a bit of 3D modeling to try out the extent of decking and seating for the Gannet, then got a bit … carried away, and started messing around with the colour scheme. Here’s where I got (so far). It has brought up a few interesting discussion topics!
Hope to see you at the shop to take part in this build!