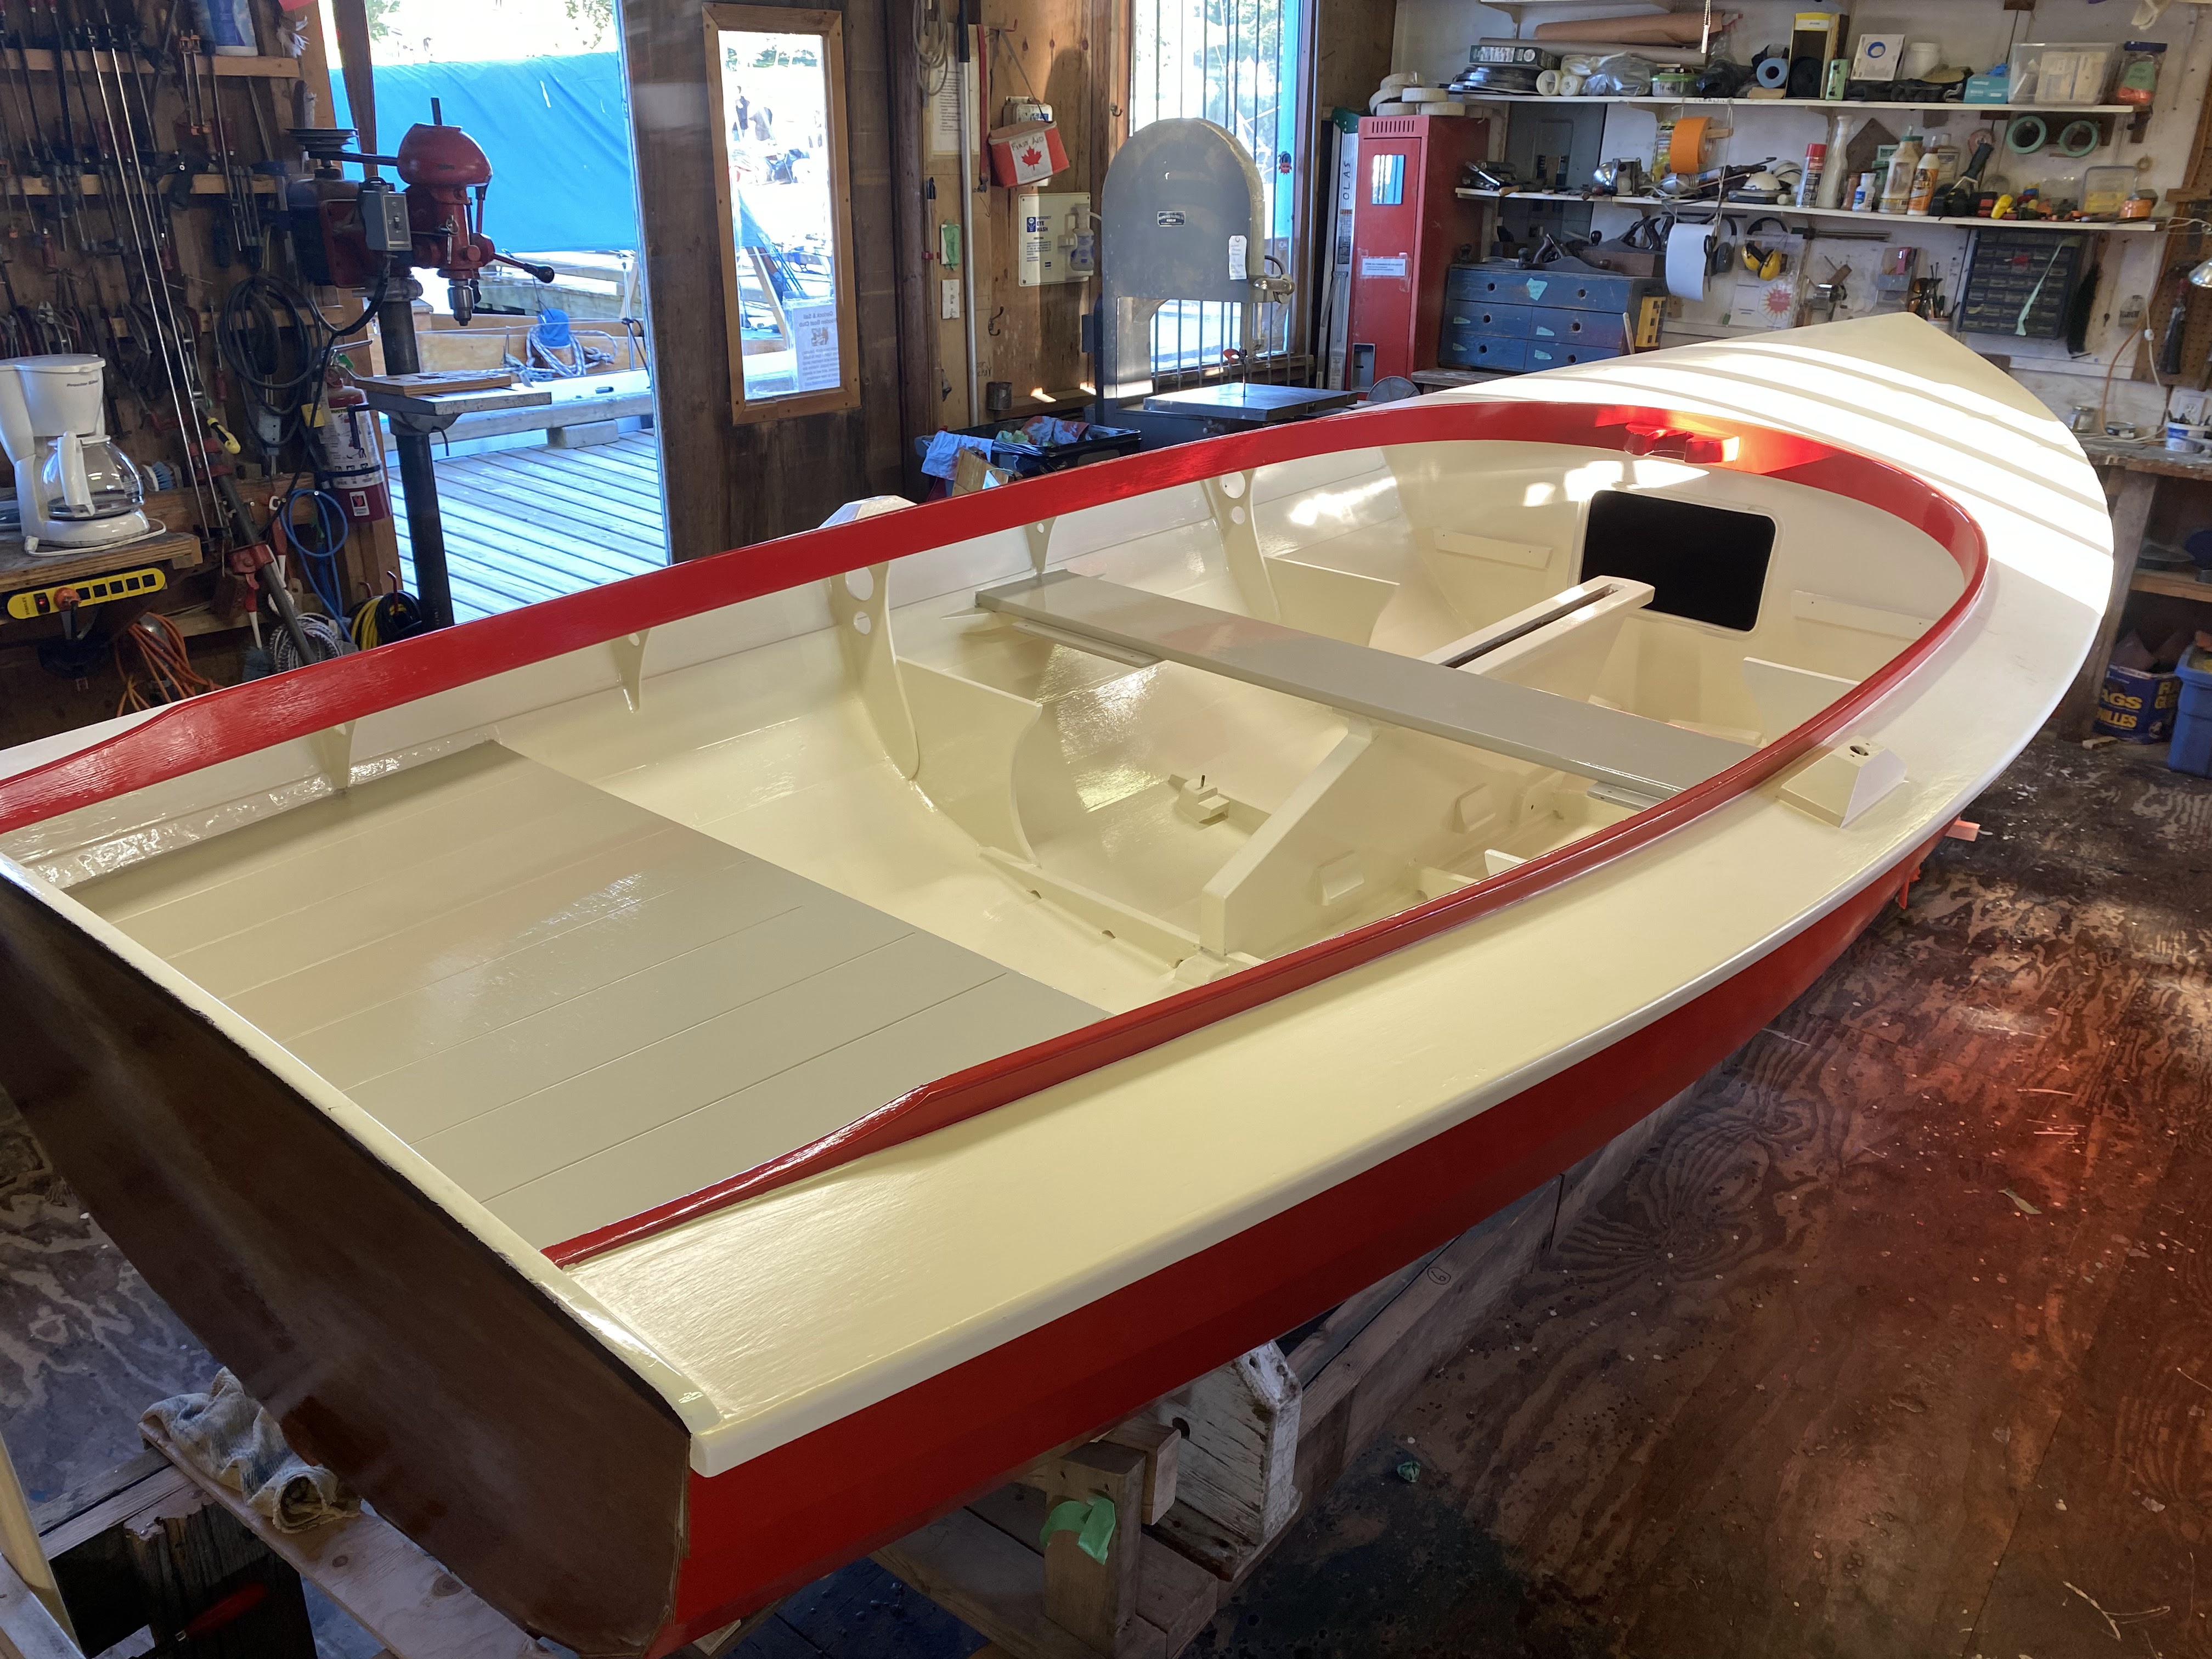
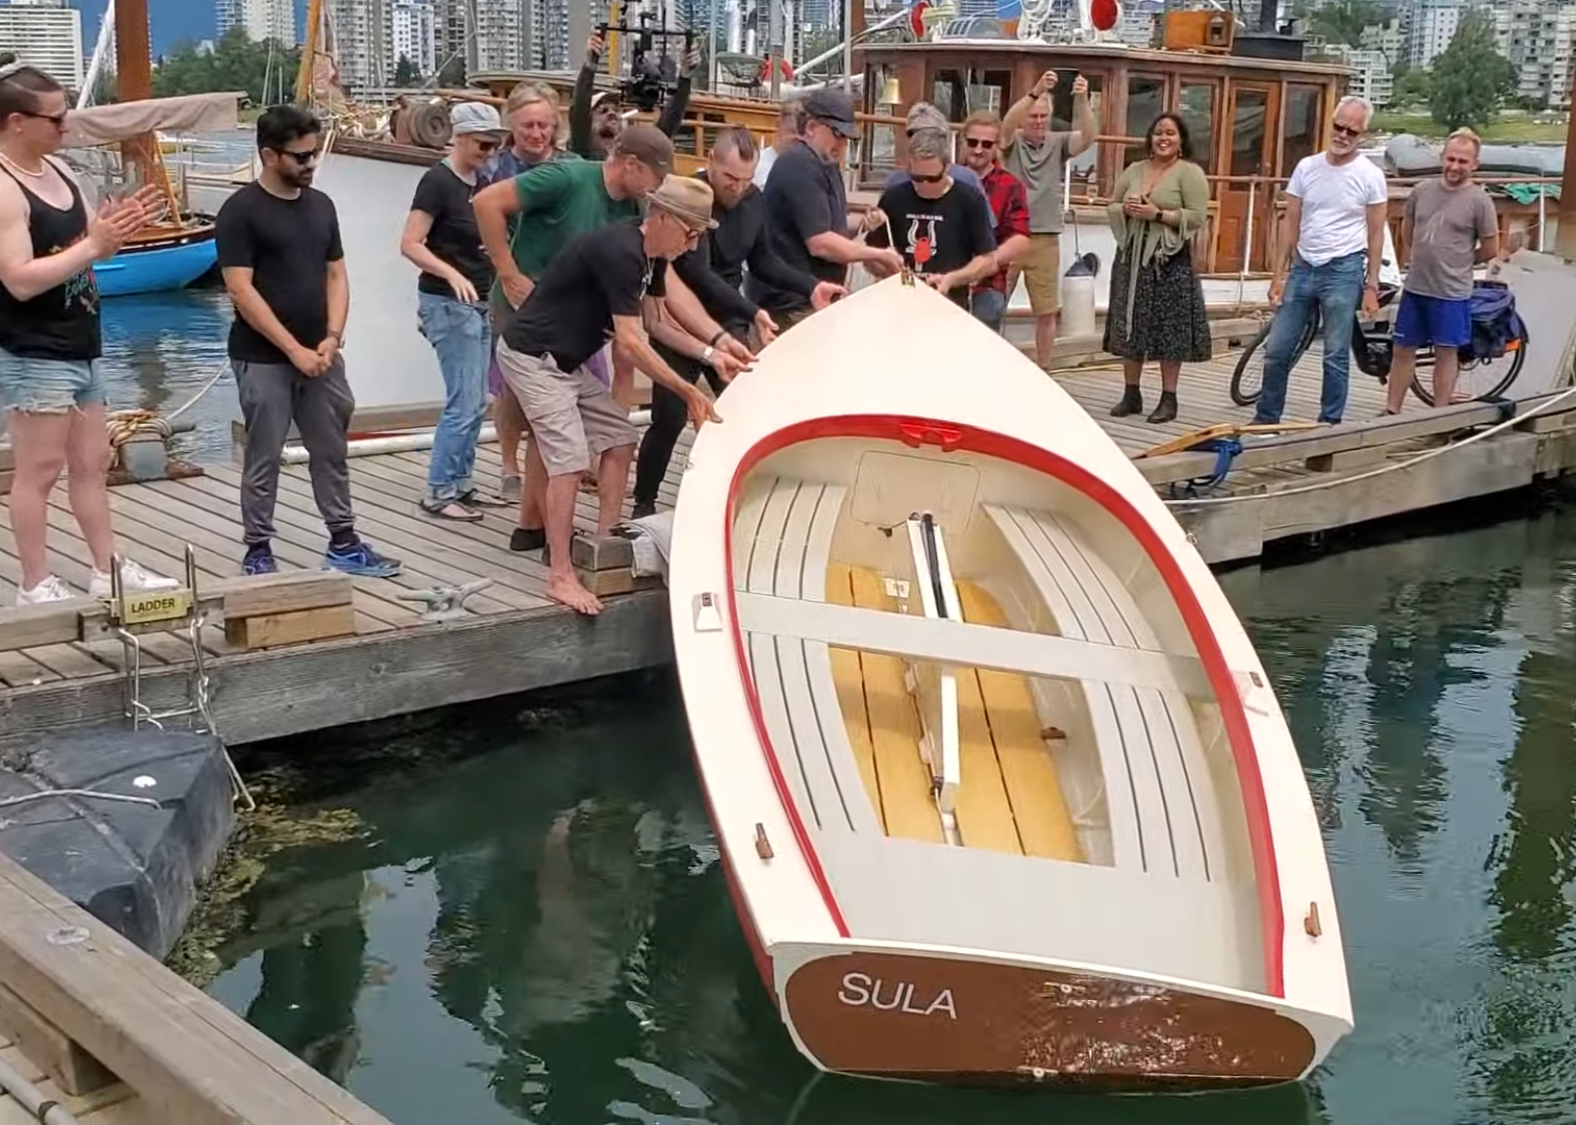
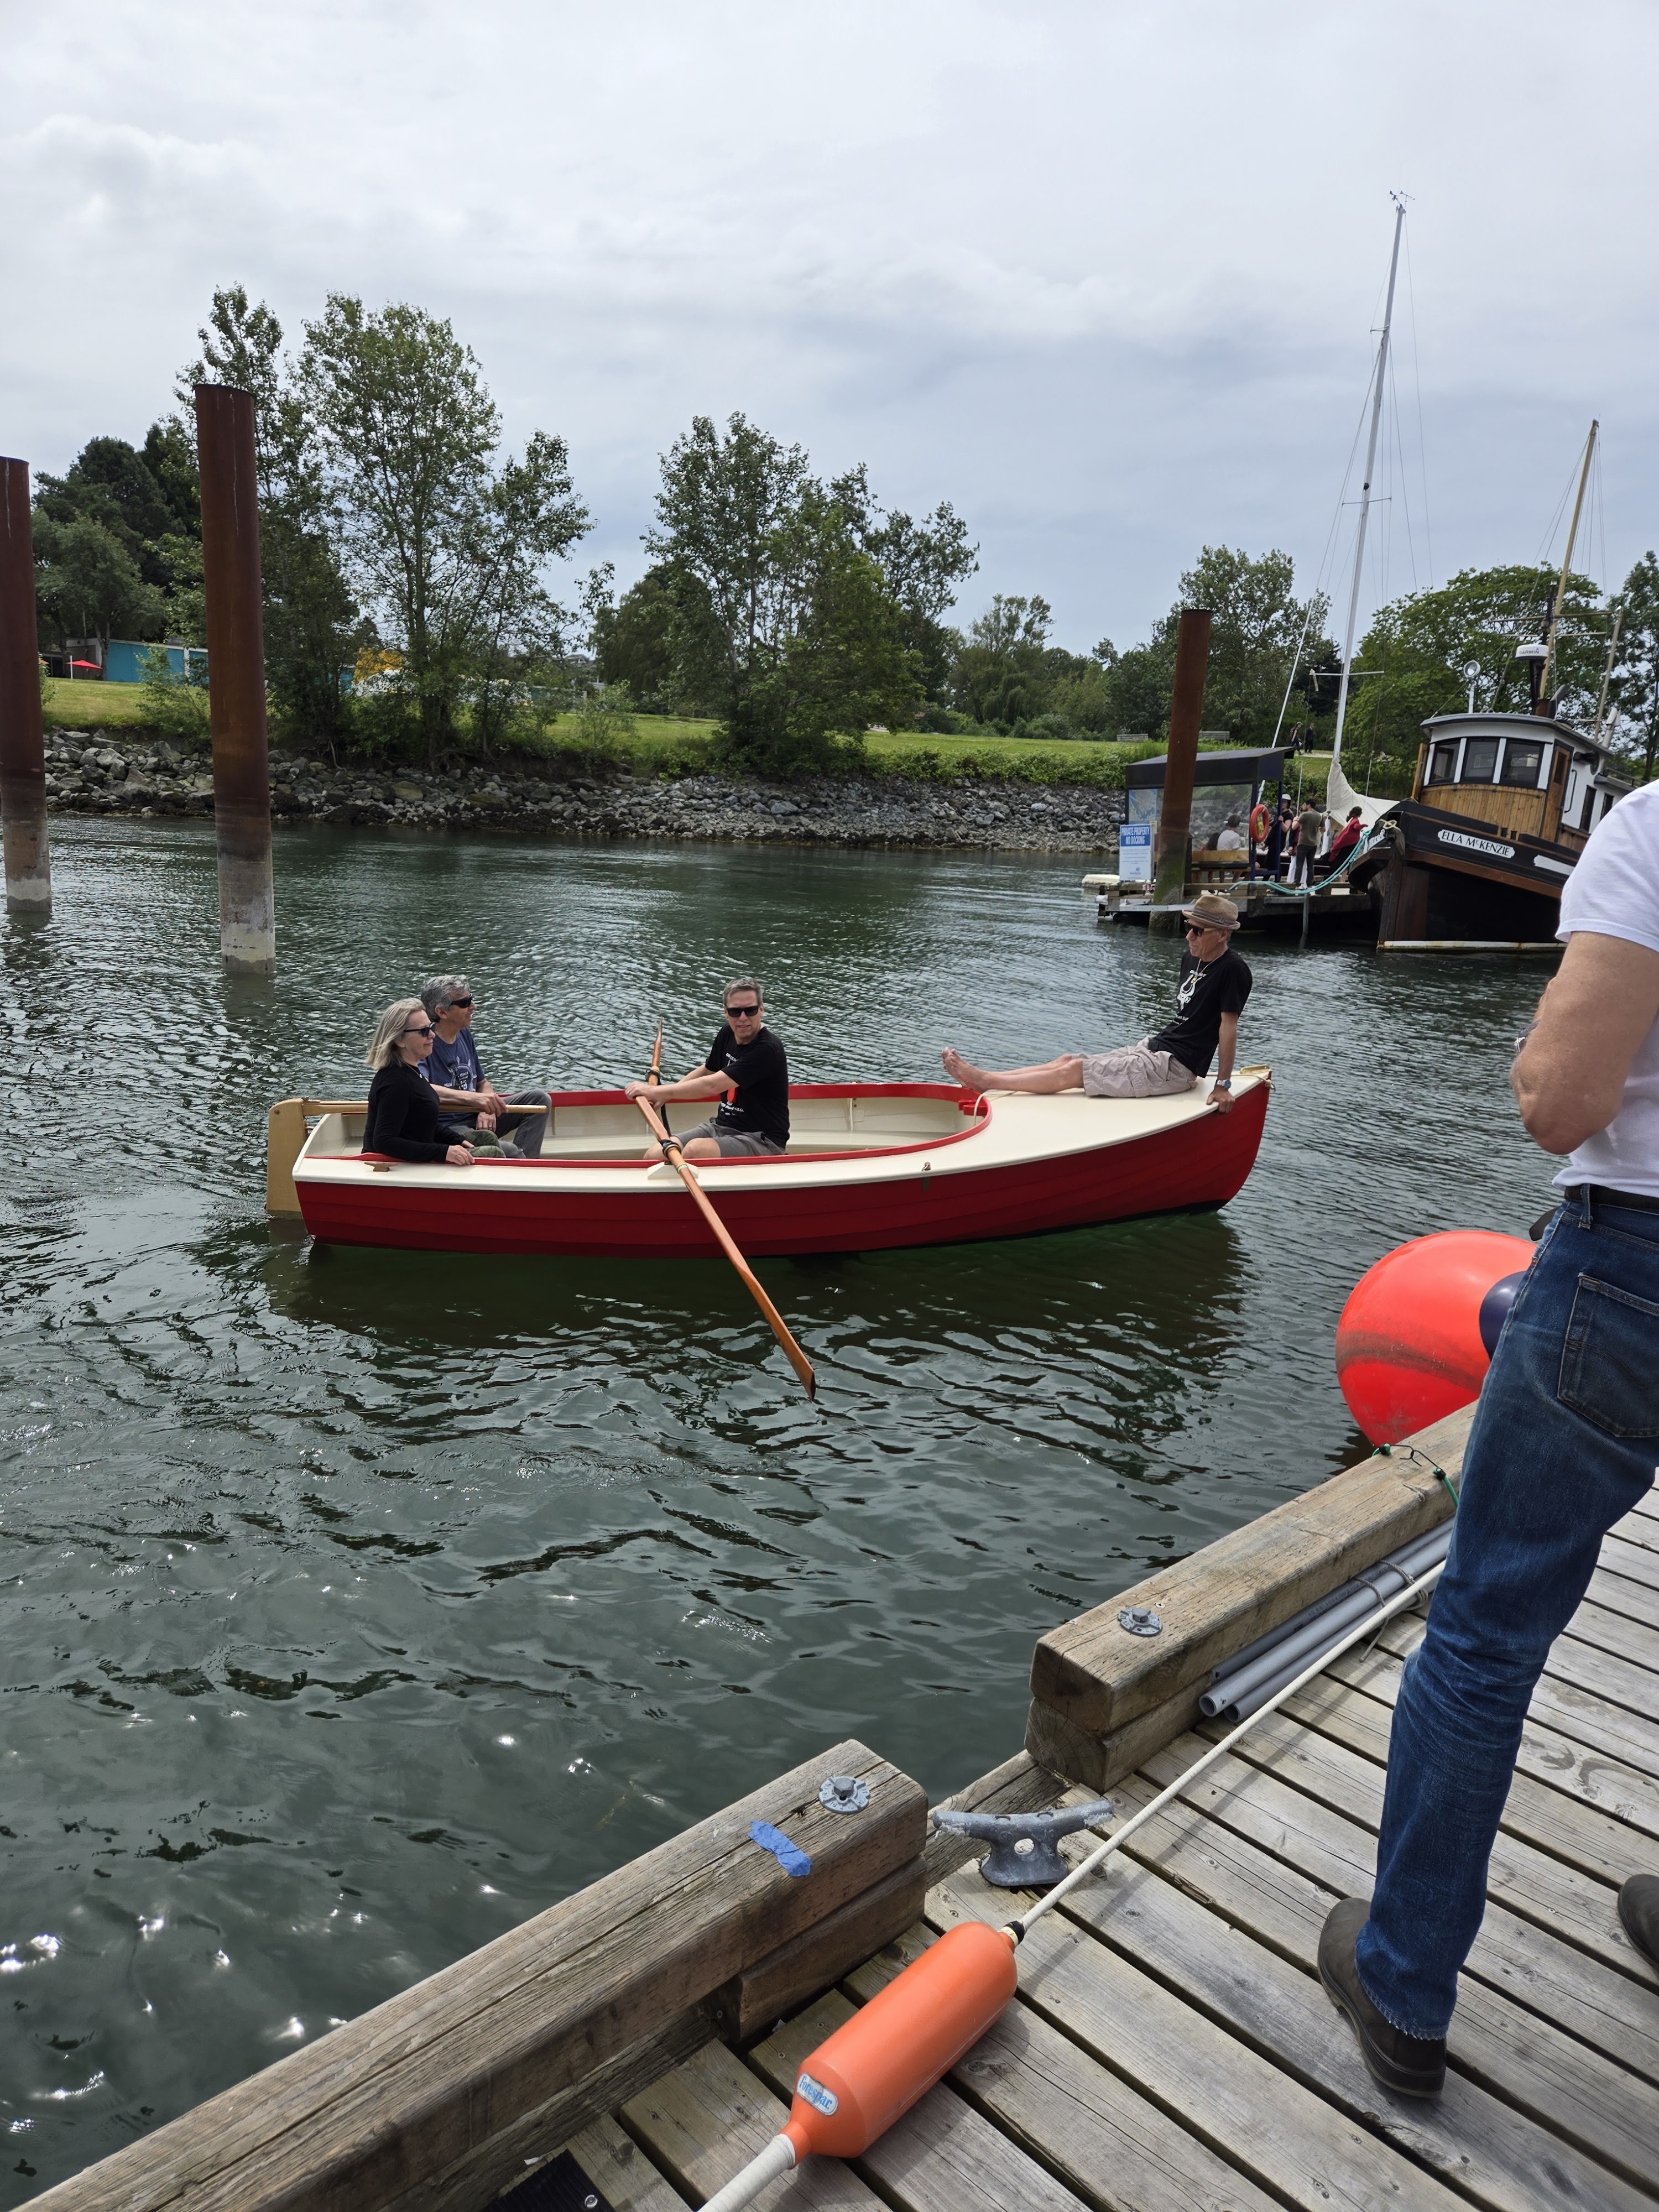
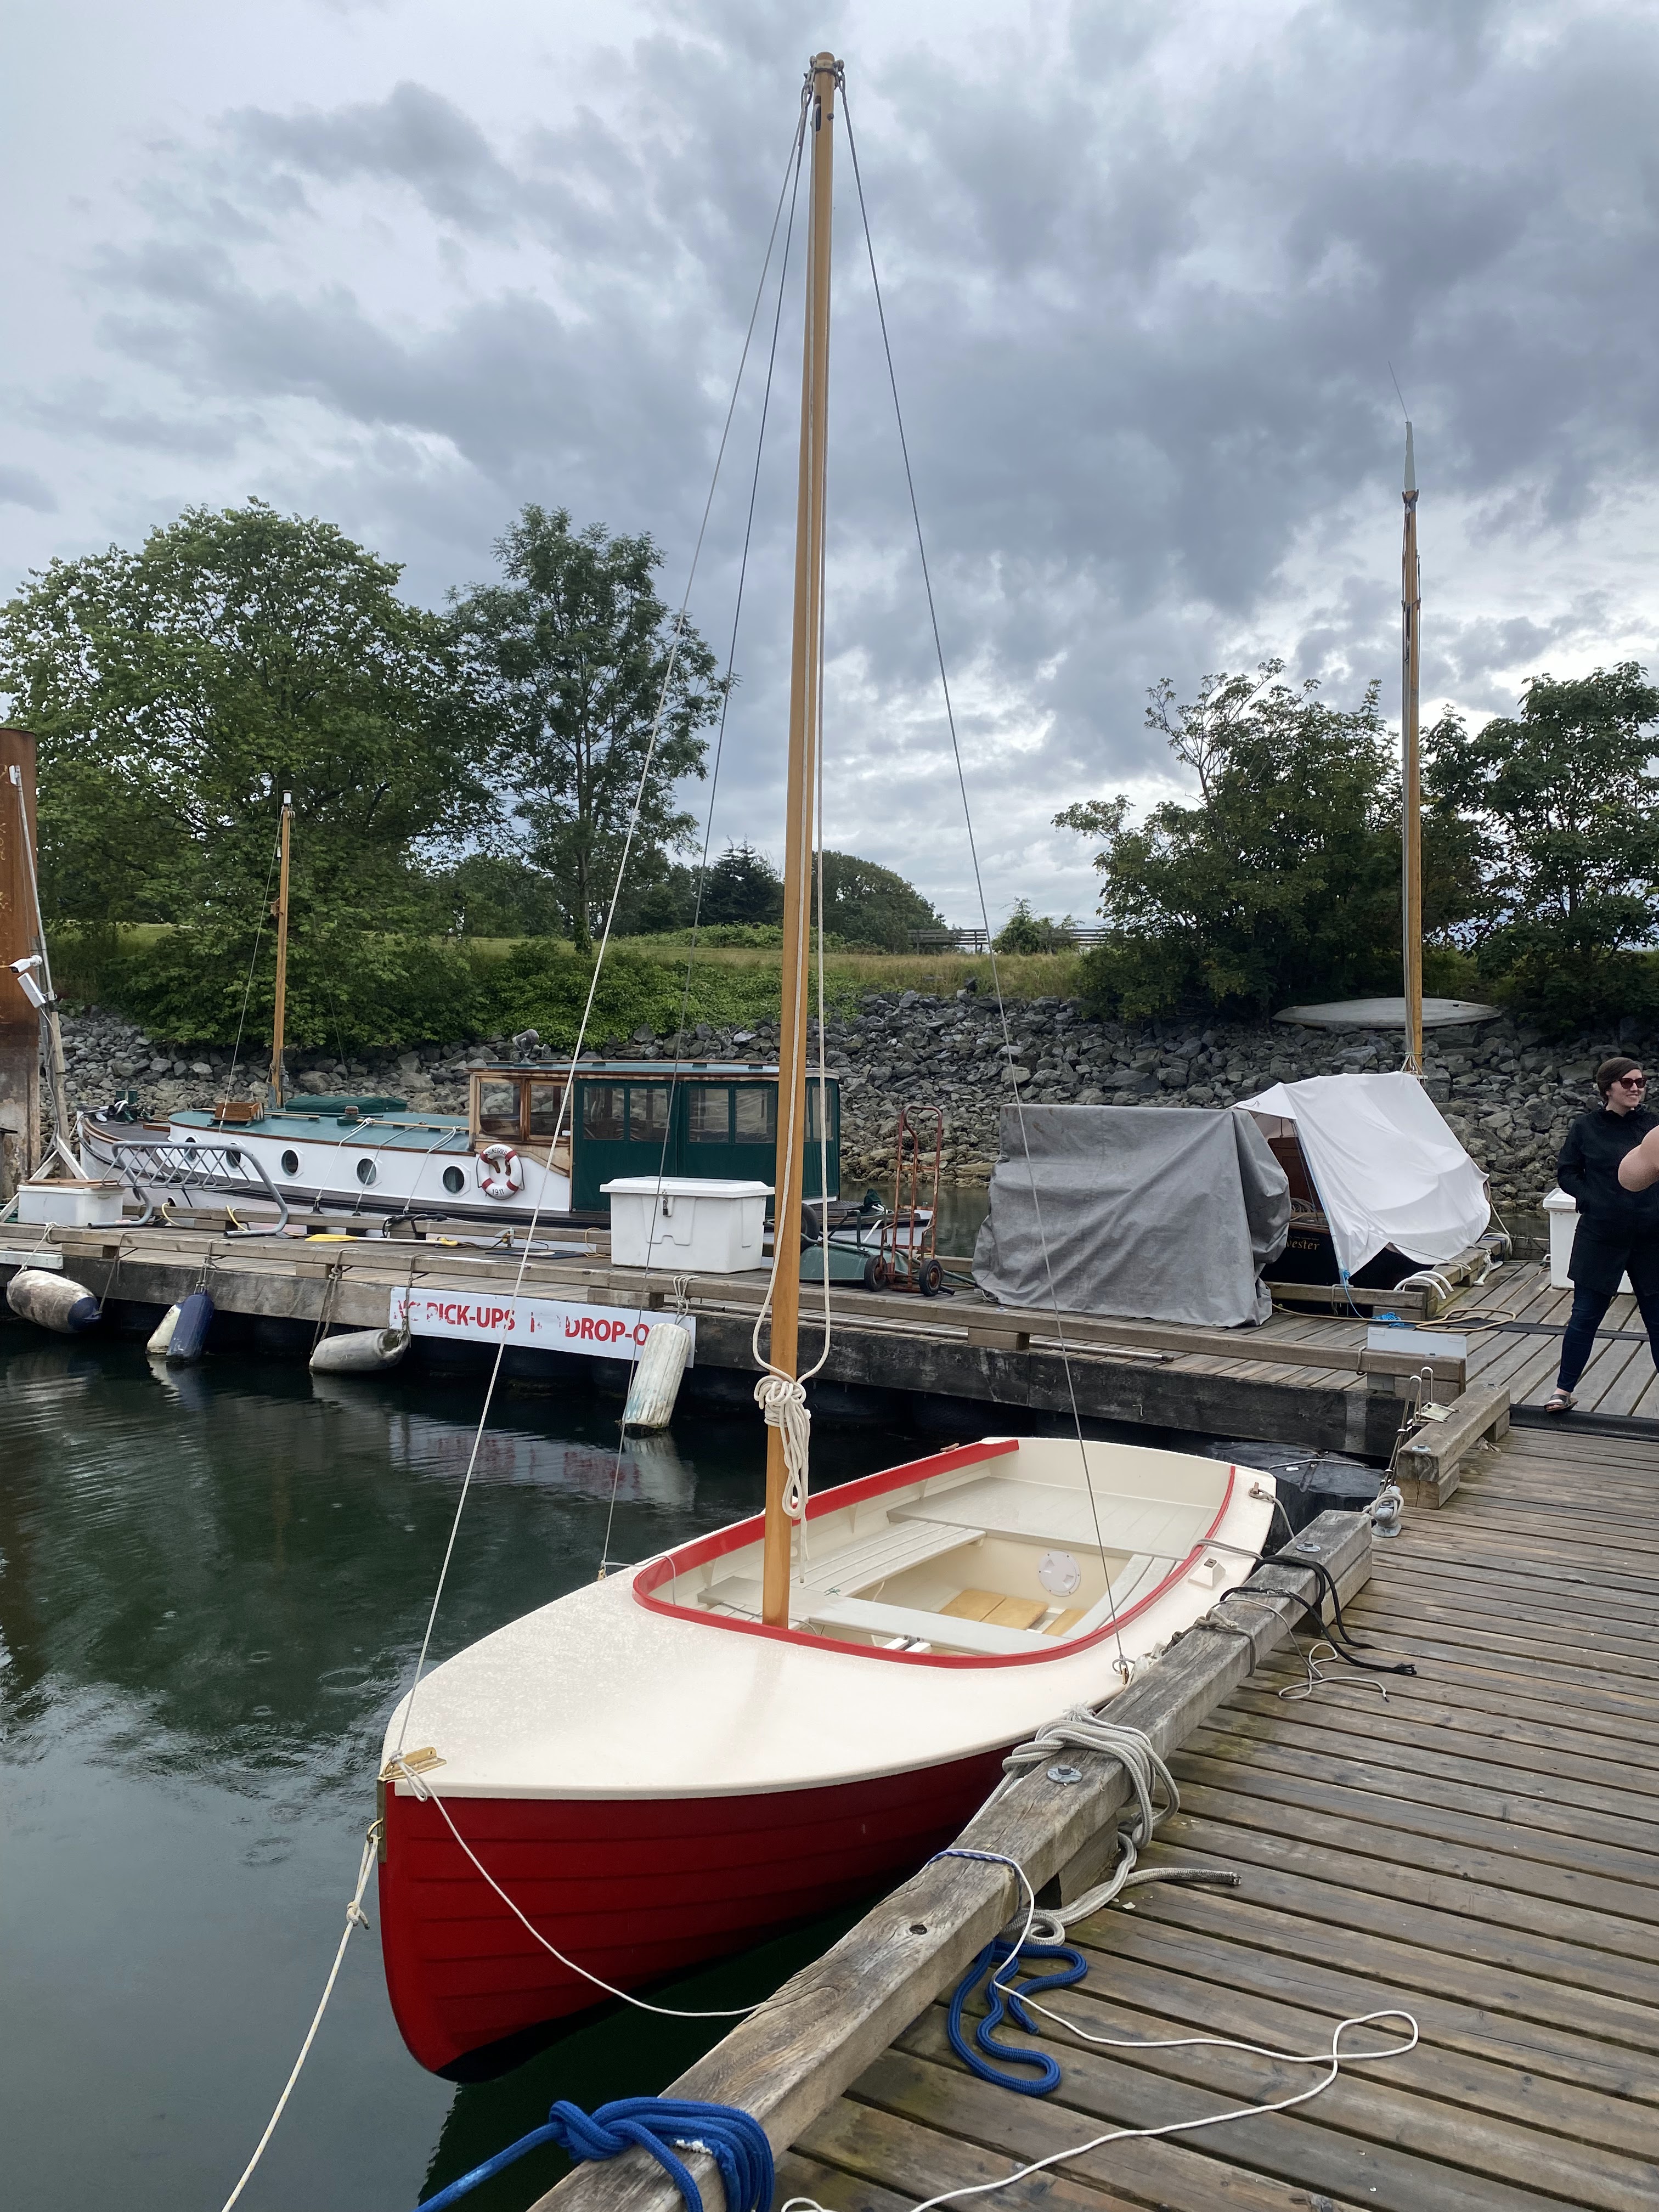
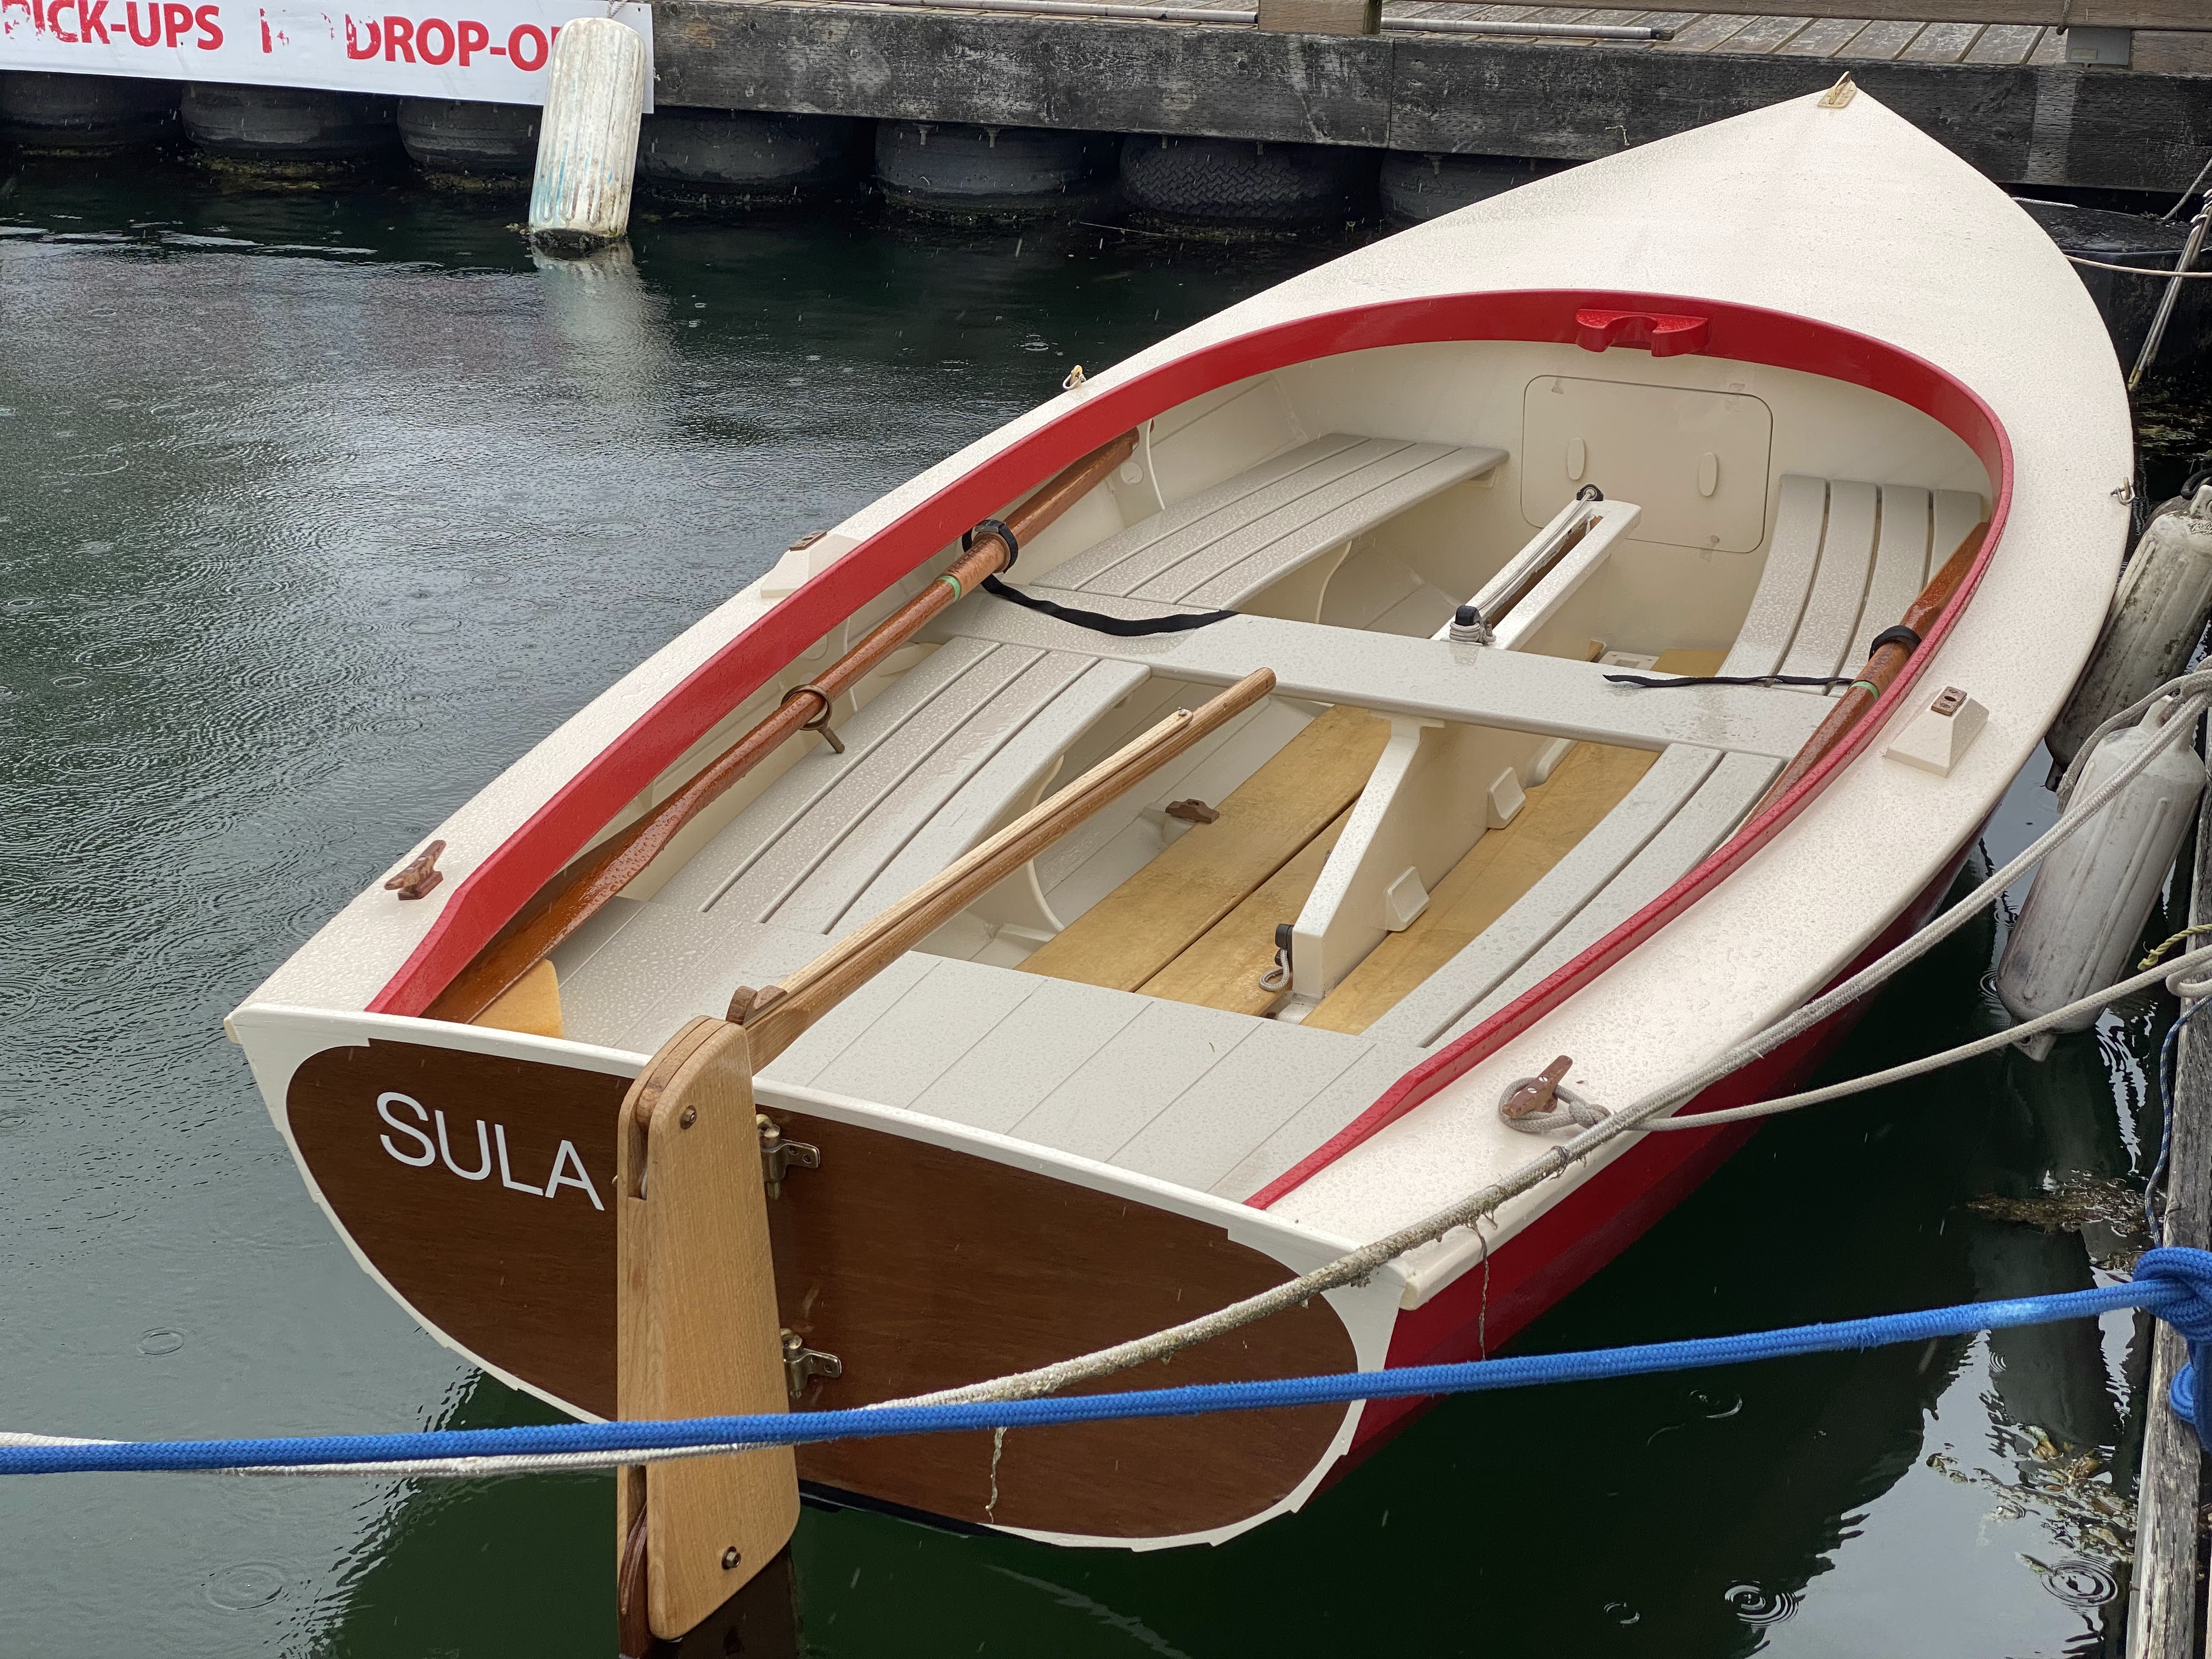
We’ve got a great start on our Handliner build – our progress in the past couple of months:
- Lofting
- Lofting completed
- Stem and stern post patterned, cut, and joined
- Moulds patterned, cut, and joined
- Ribs ripped from log (thanks Eric!)
- Rib and plank sample
- Strongback revised for upright construction
- Keel, stem and stern post joined
- Moulds mounted


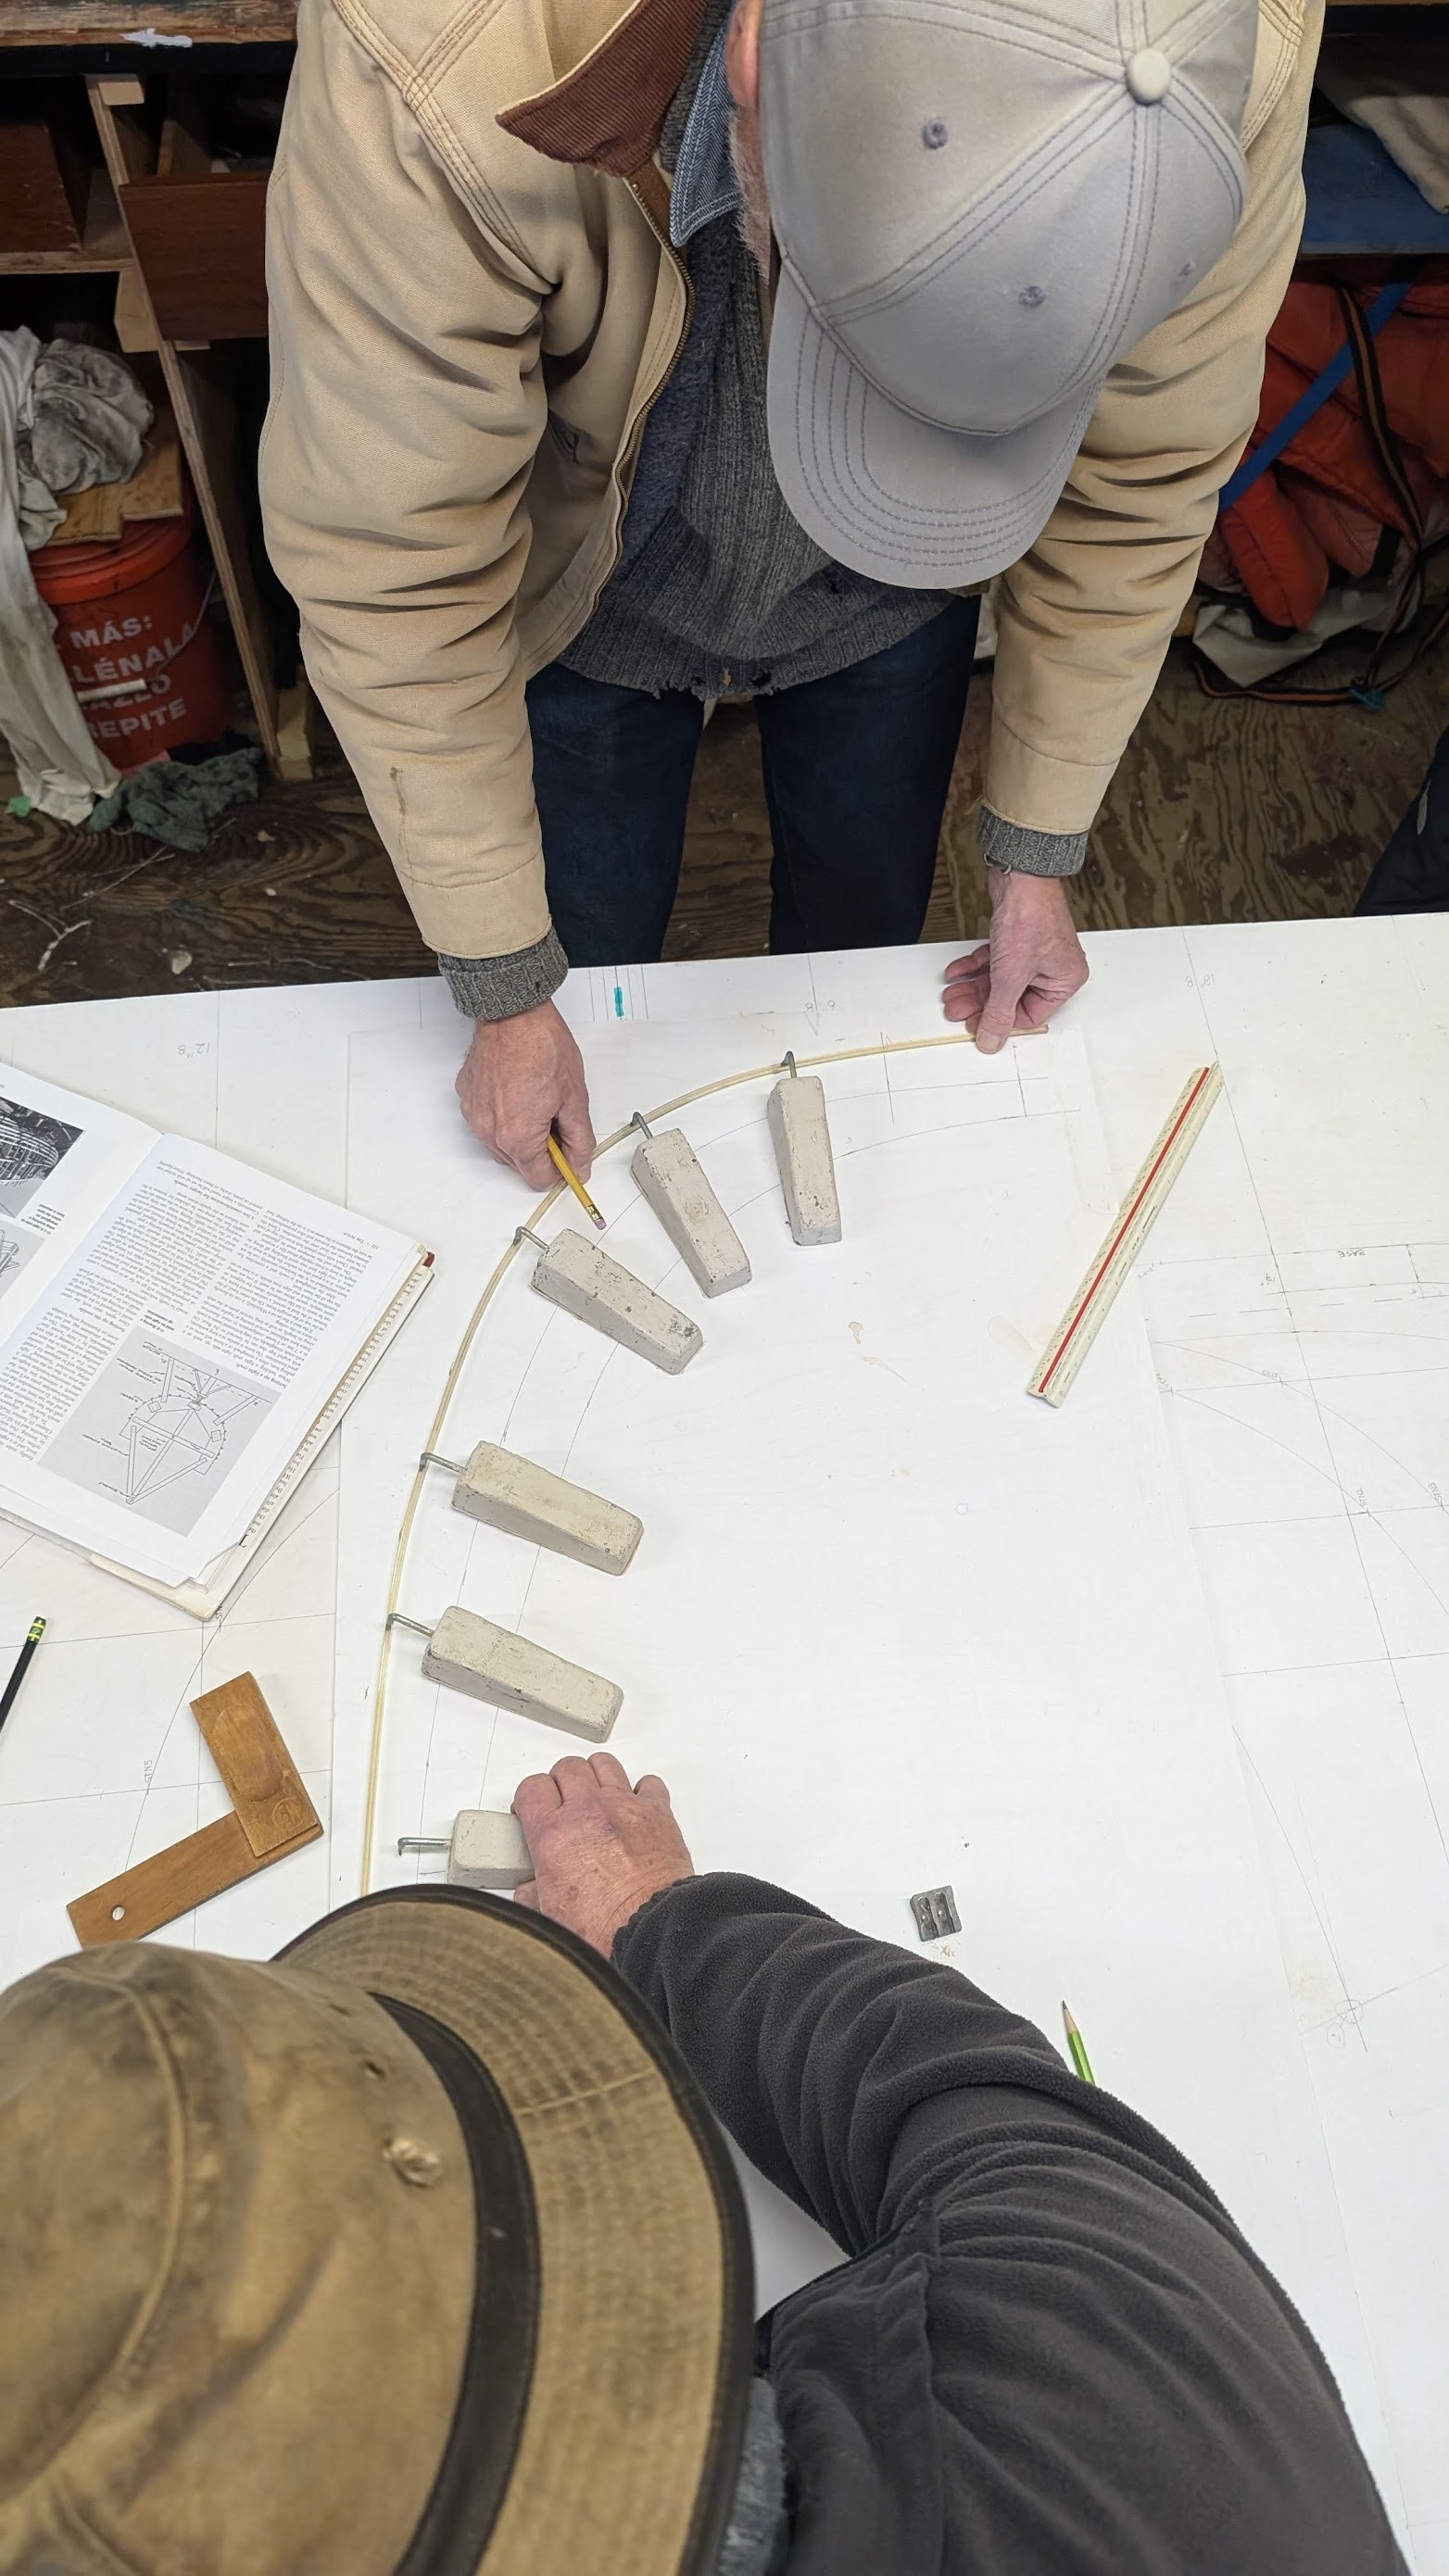
We completed lofting the plans, which involves plotting out all the points given on the table of offsets on the drawings. This gives us the shapes of the moulds, stem, and stern post which then provided the shape of the patterns for the final pieces. A drafting spline and set of lead “ducks” gave us a fair curve. “Many hands” took the place of the ducks sometimes – participation is high!

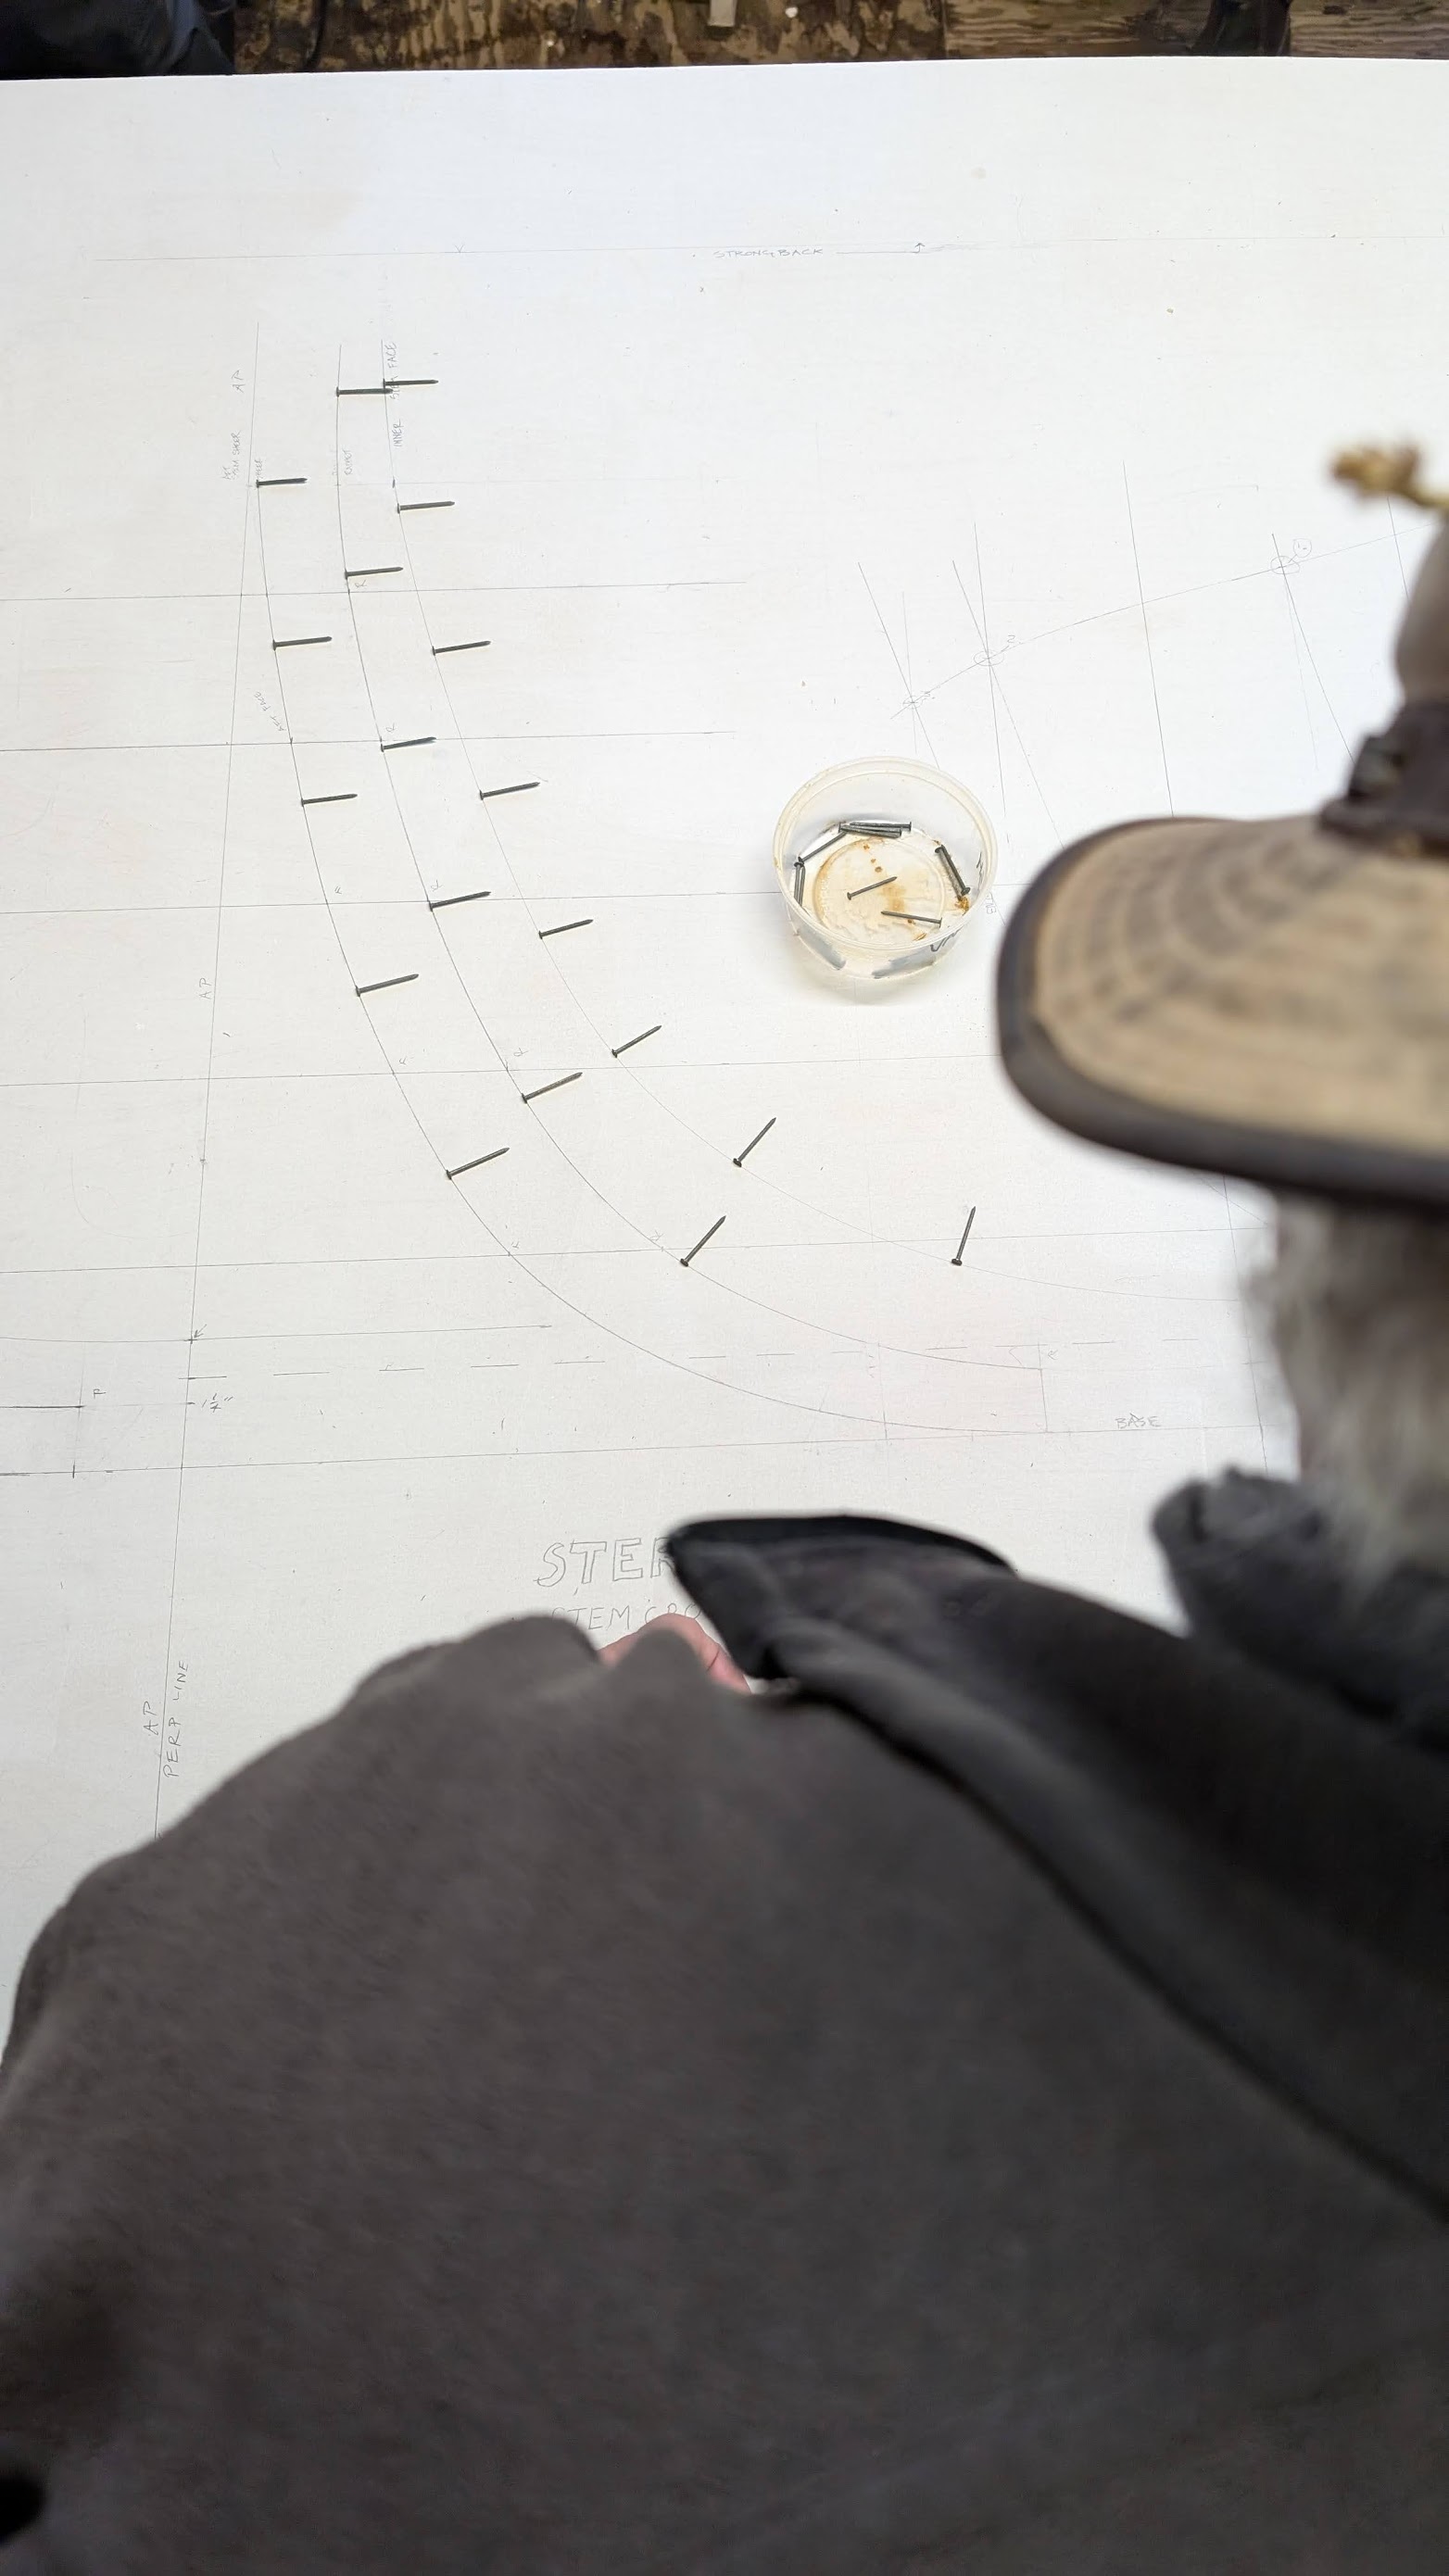


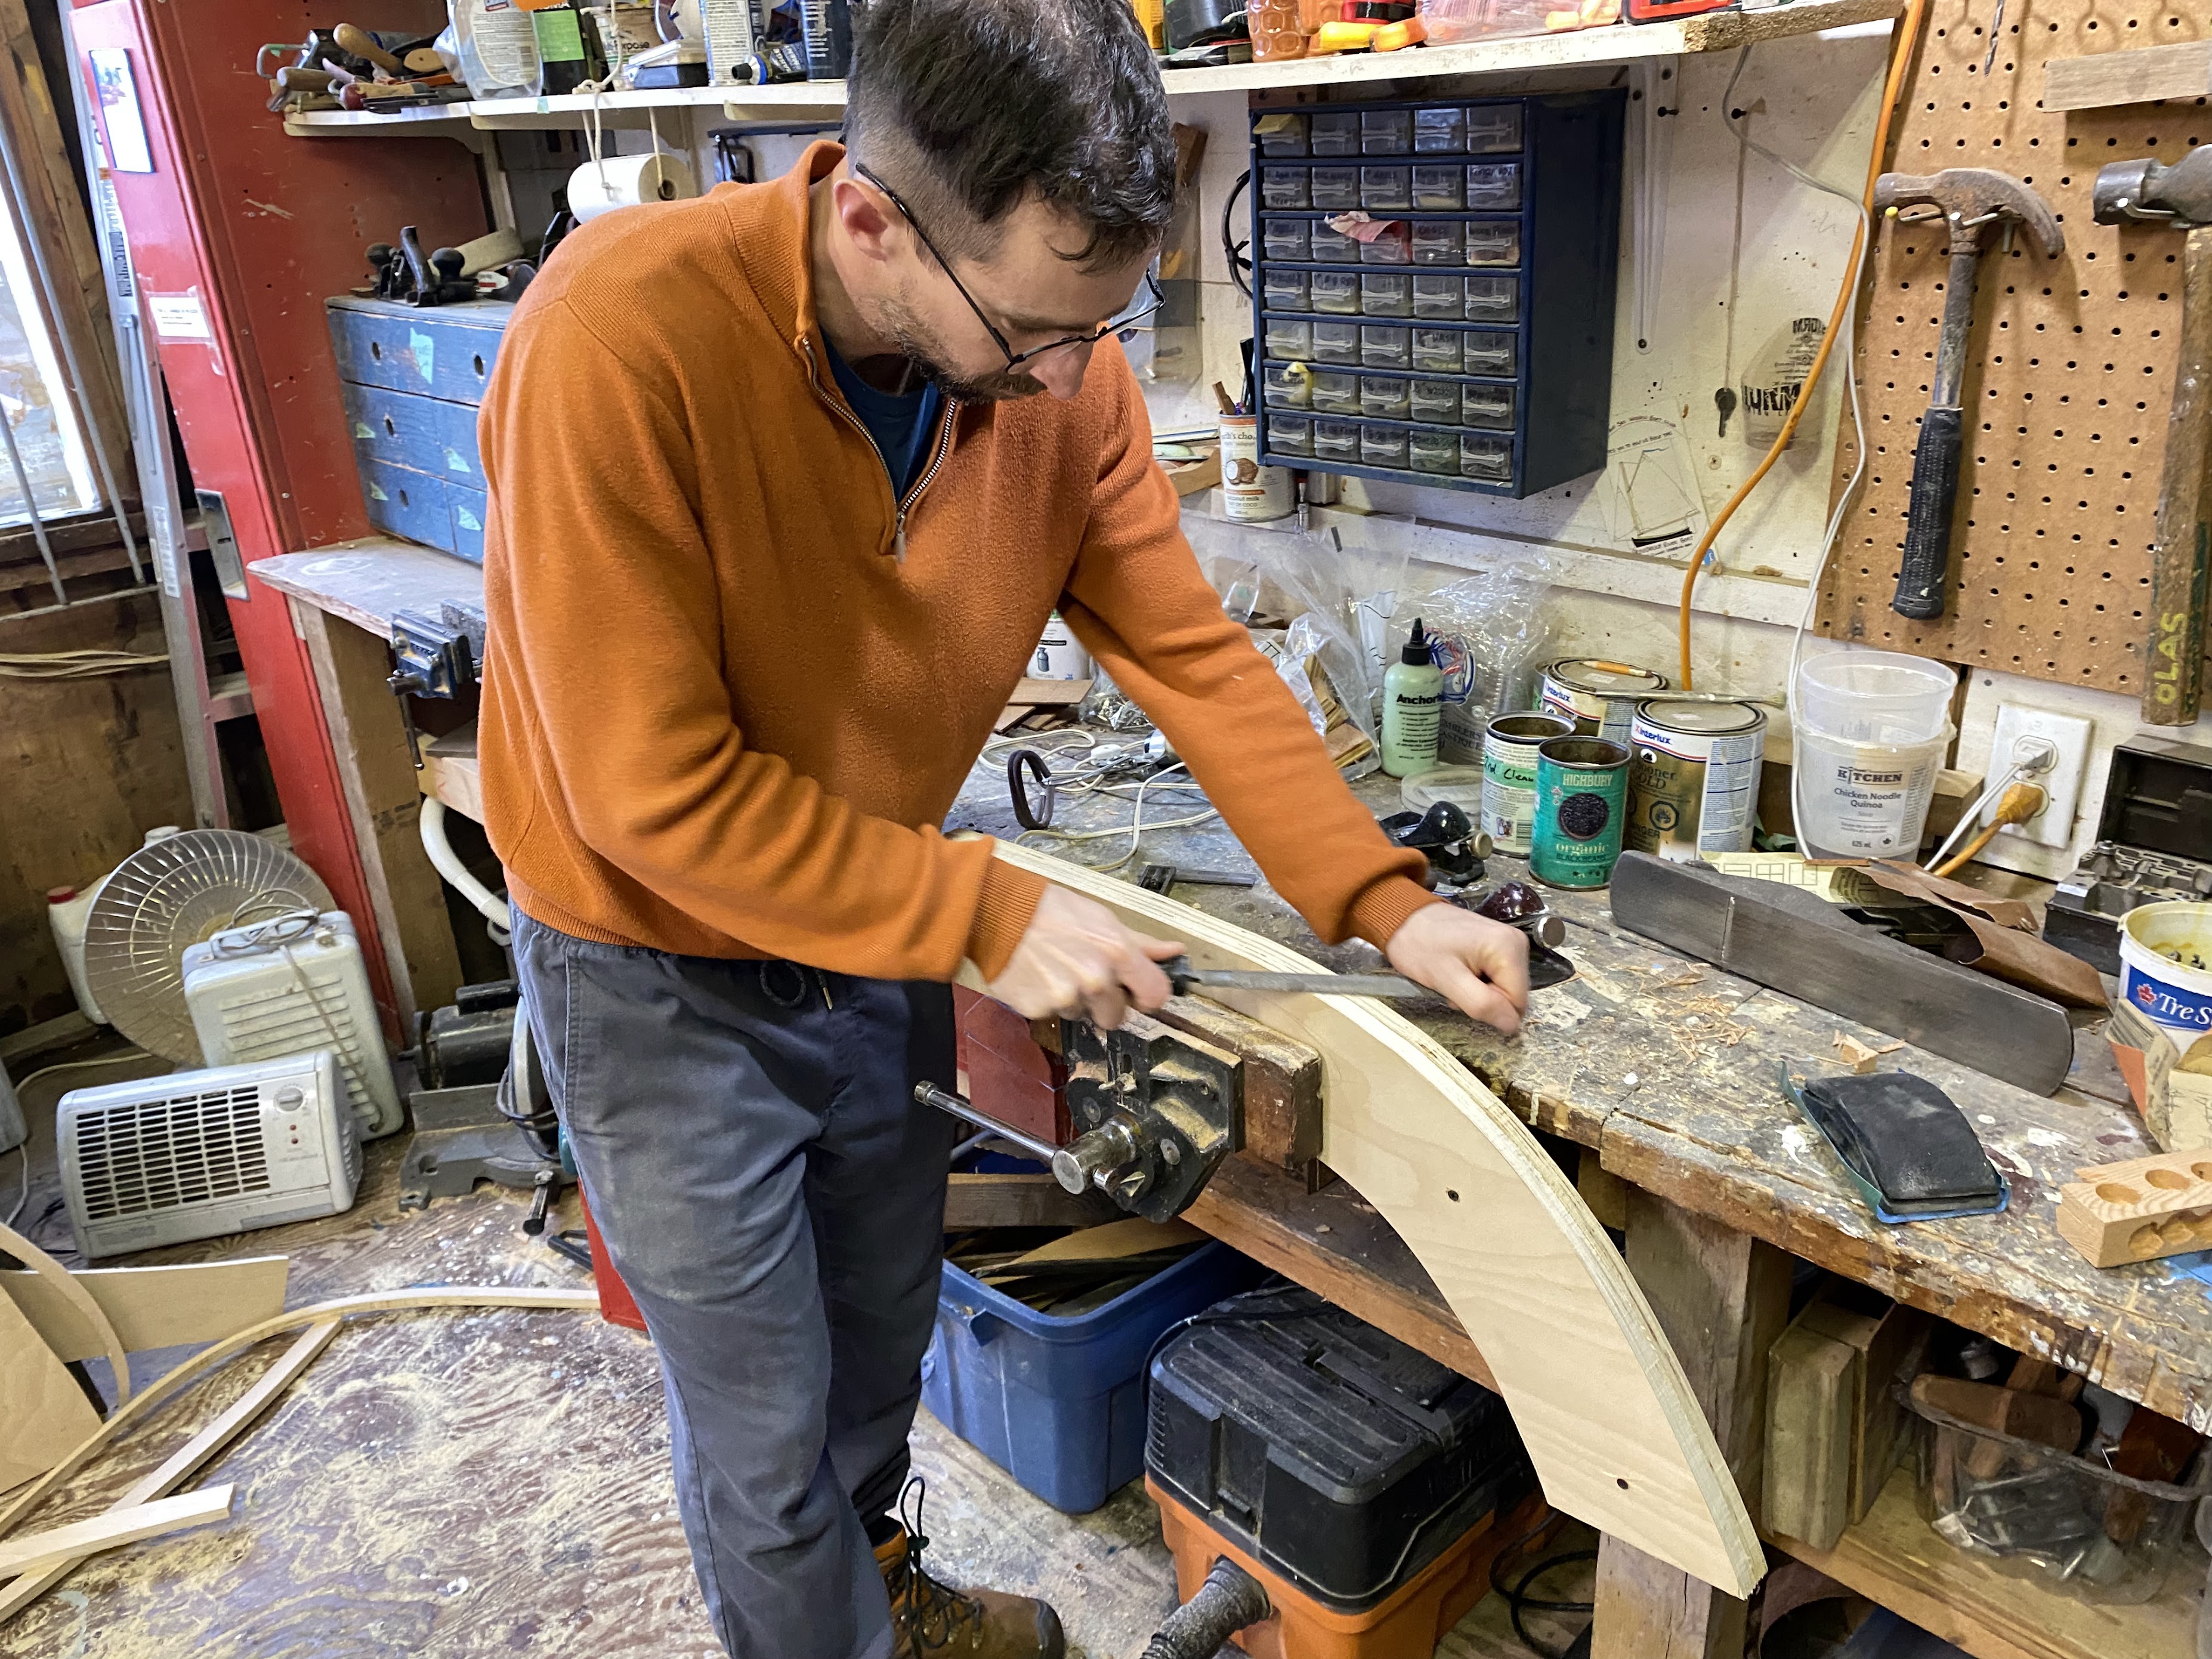
Once we had drawn the shape, we pounded in some nail-heads to transfer the lines to the patterns – the indents from the nails gave us the marks for the outline. After that, we cut out the patterns, and used them for the actual pieces.
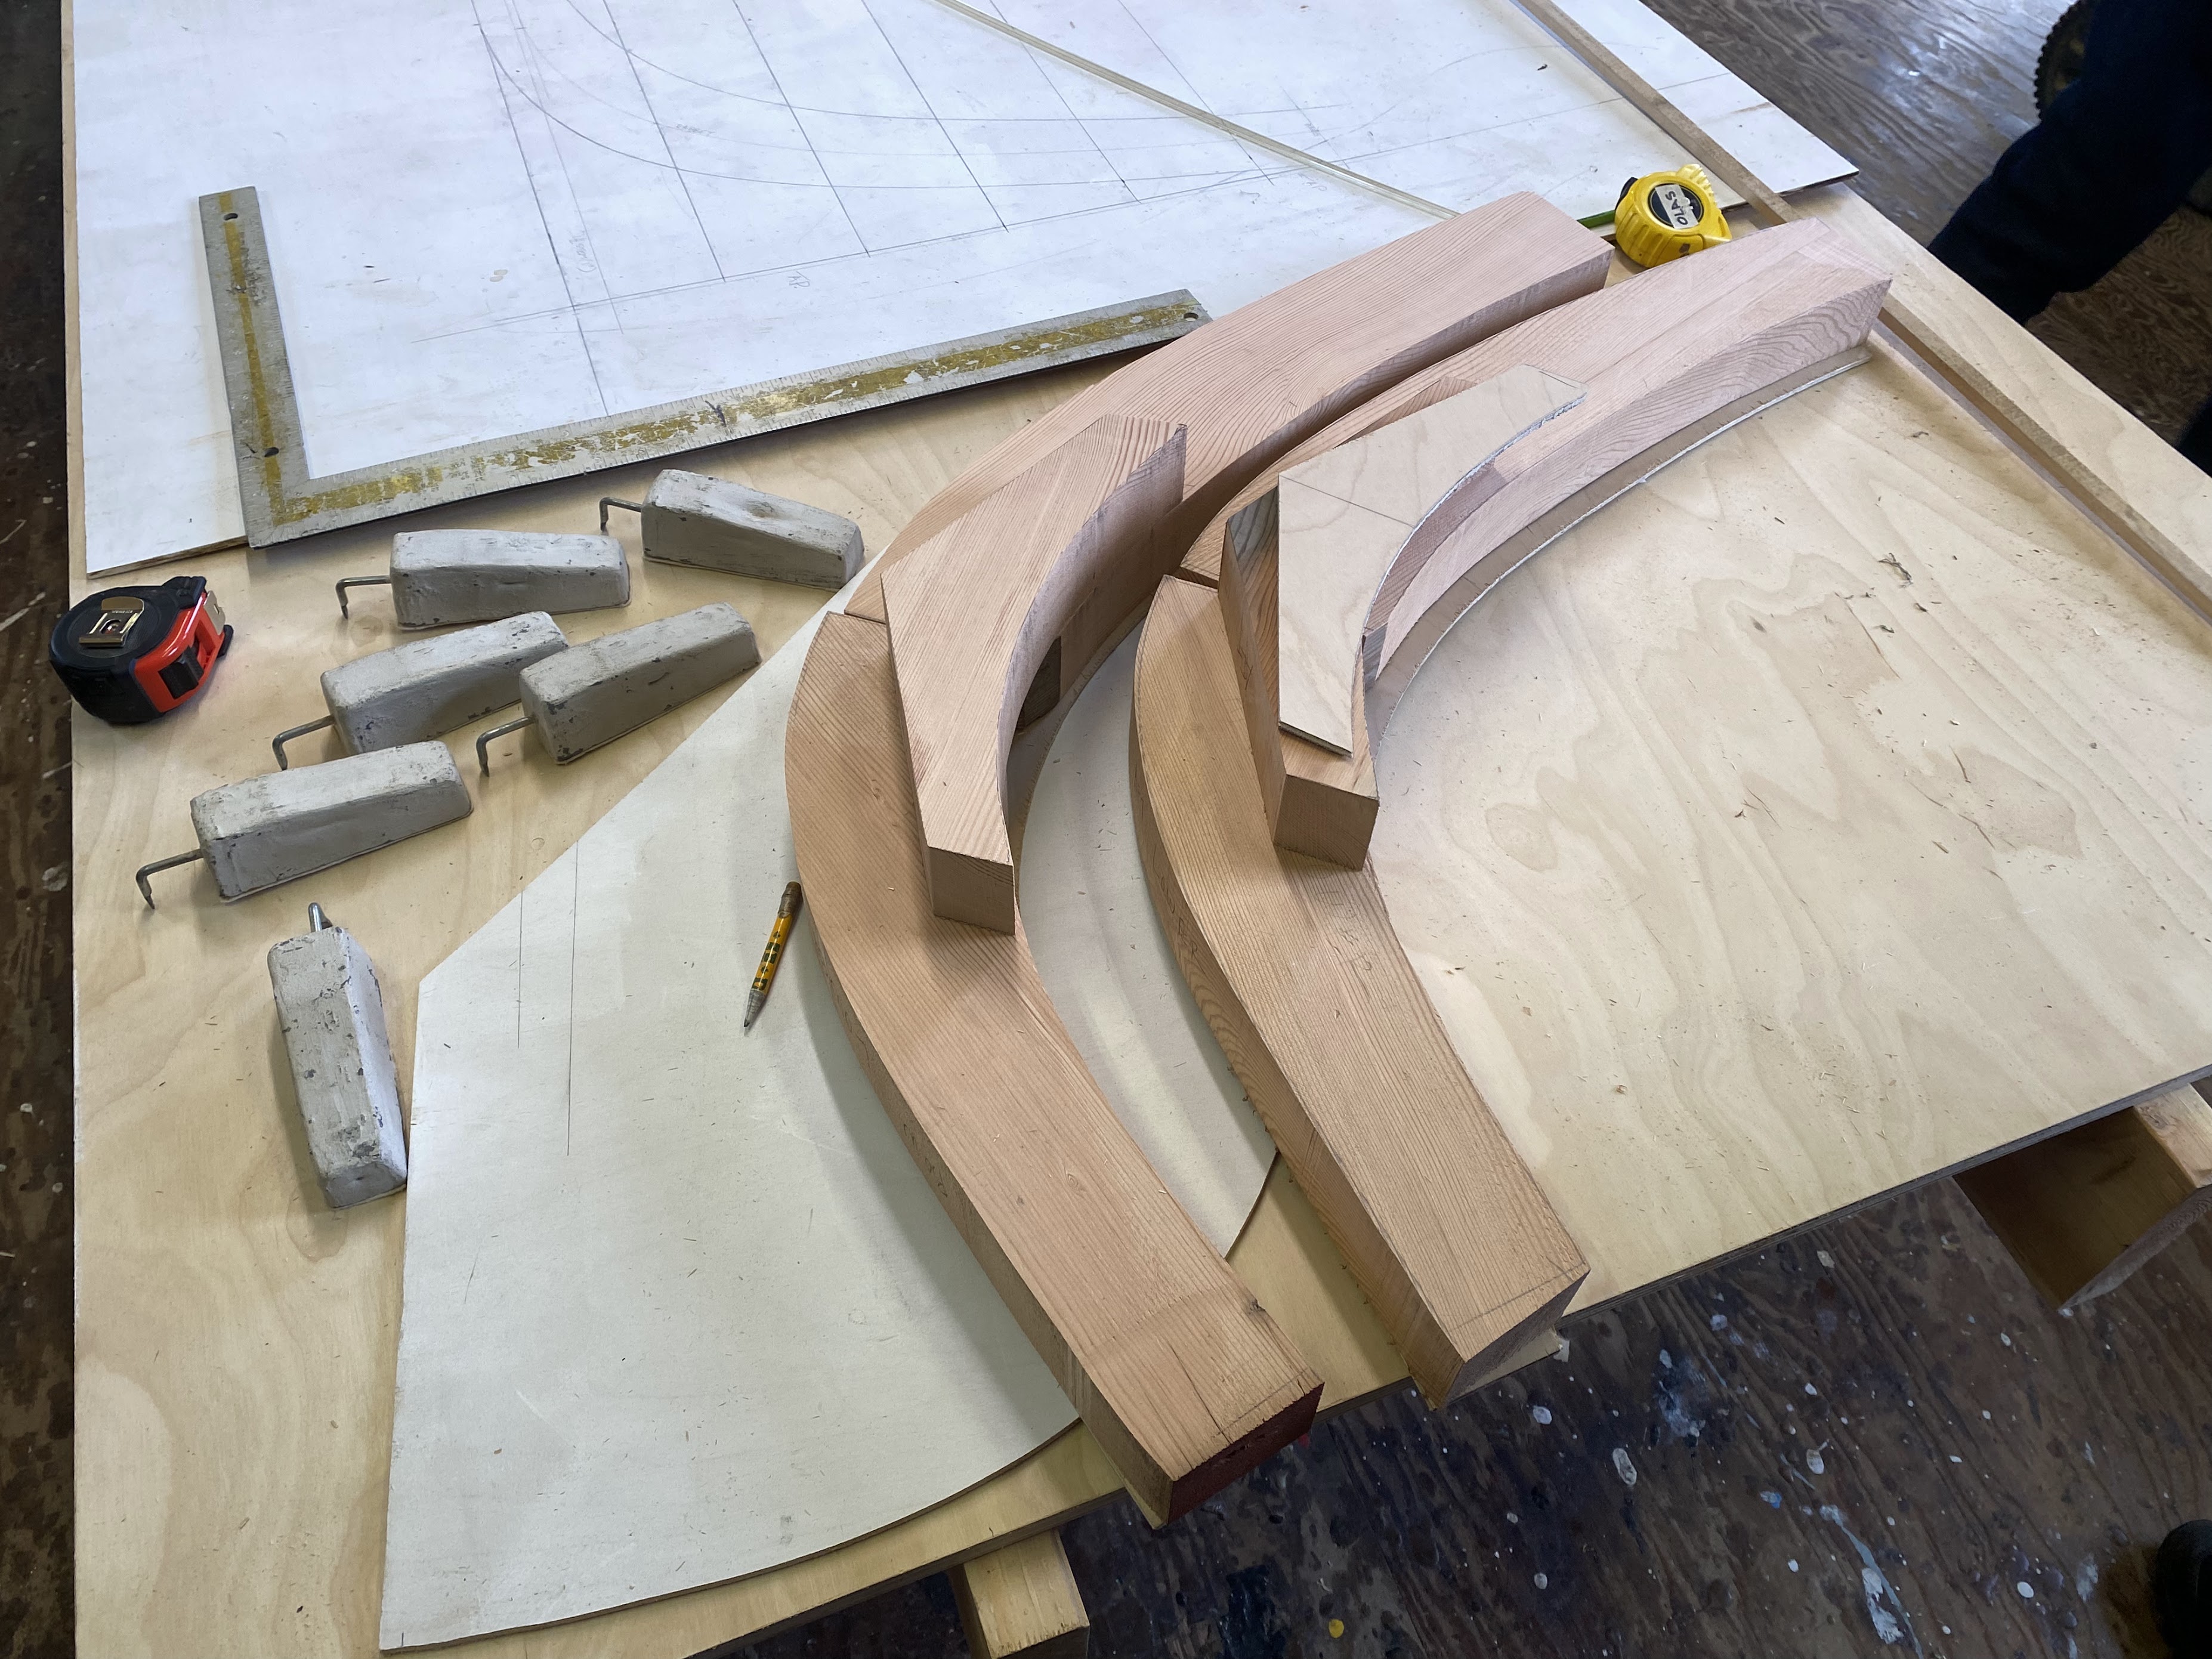


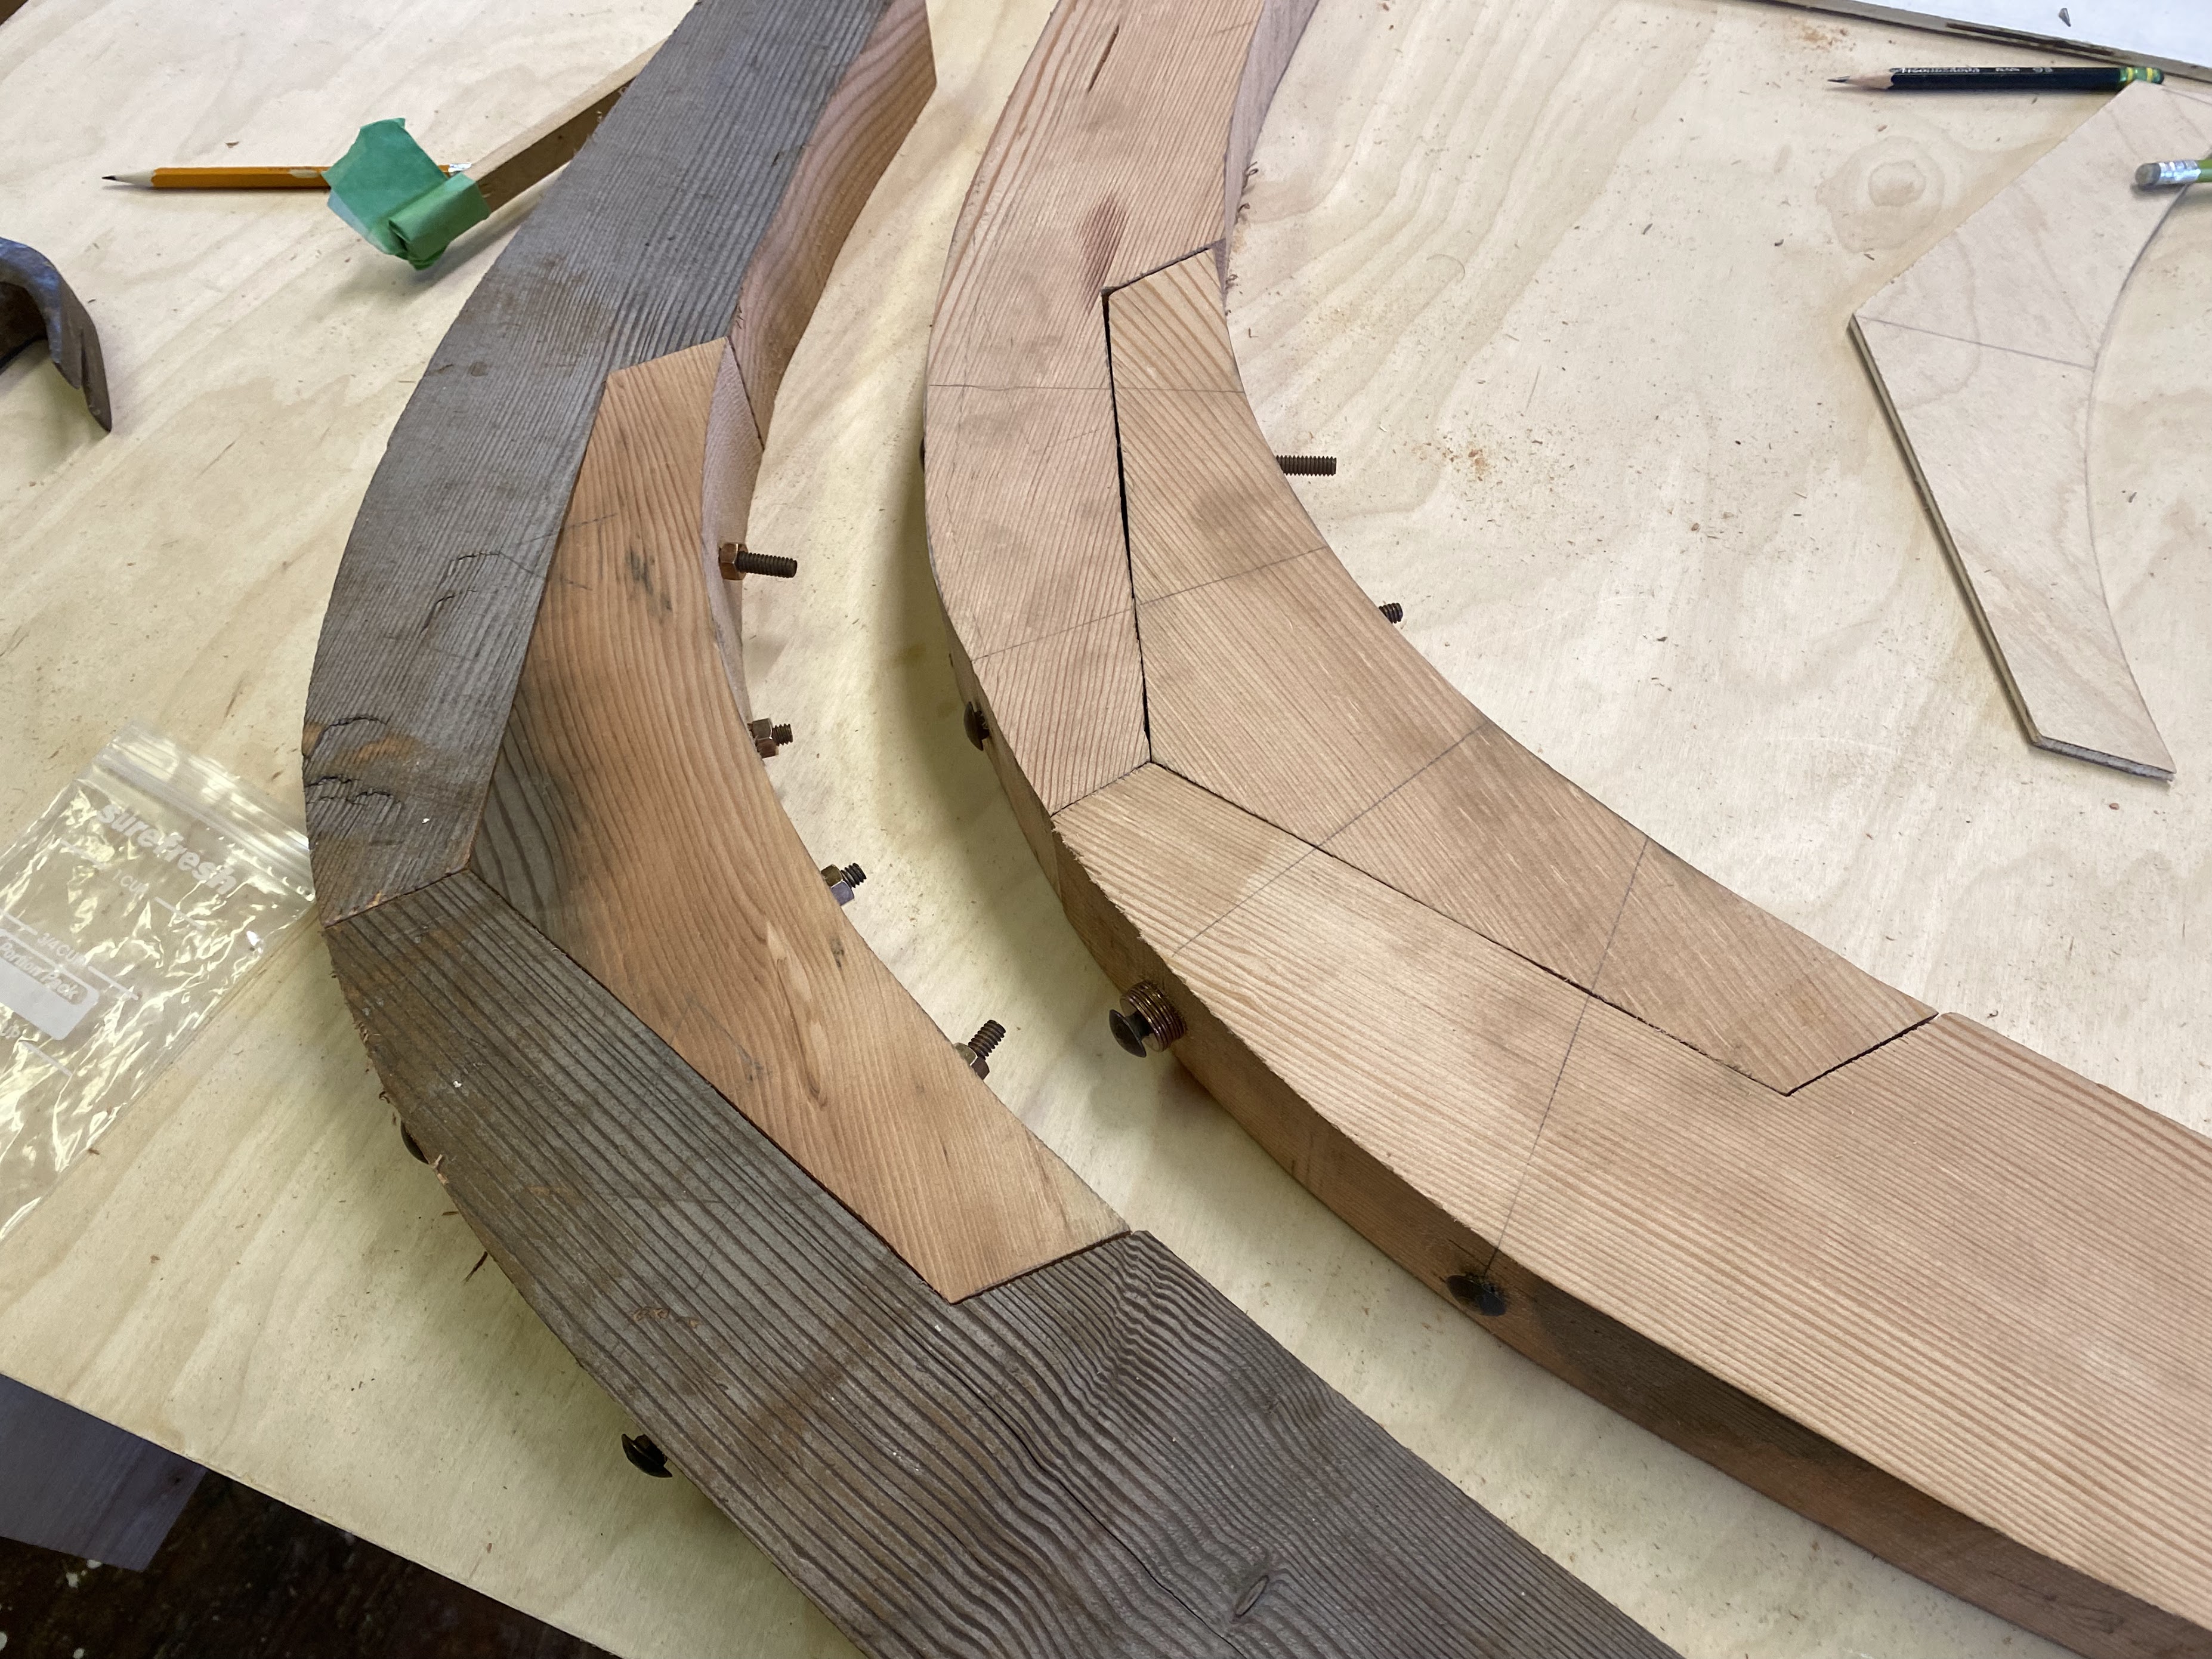


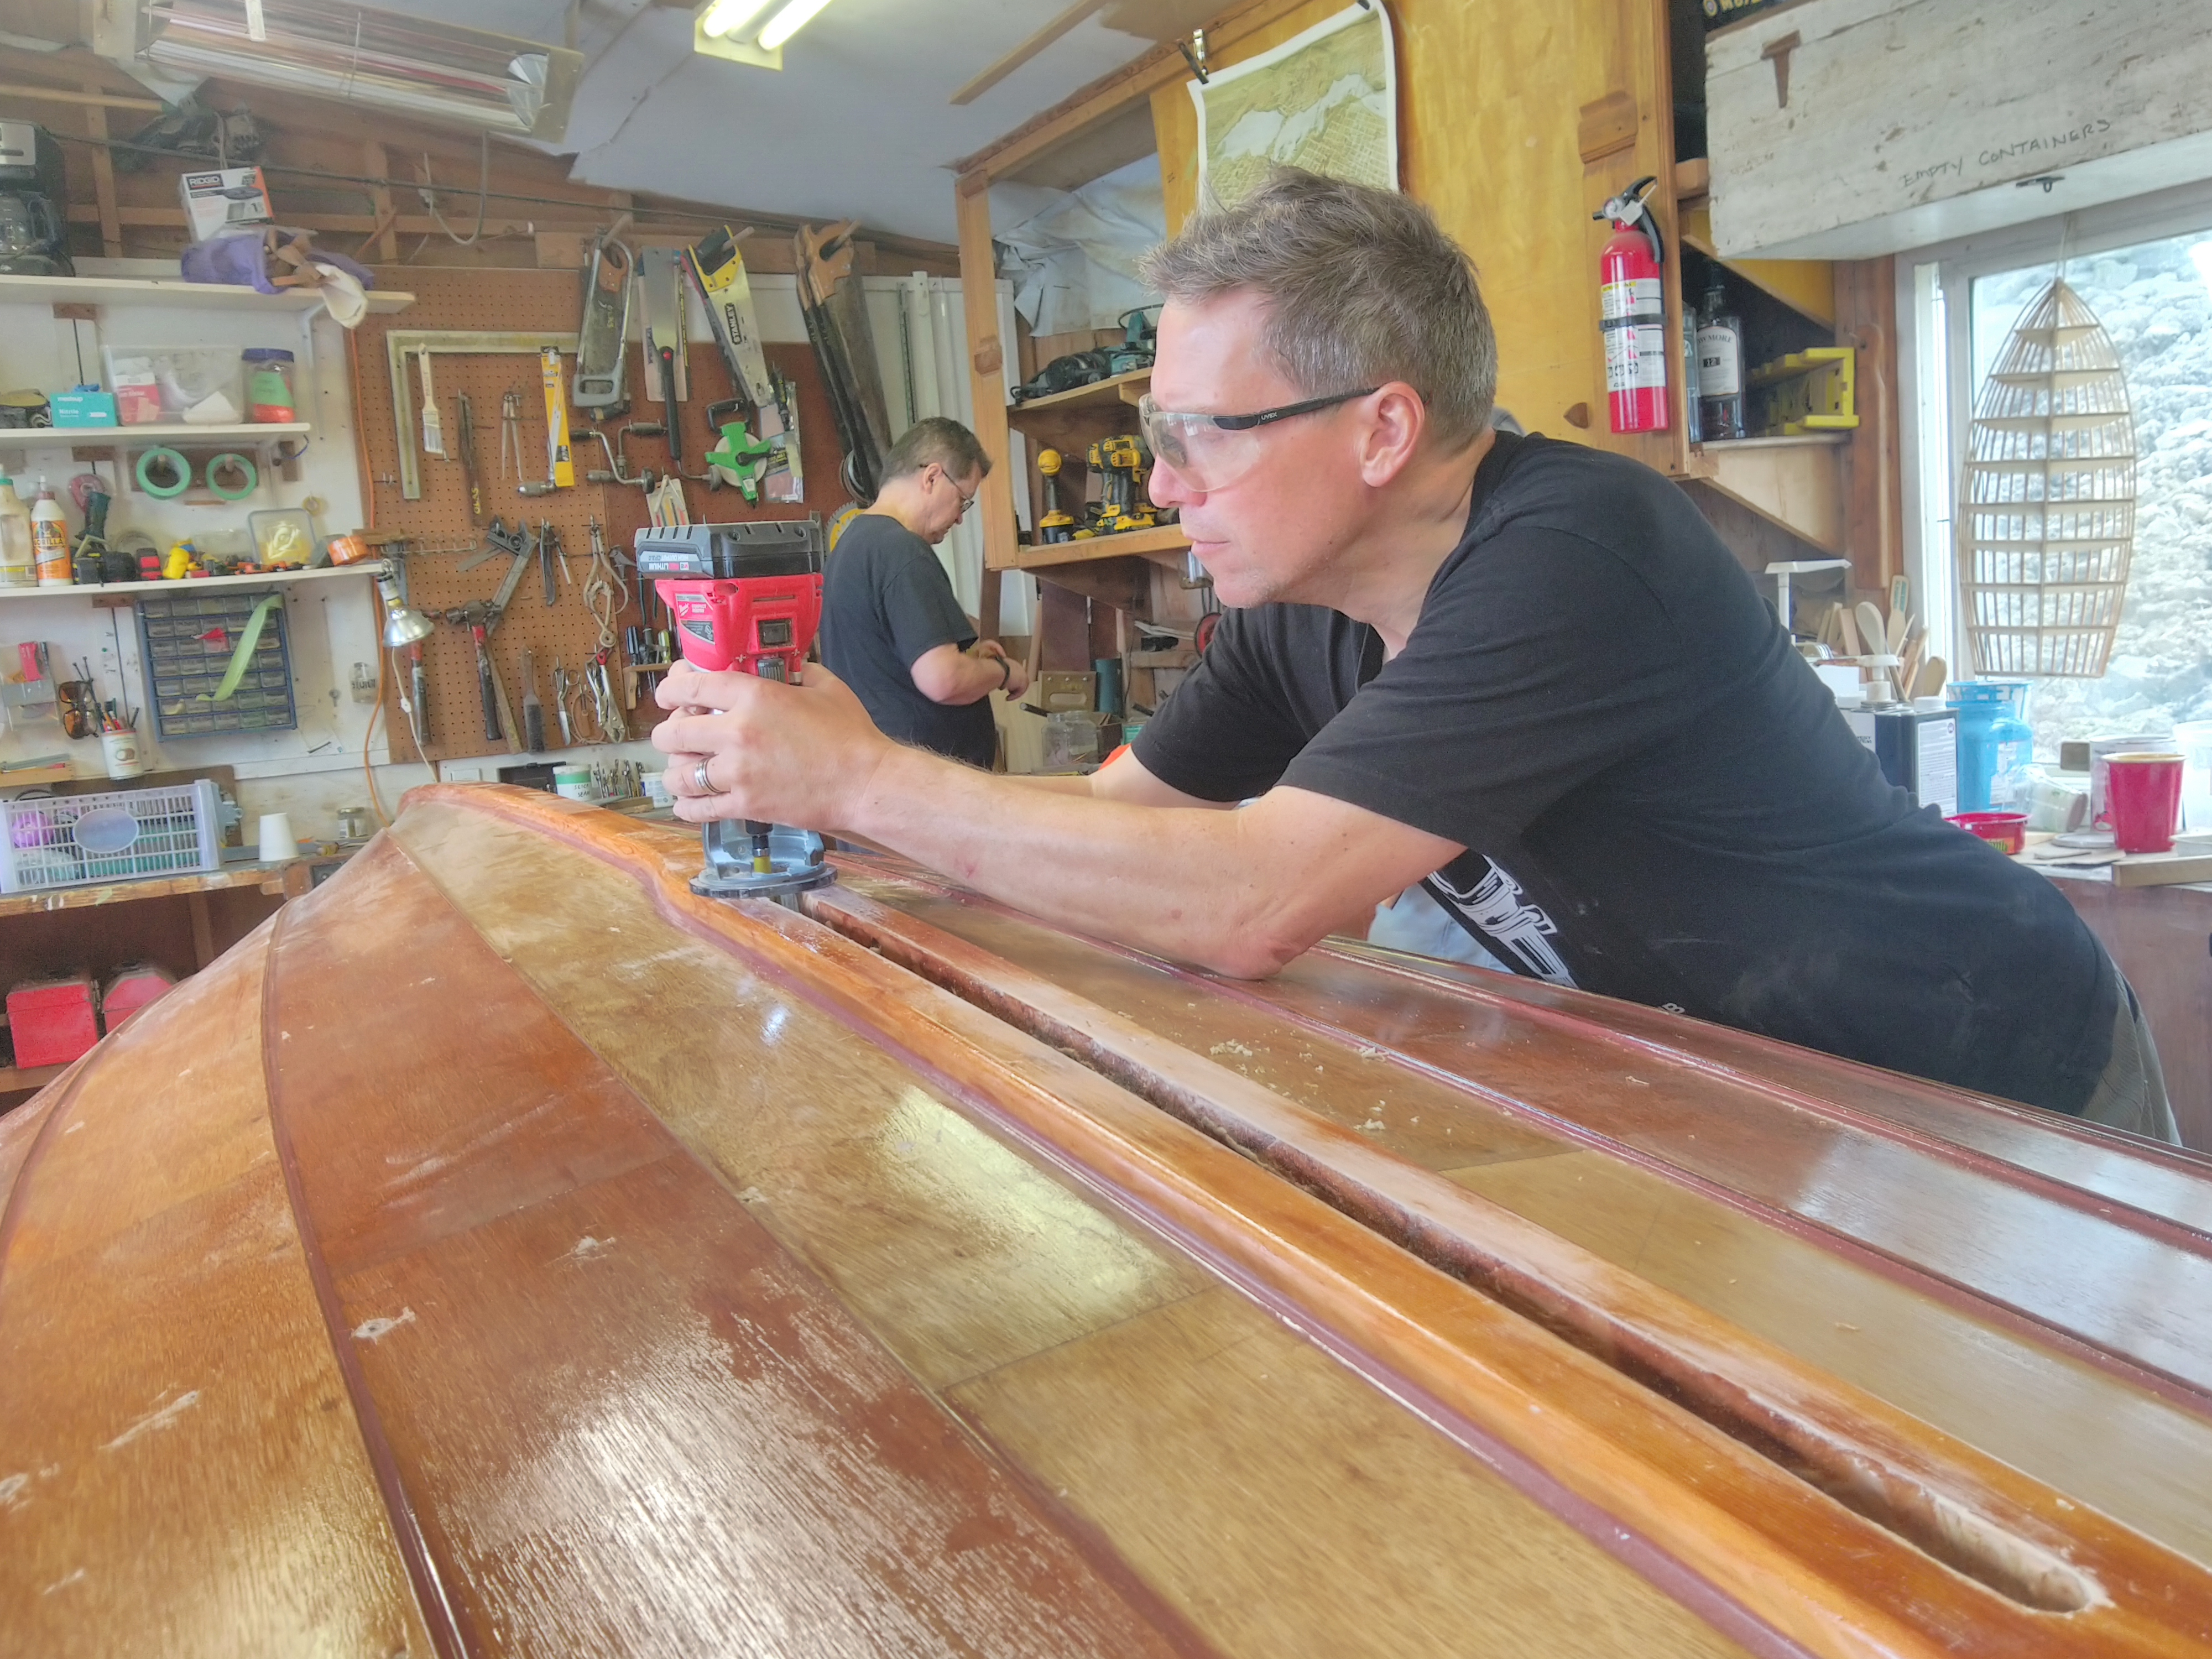
The stem and stern post are each built up of 3 pieces of Douglas fir, bolted together with sealant. They’re a tricky shape to drill, but with careful positioning on our drill press, and a watchful eye of several onlookers, we managed to get them drilled within tolerance.


We were the happy recipients of a length of English Oak, part of a tree that had been felled in the neighbourhood of one of our members and local shipwright, Eric Fisher. He wrestled the log down the ramp, where we stripped the bark and Arnt ripped it in half with a chainsaw. Arnt then took it home to rip it to strips on his bandsaw. This will become the ribs for the boat. Oak is sought-after for ribs, and ideally is air-dried, not kiln-dried, so this is ideal for our purposes – thank you so much, Eric!!! We got all the ribs we need, plus quite a few spares to make up for breakage.

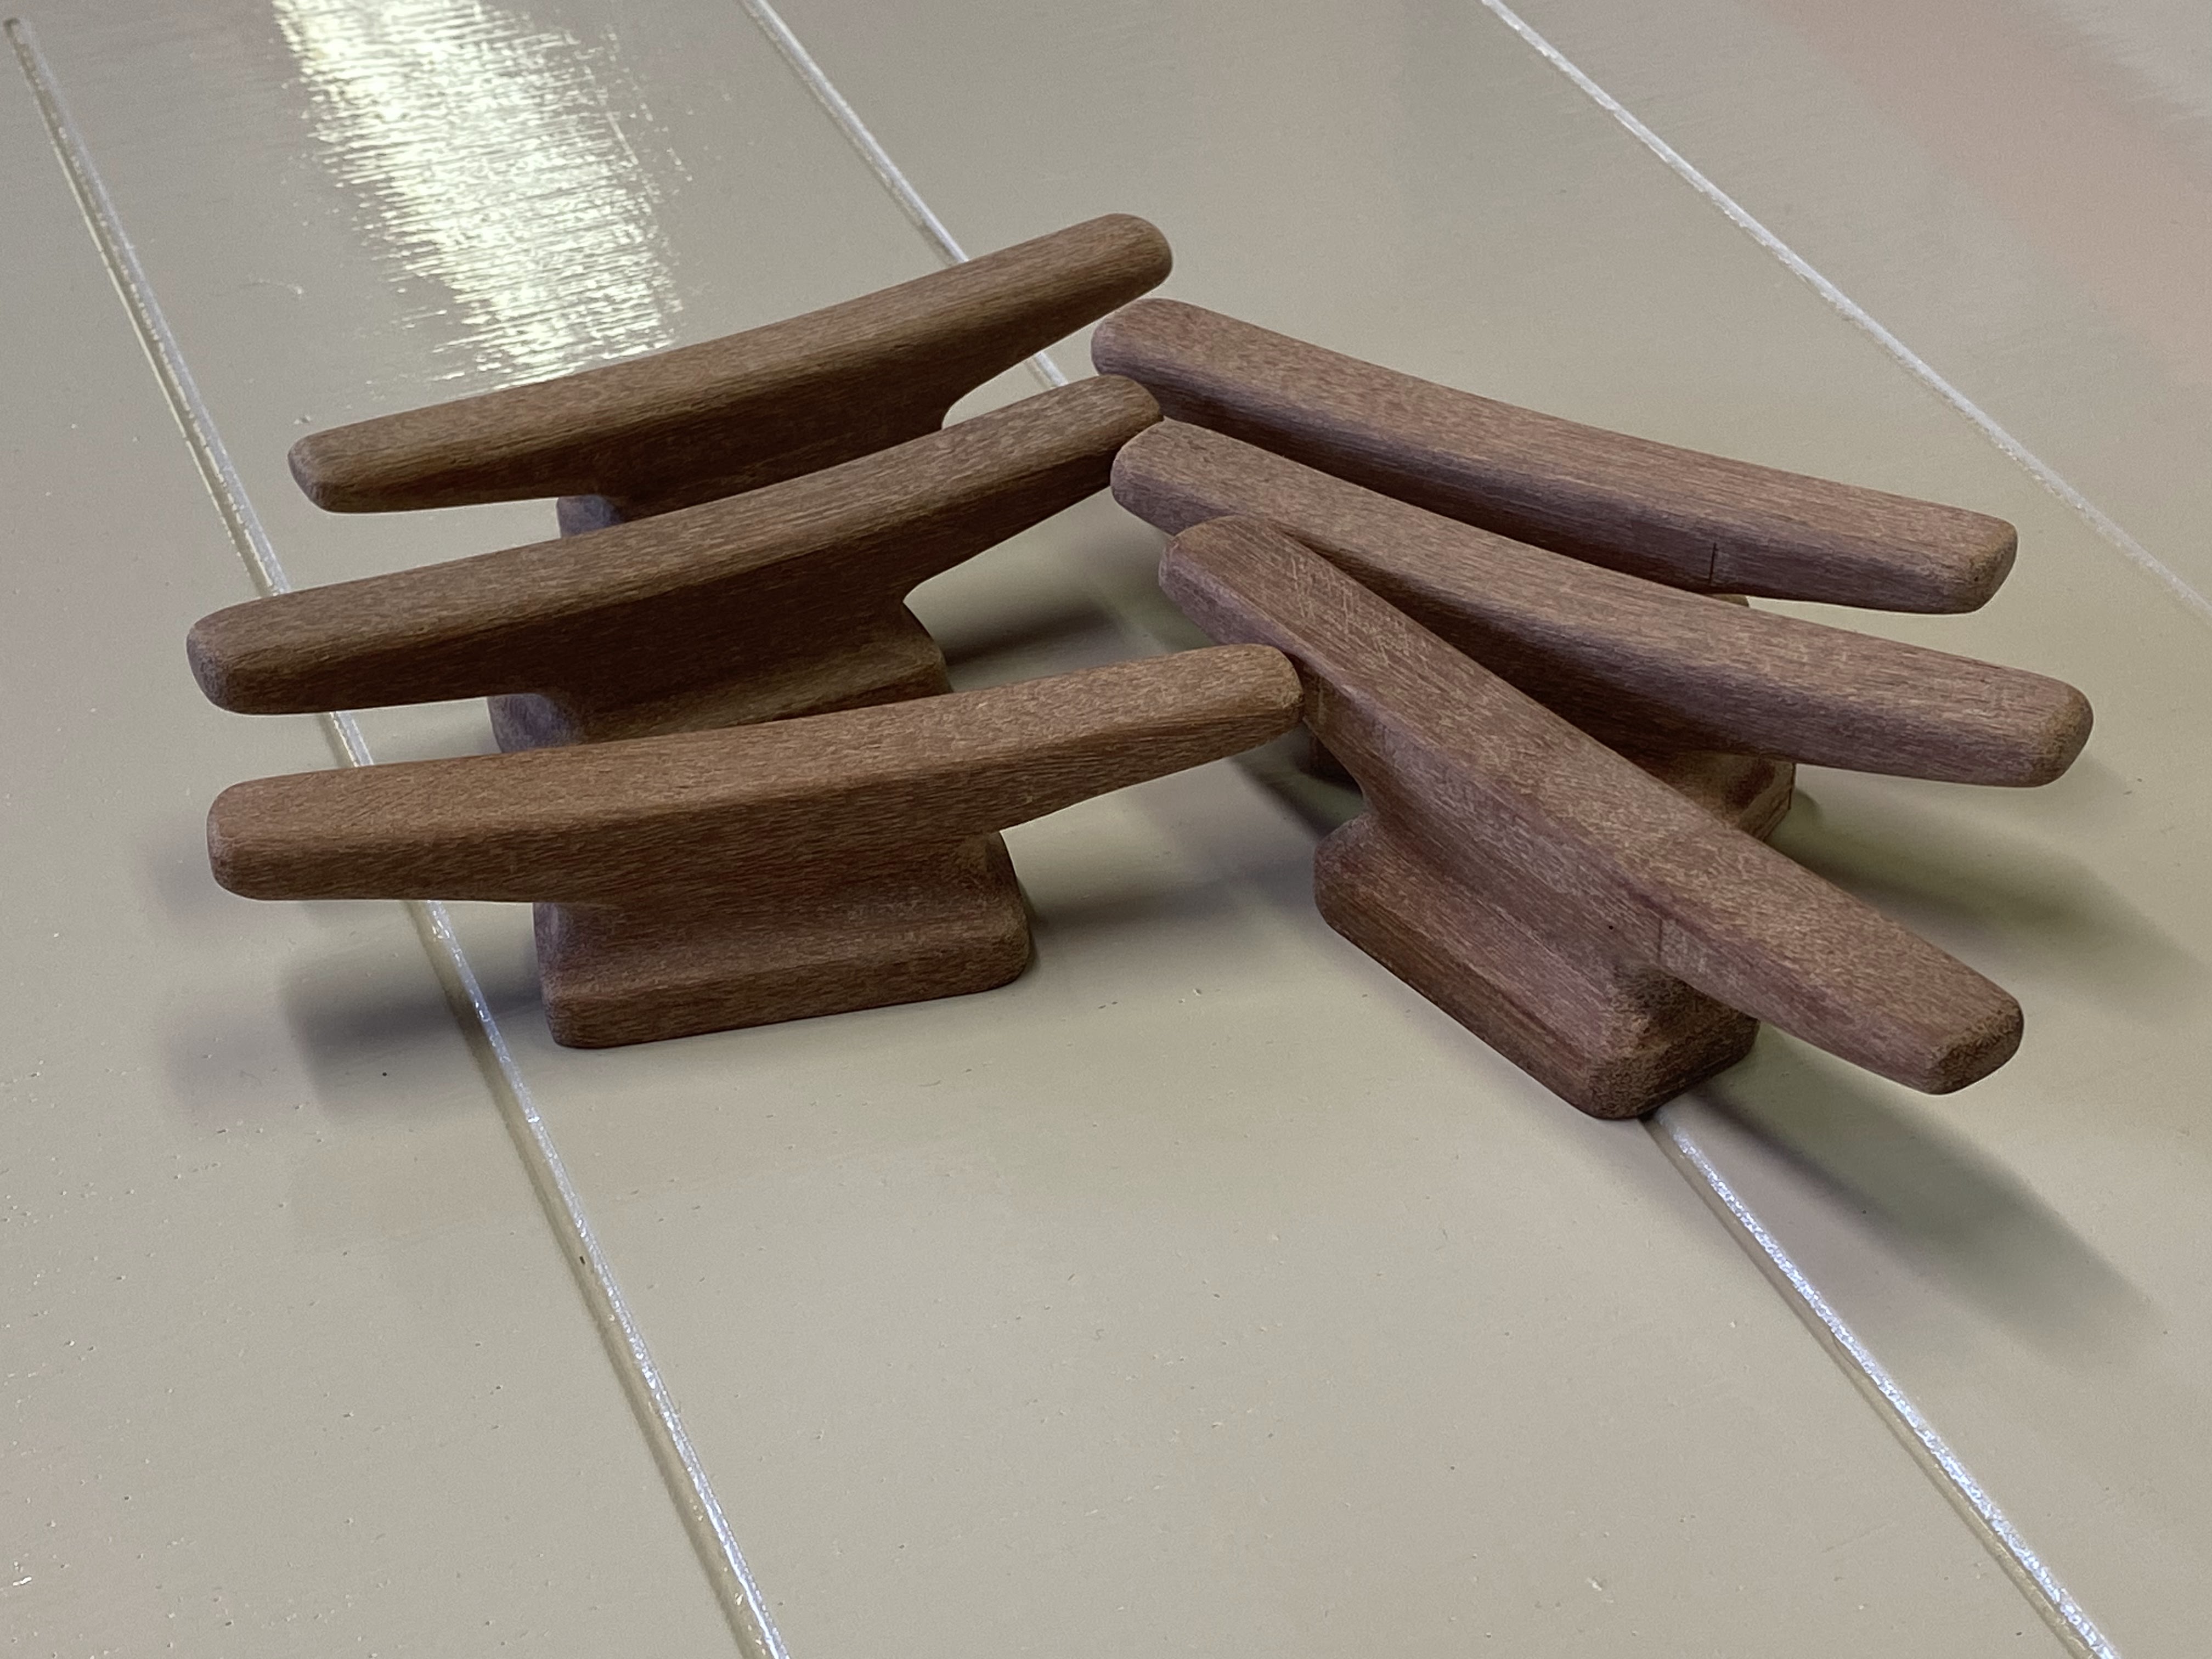
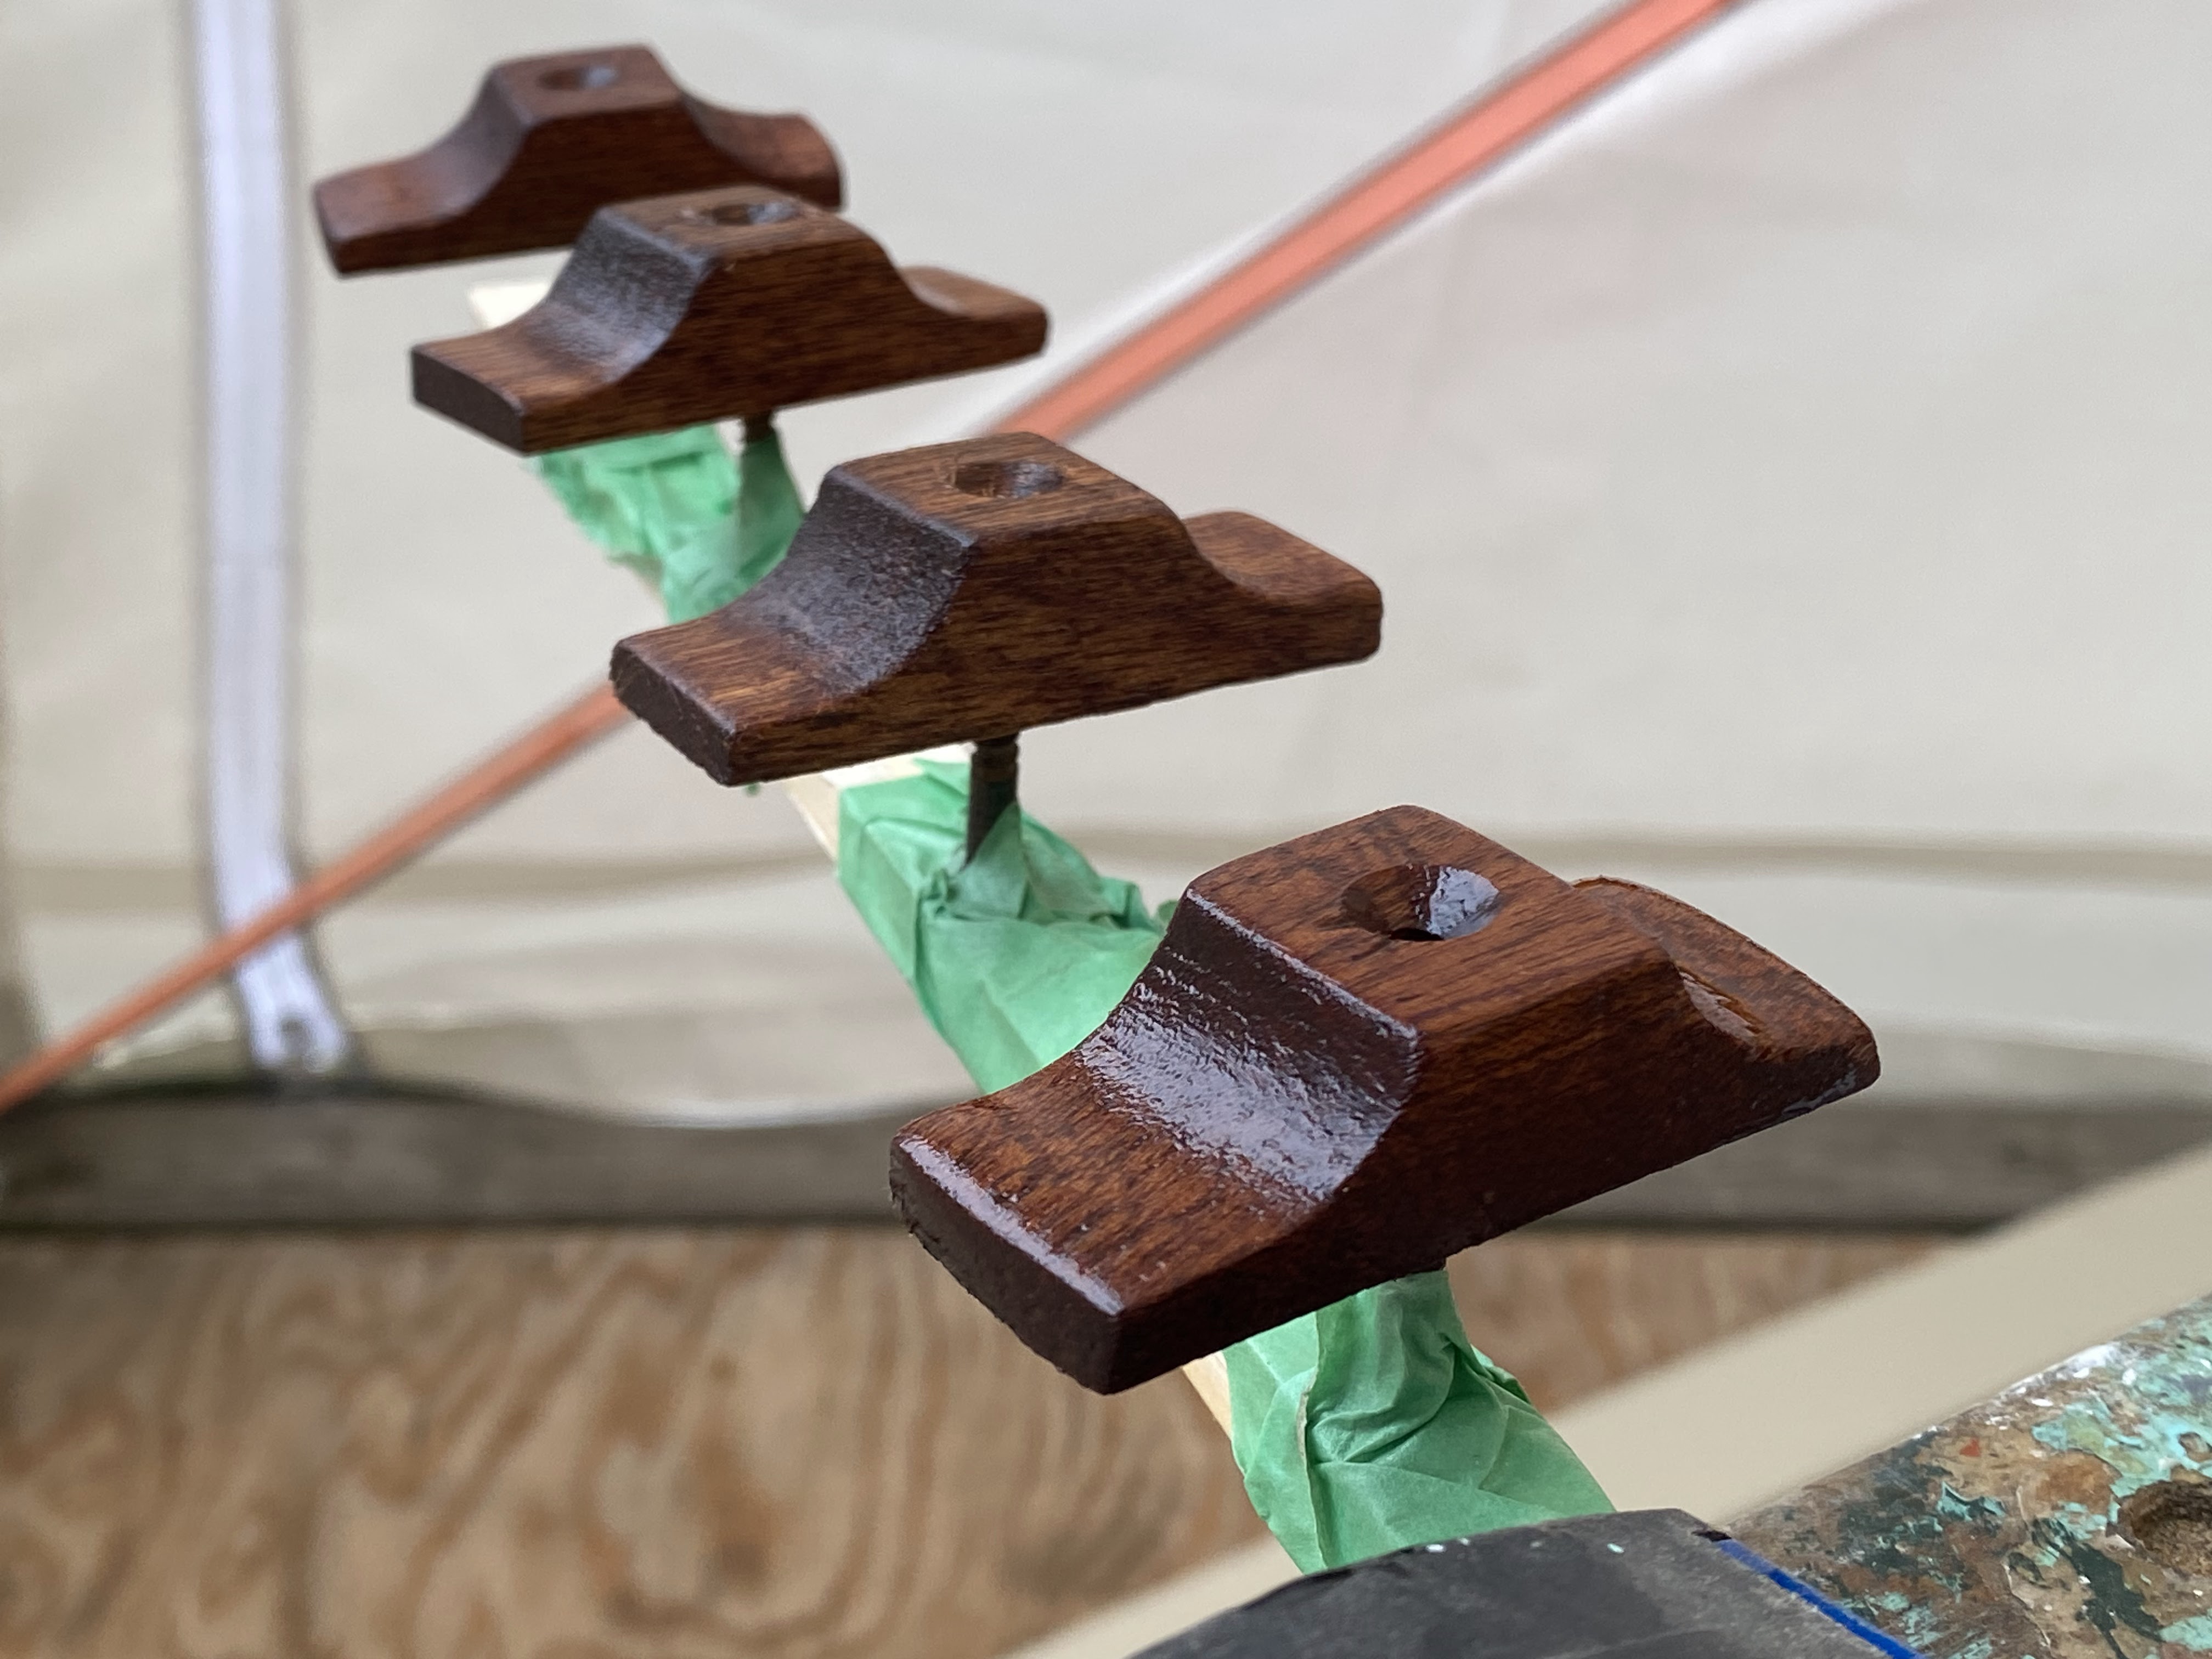
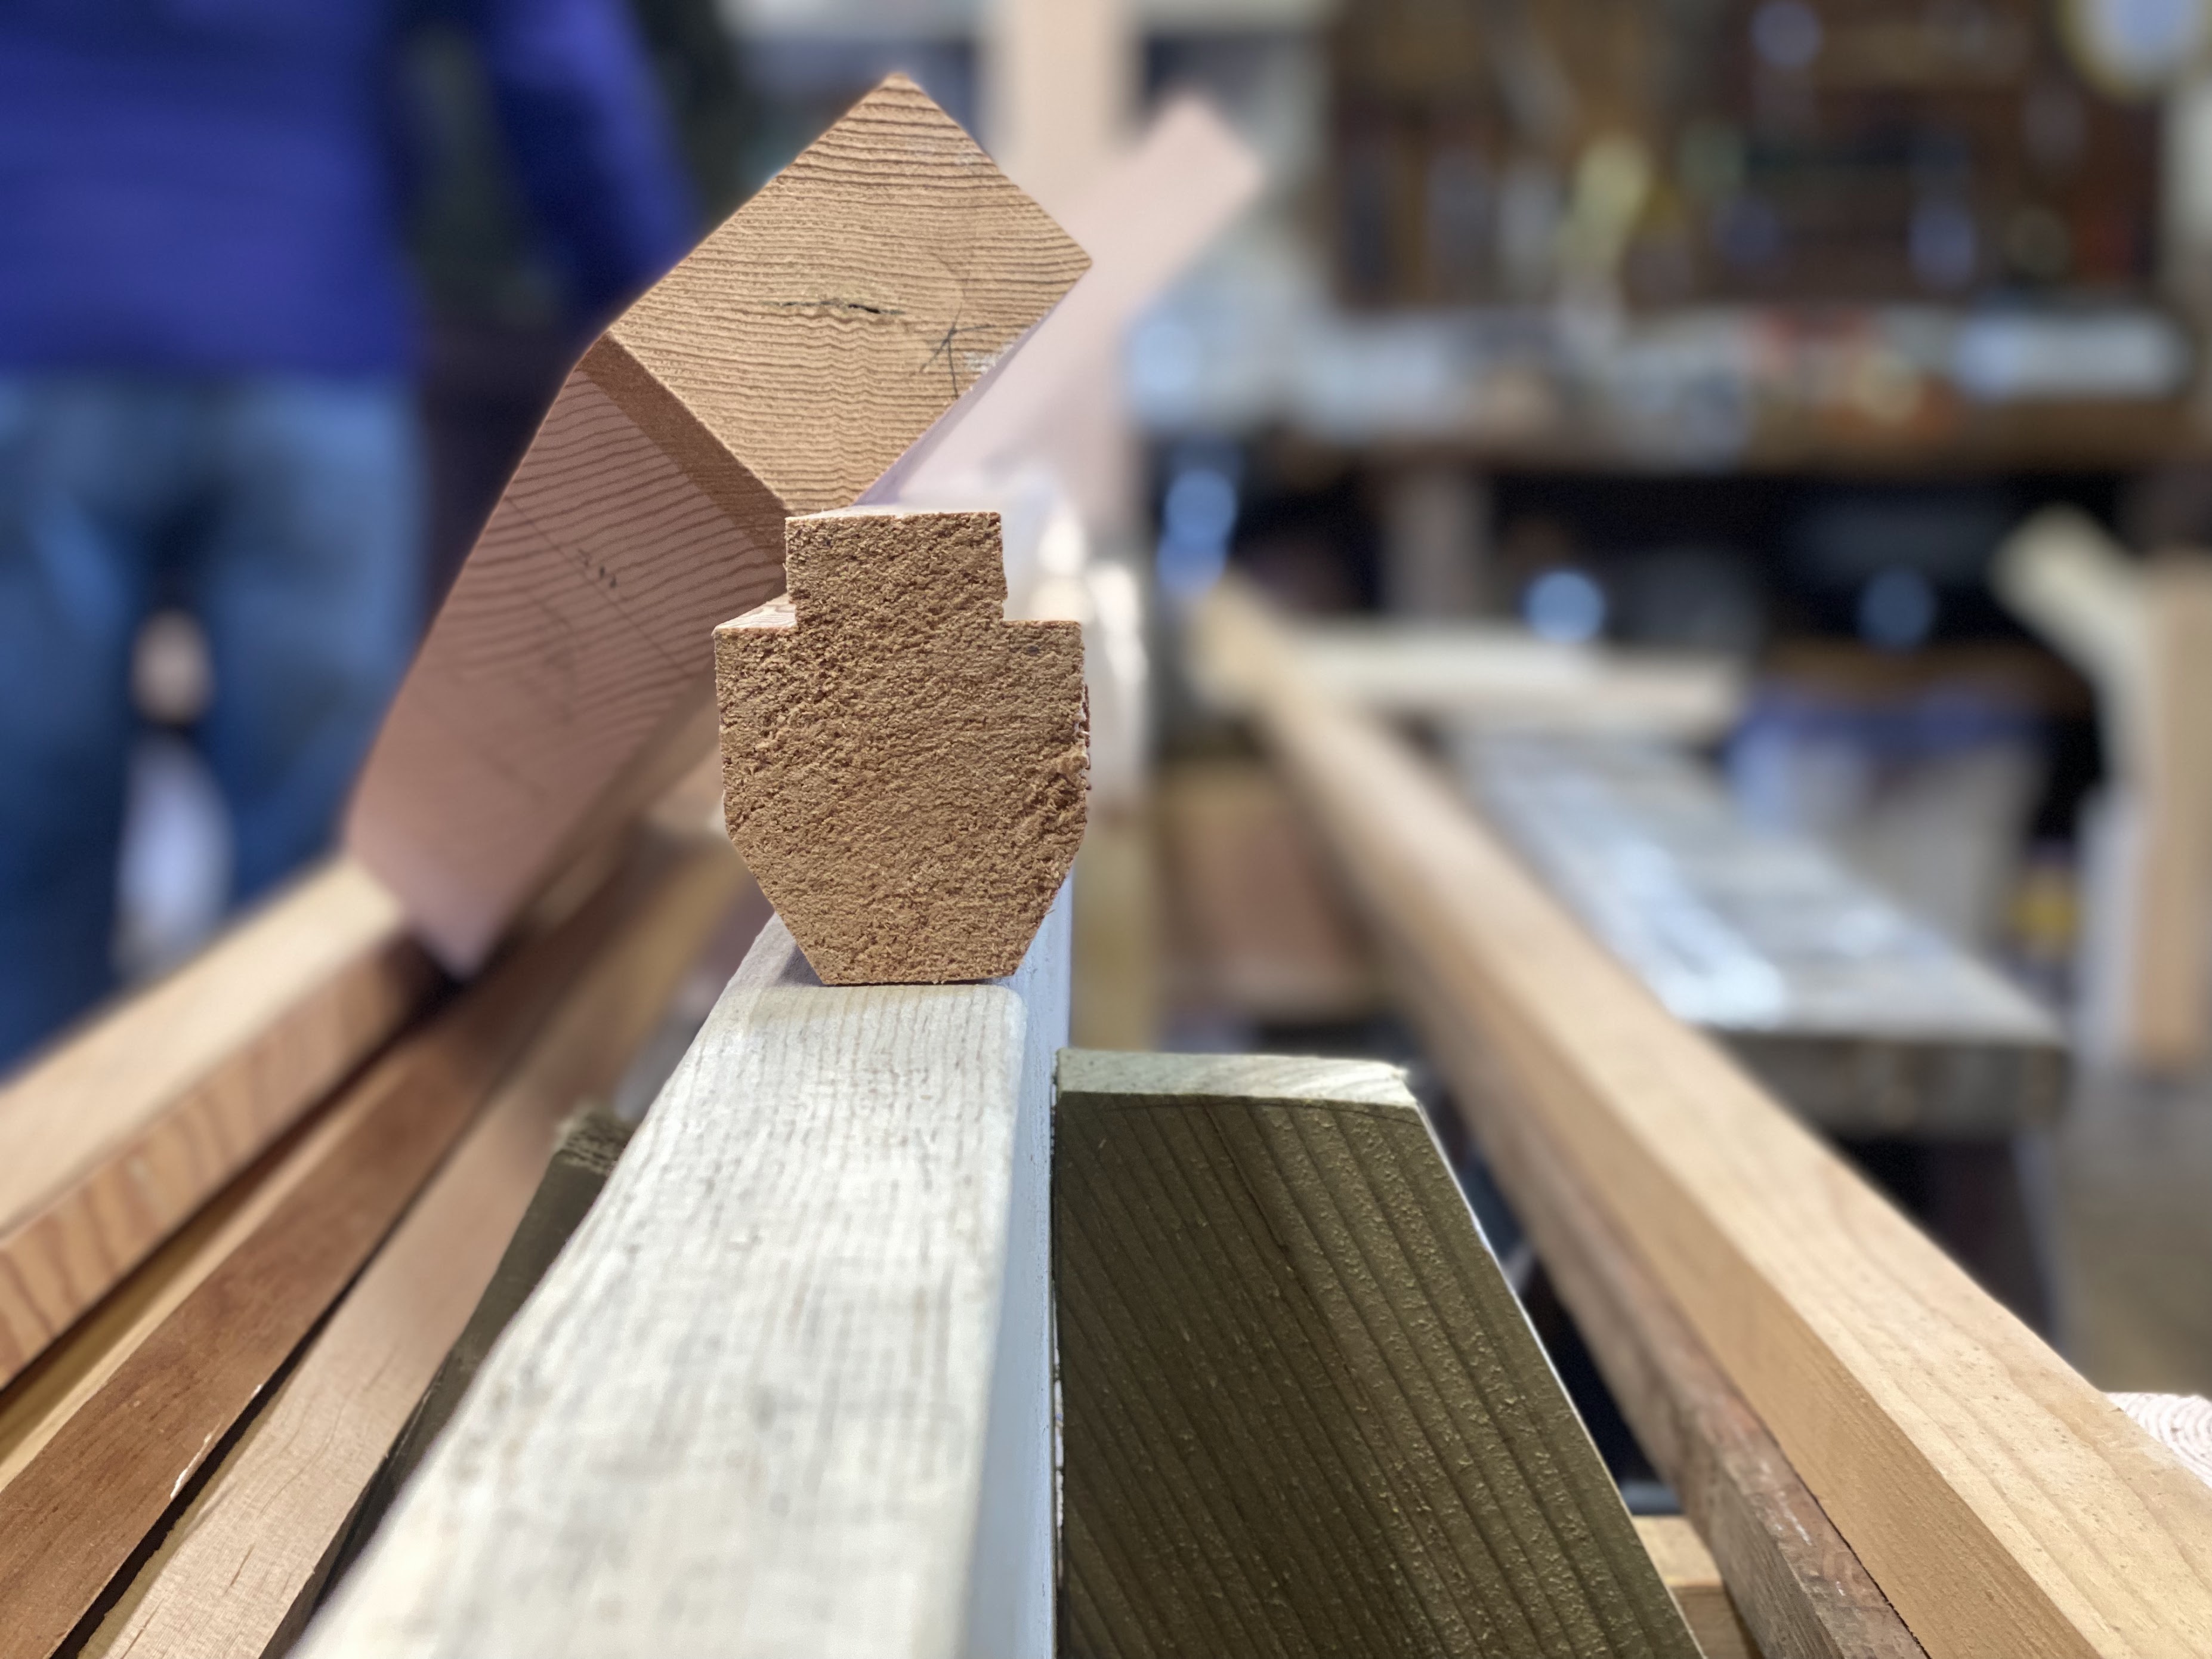
We did a small sample of rib and plank fastening with a copper rivet, just to get an idea of the dimensions we’ll be working with.

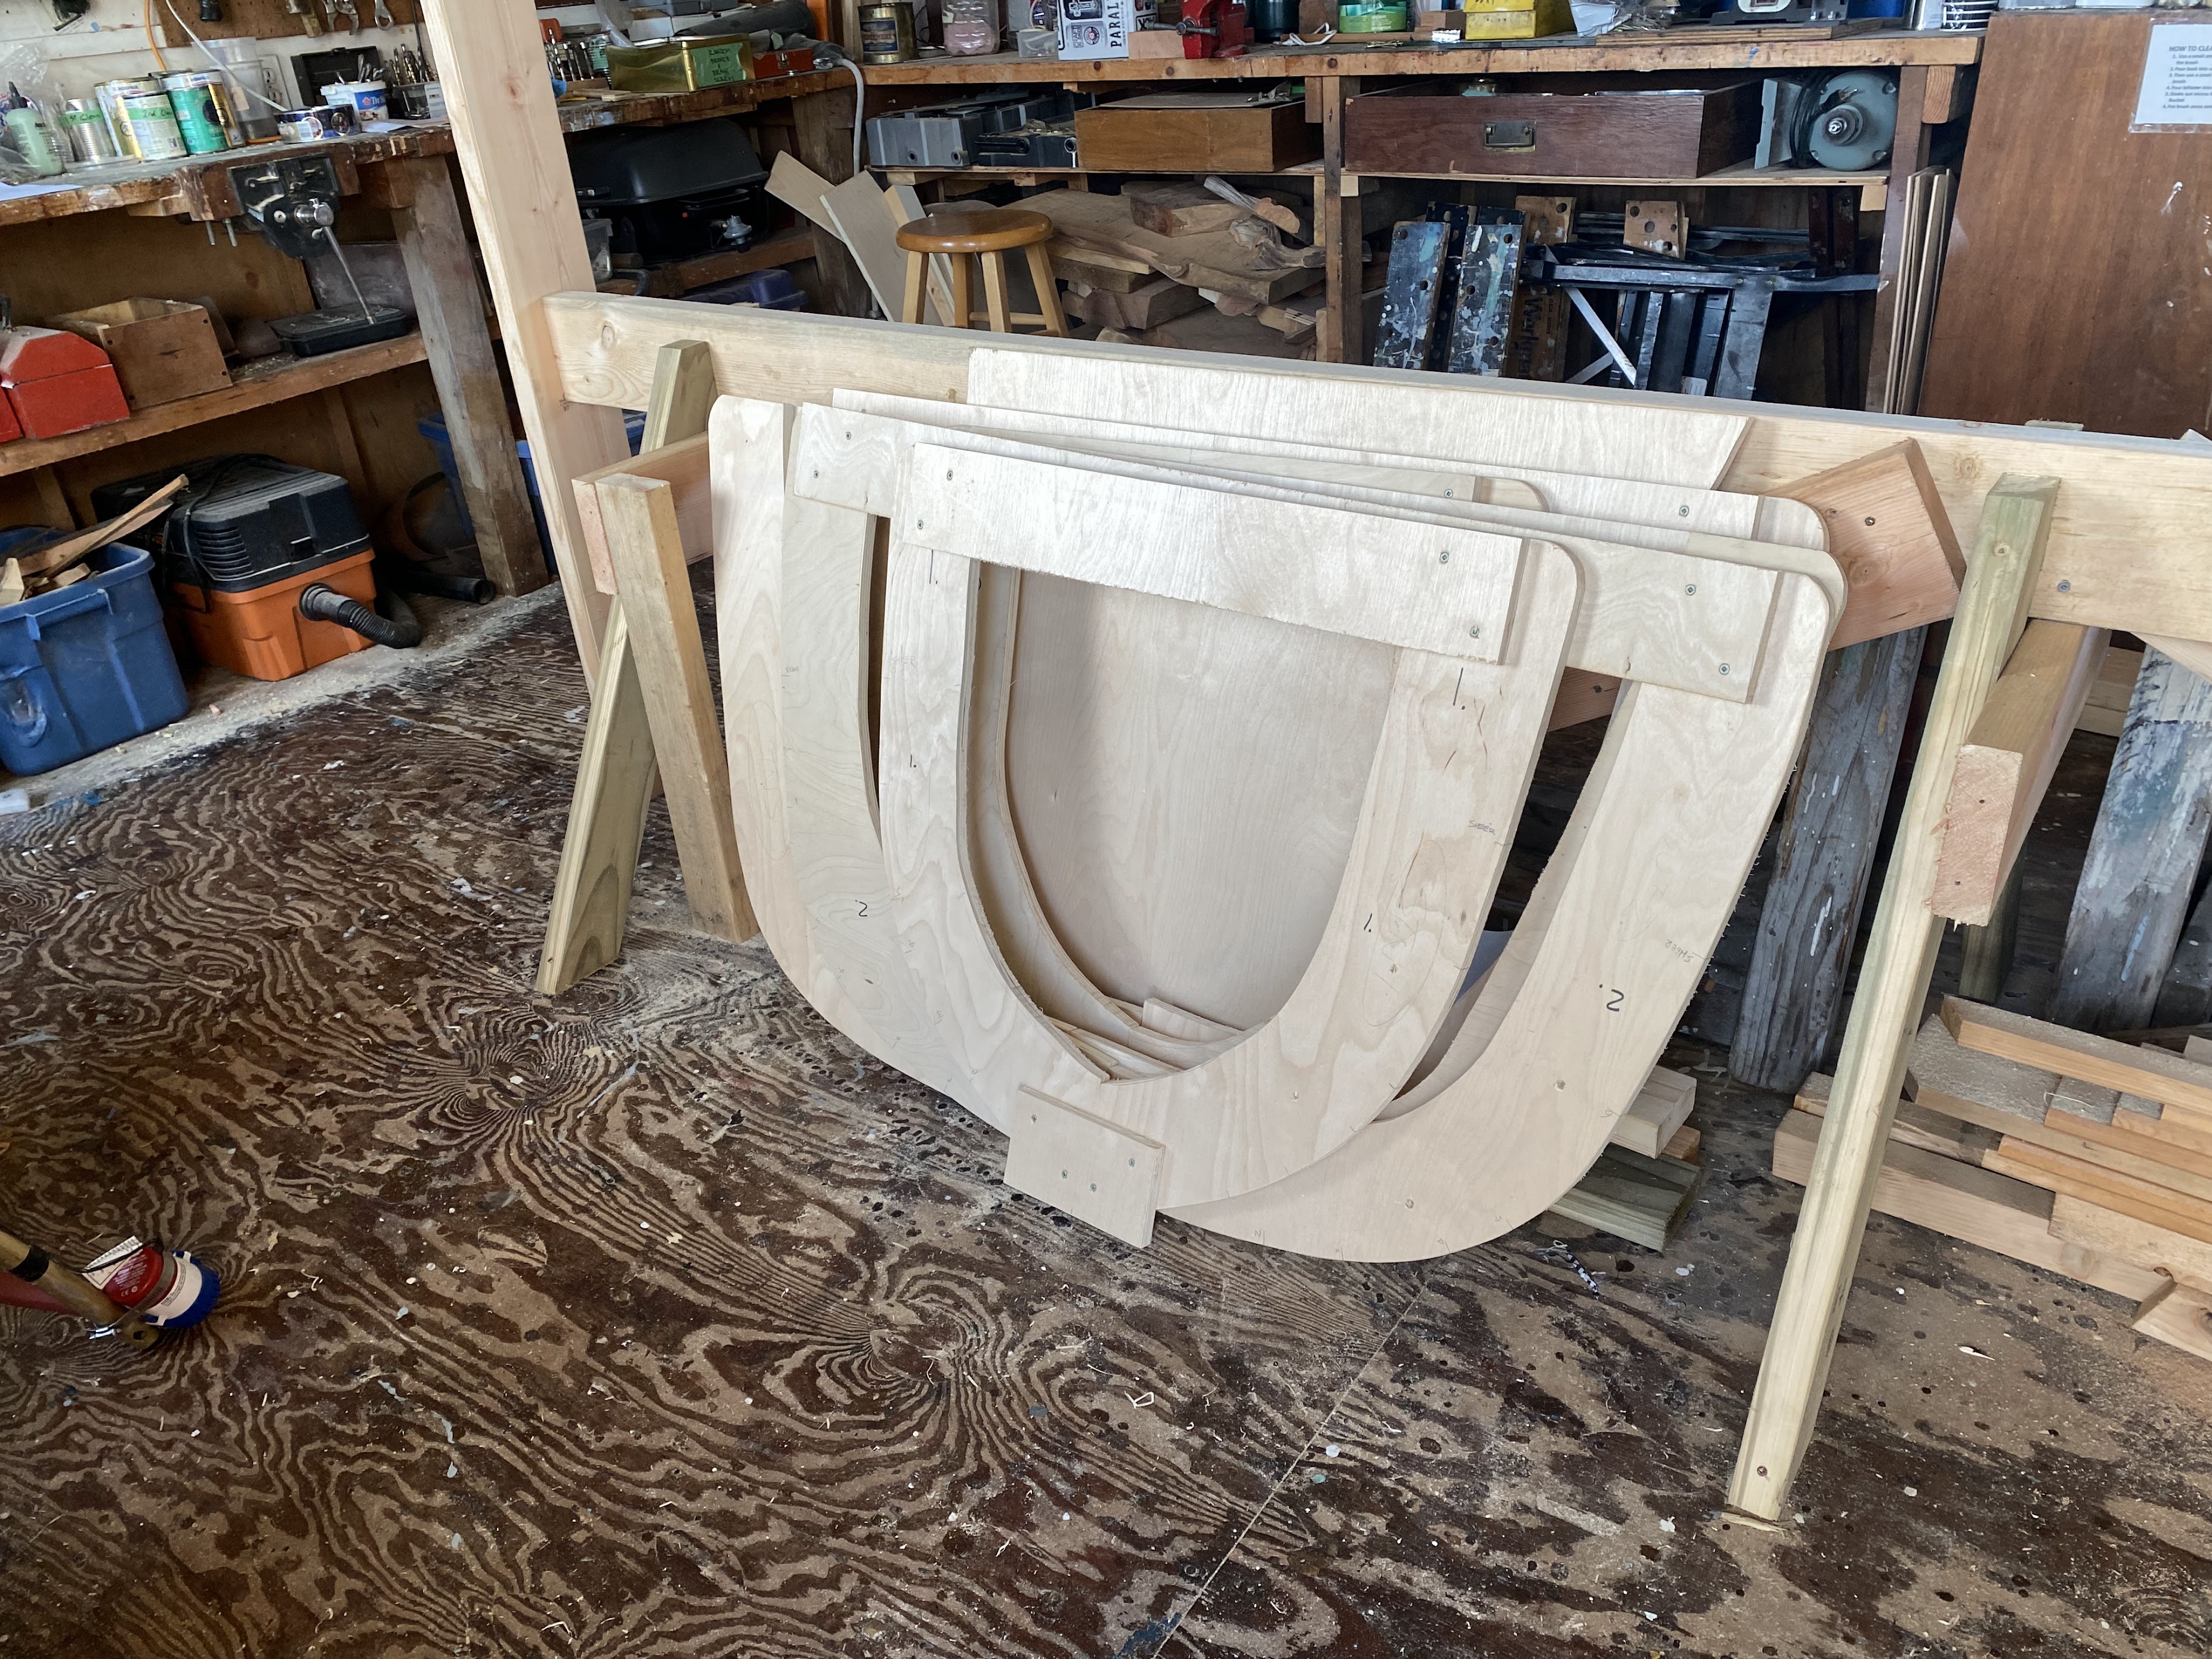
The moulds were cut to shape, the two halves clamped together and smoothed, then assembled into the full shape.


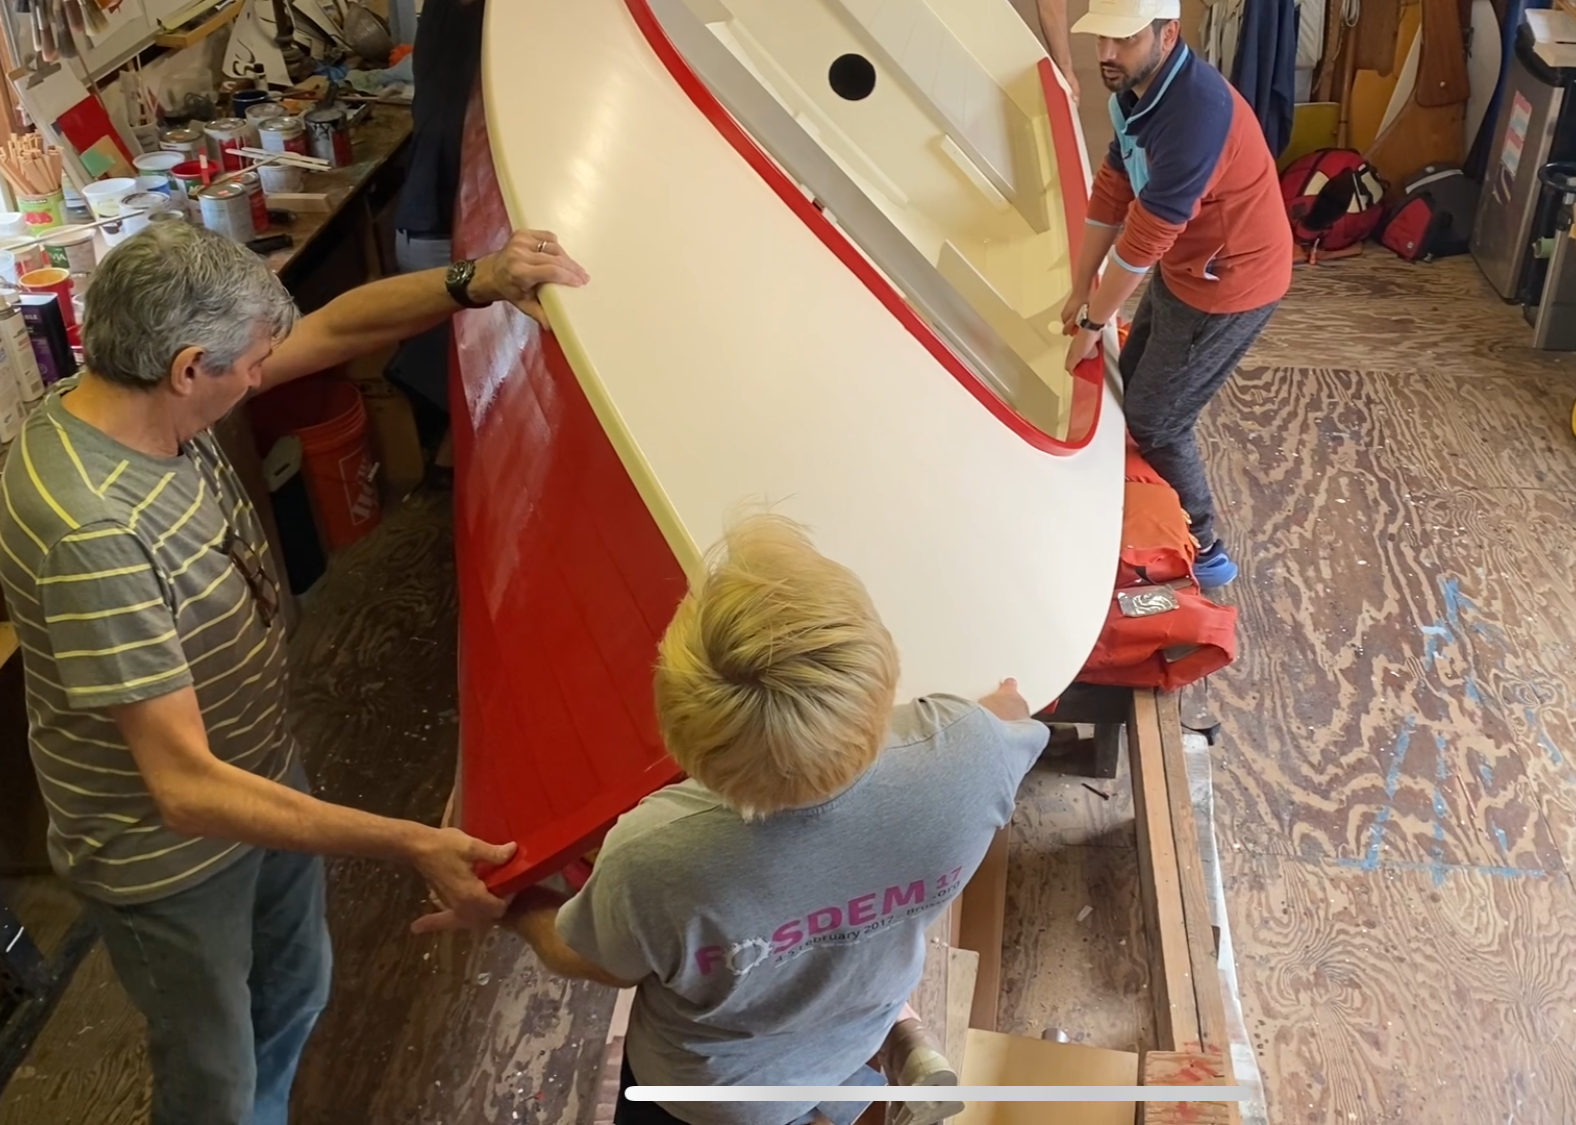
We had initially planned to build the boat upside-down, and had built the strongback for that. In our discussions at the shop, as we were talking through the process, we realized that building it right-side-up would give us better access to the inside when we fasten the rivets. So, we changed course and modified the strongback accordingly, installing a straight 2×6 on edge to hold the centerline assembly (keel, stem and stern post).
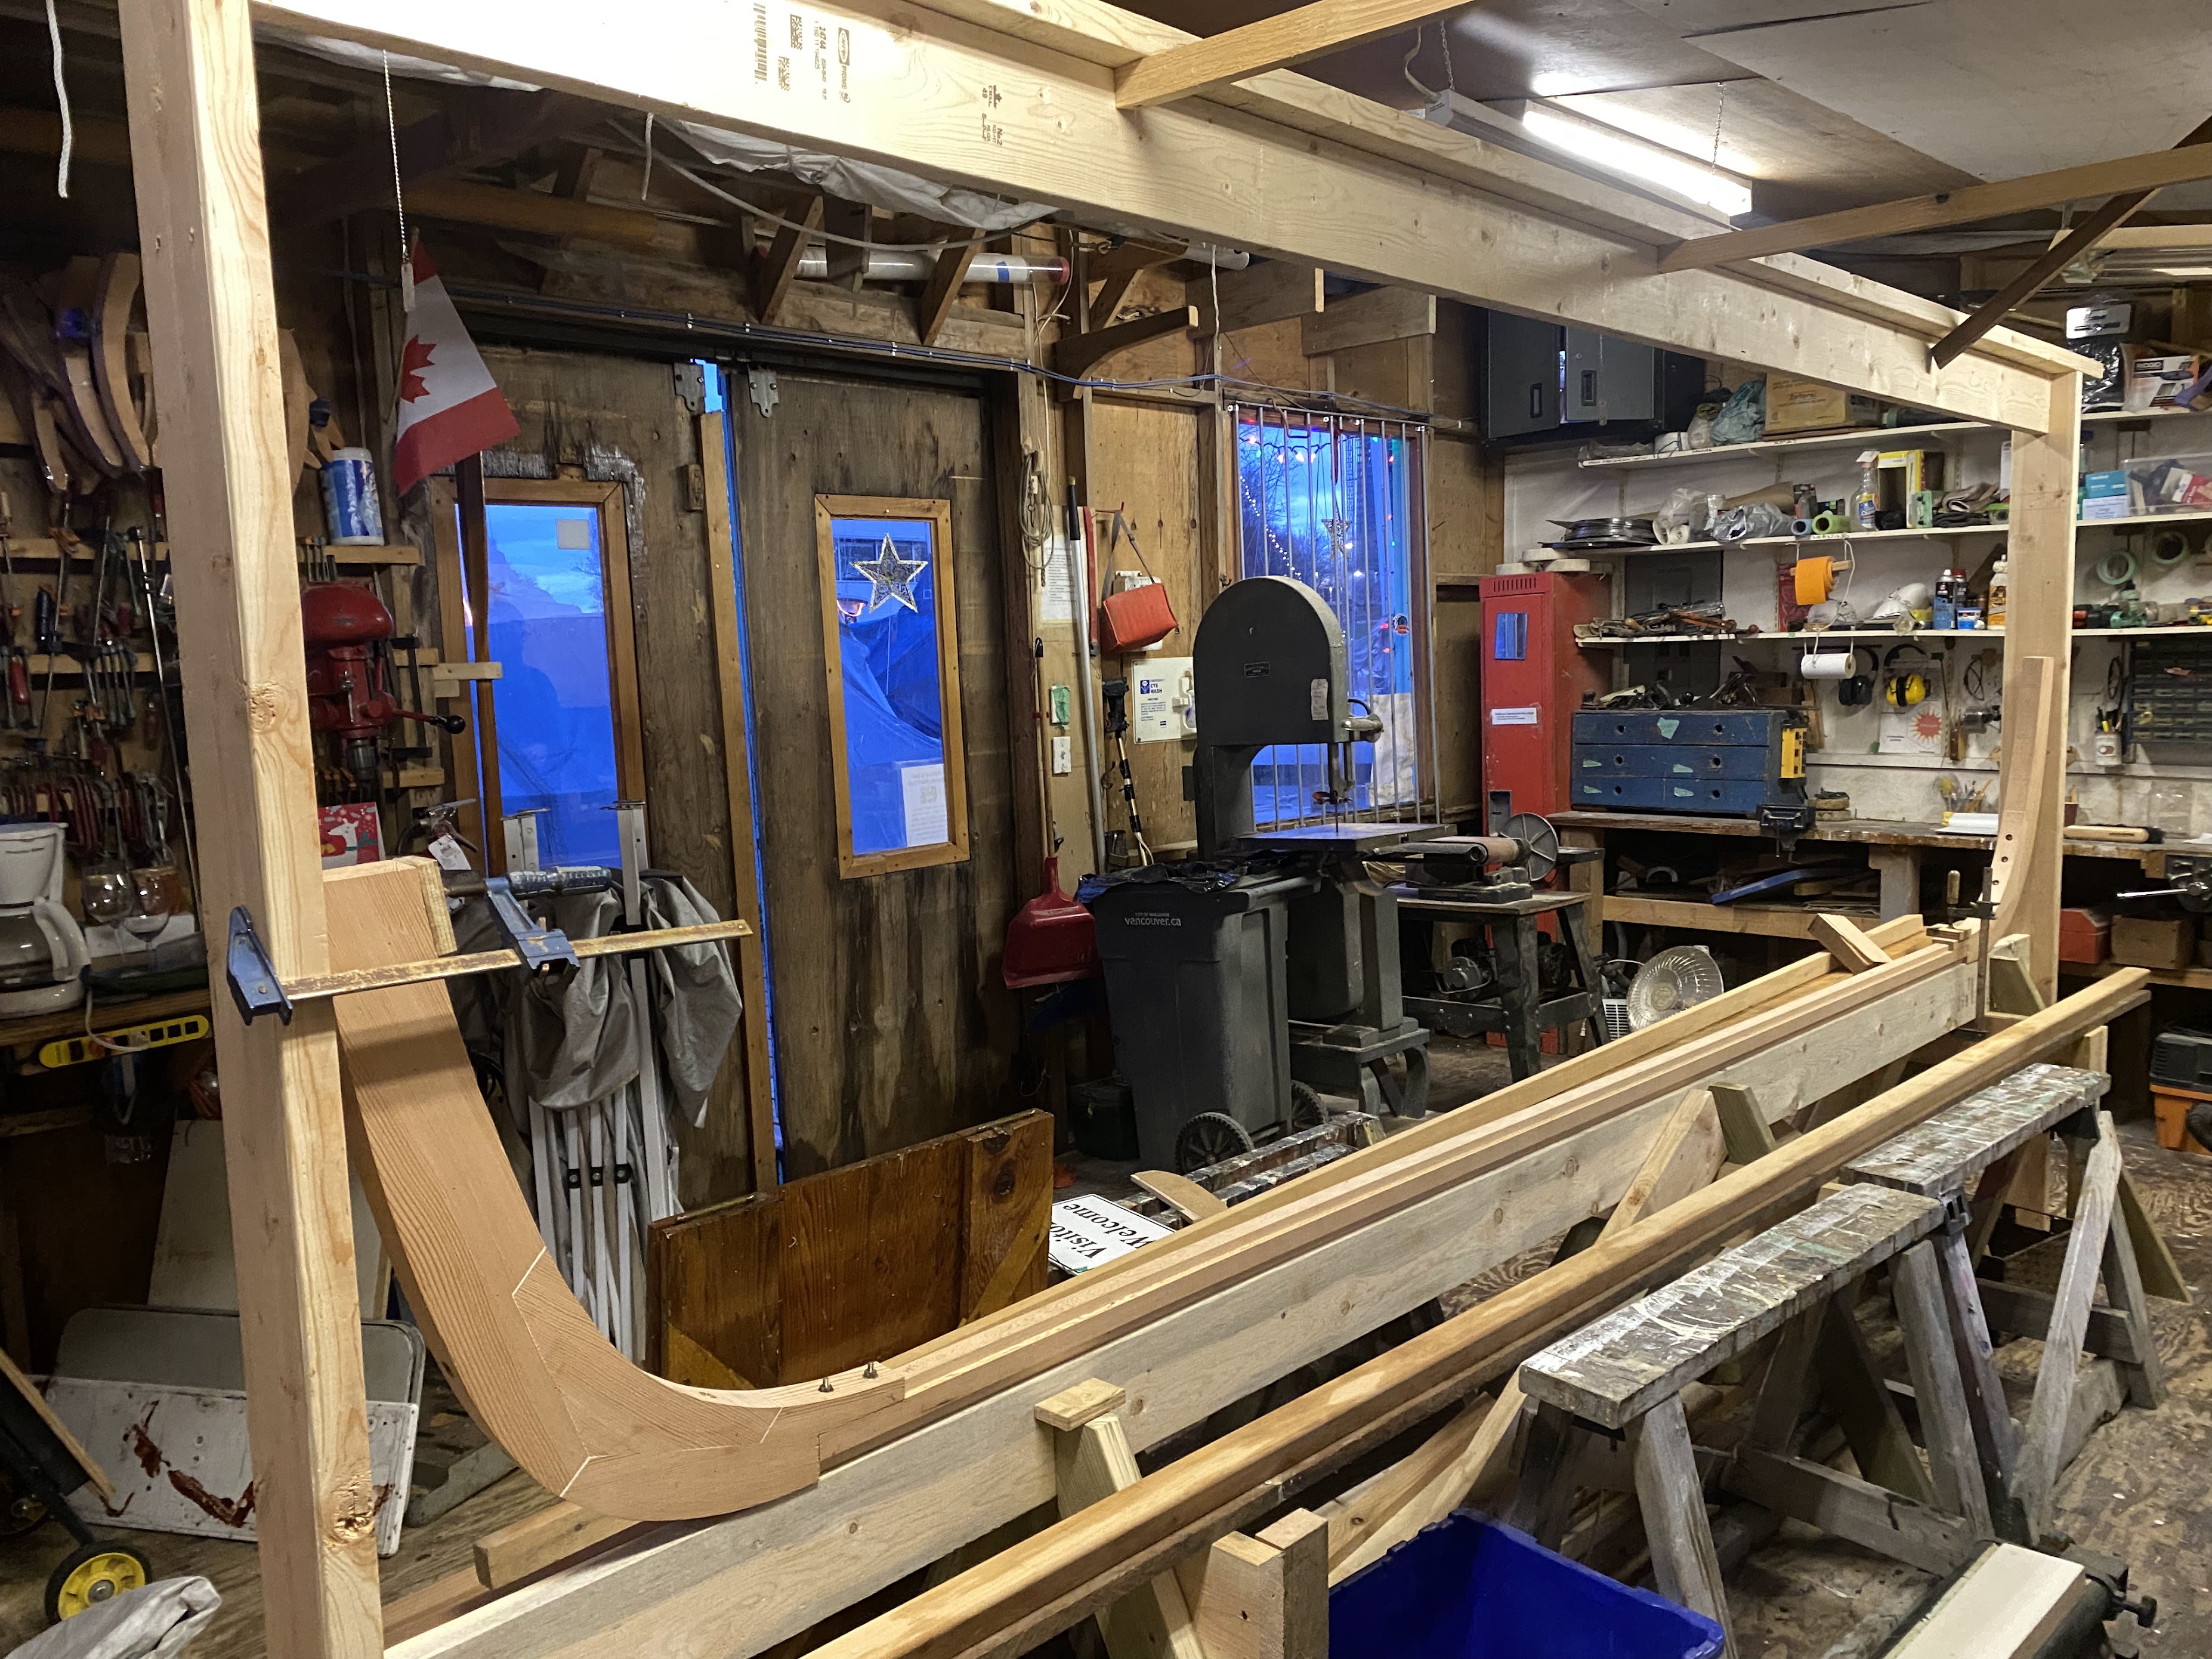

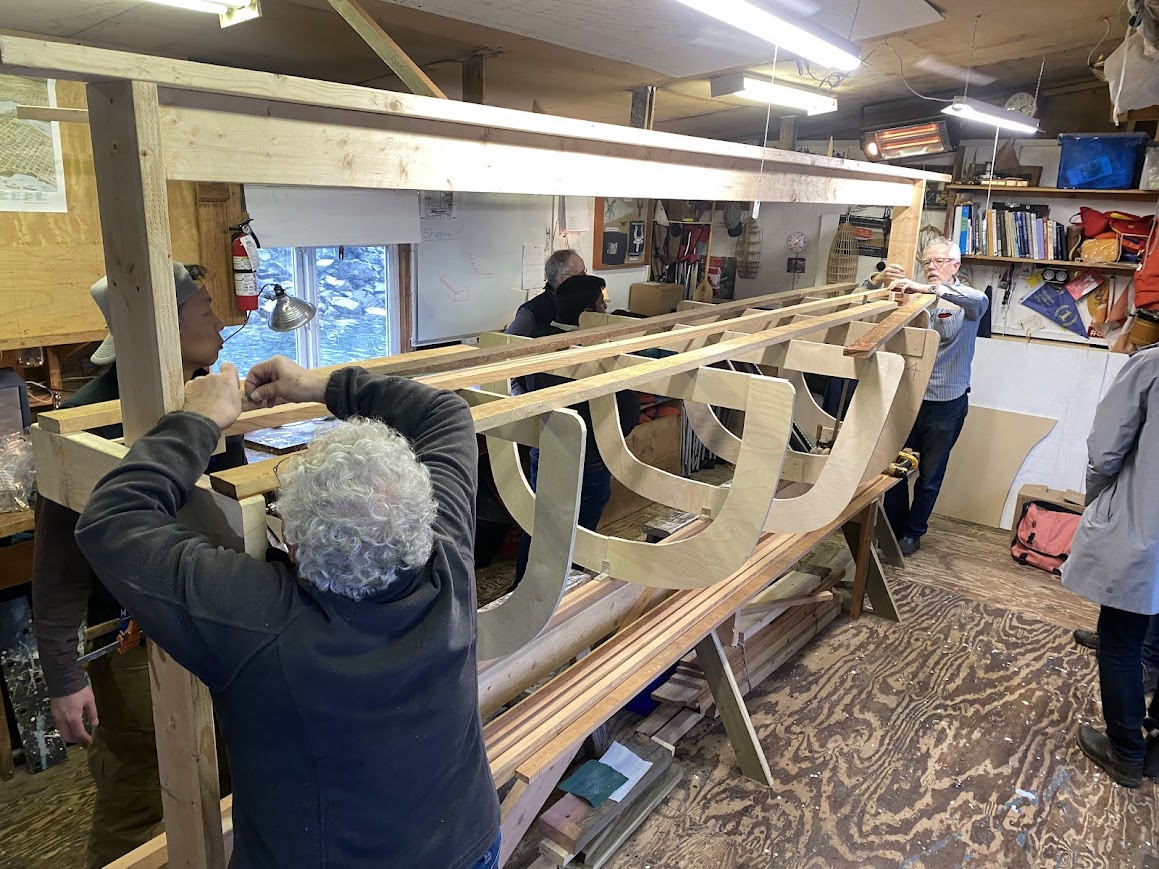

This past Saturday we assembled the centerline, and installed it and the moulds on the strongback and squared up the moulds. Next up will be installing some bracing to the upper beam of the strongback to make sure the moulds don’t get distorted as we install the Ribbands, the lengthwise pieces that will give us something to steam-bend the ribs into.
Other happenings around the shop:


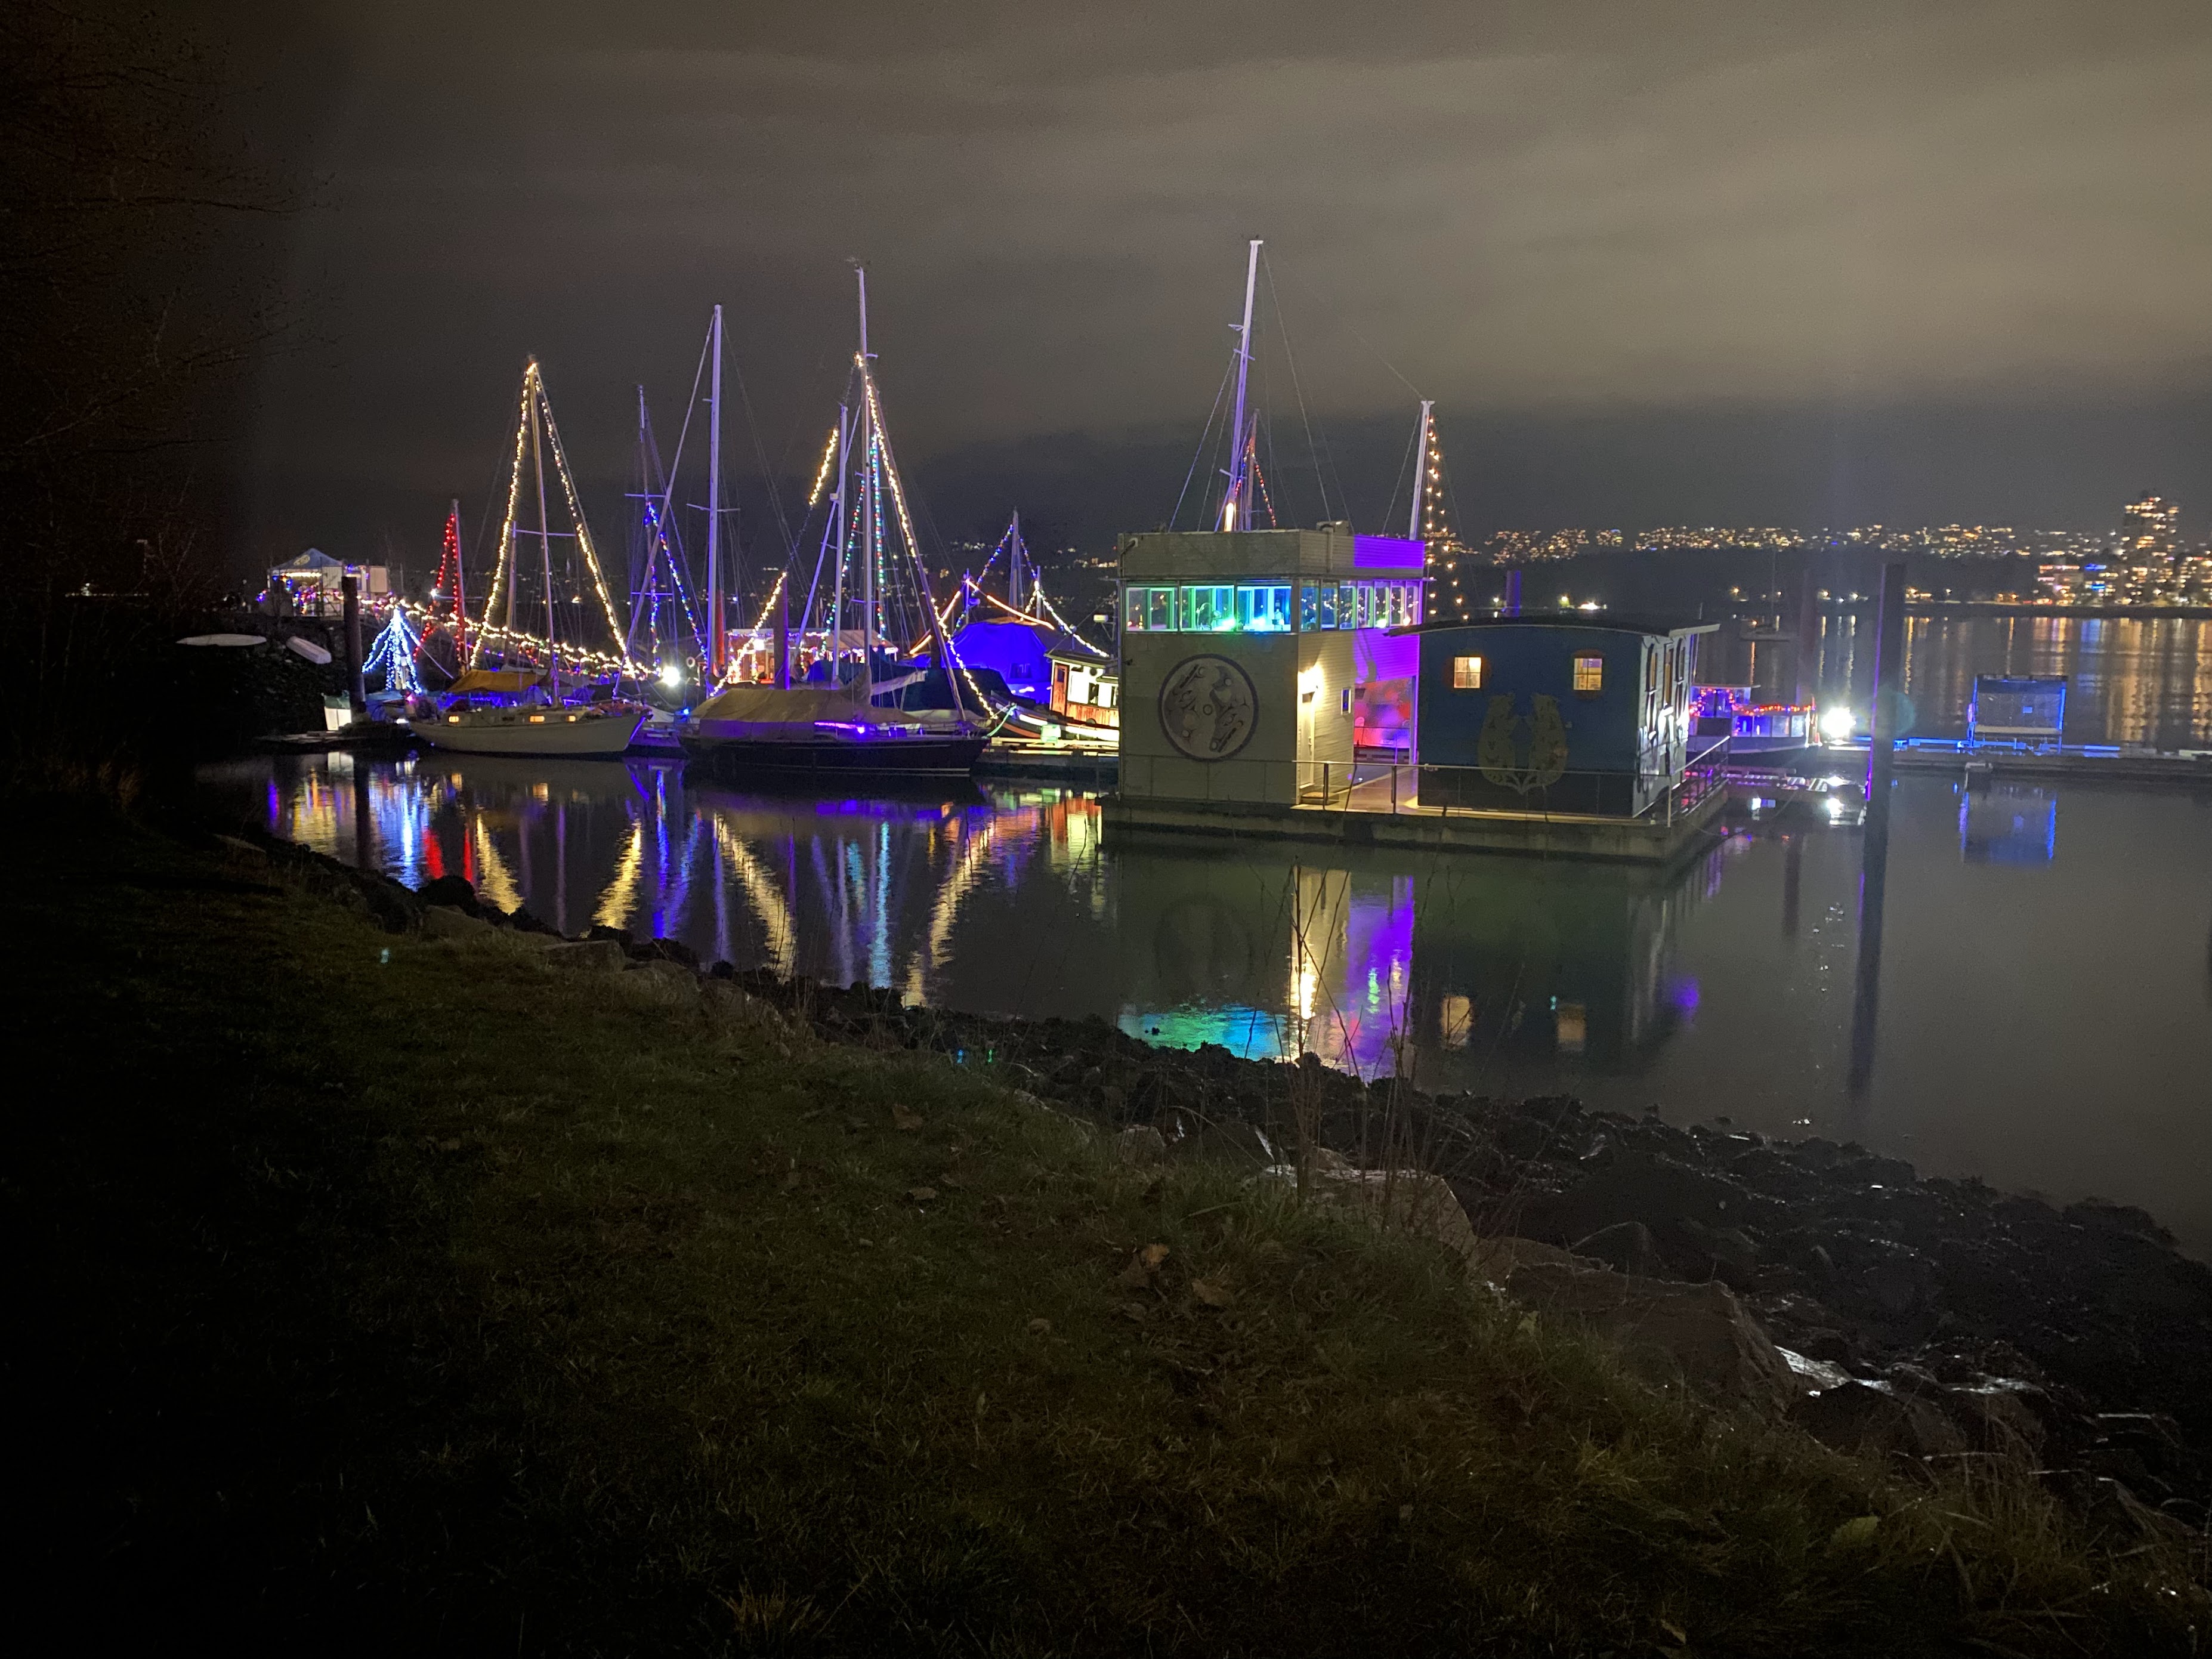


We participated in the Vancouver Maritime Museum’s Light up the Harbour event, where all the boats got decorated for the season, the Museum provided hot chocolate and carolers, and invited visitors to enjoy the harbour at night. We had a great turnout, despite somewhat wet conditions, and enjoyed introducing people to our club and our project.
Christmas treats were plentiful and welcomed, and one of the best was a box of delicious shortbread cookies and a card, along with a generous donation in memory of Gerry Fuchs, our long-time member who passed away a little over a year ago. Thank you Sharen, Jessica and Davita for your thoughtful gift – we’ve purchased a set of drill bits which we’ll use often.
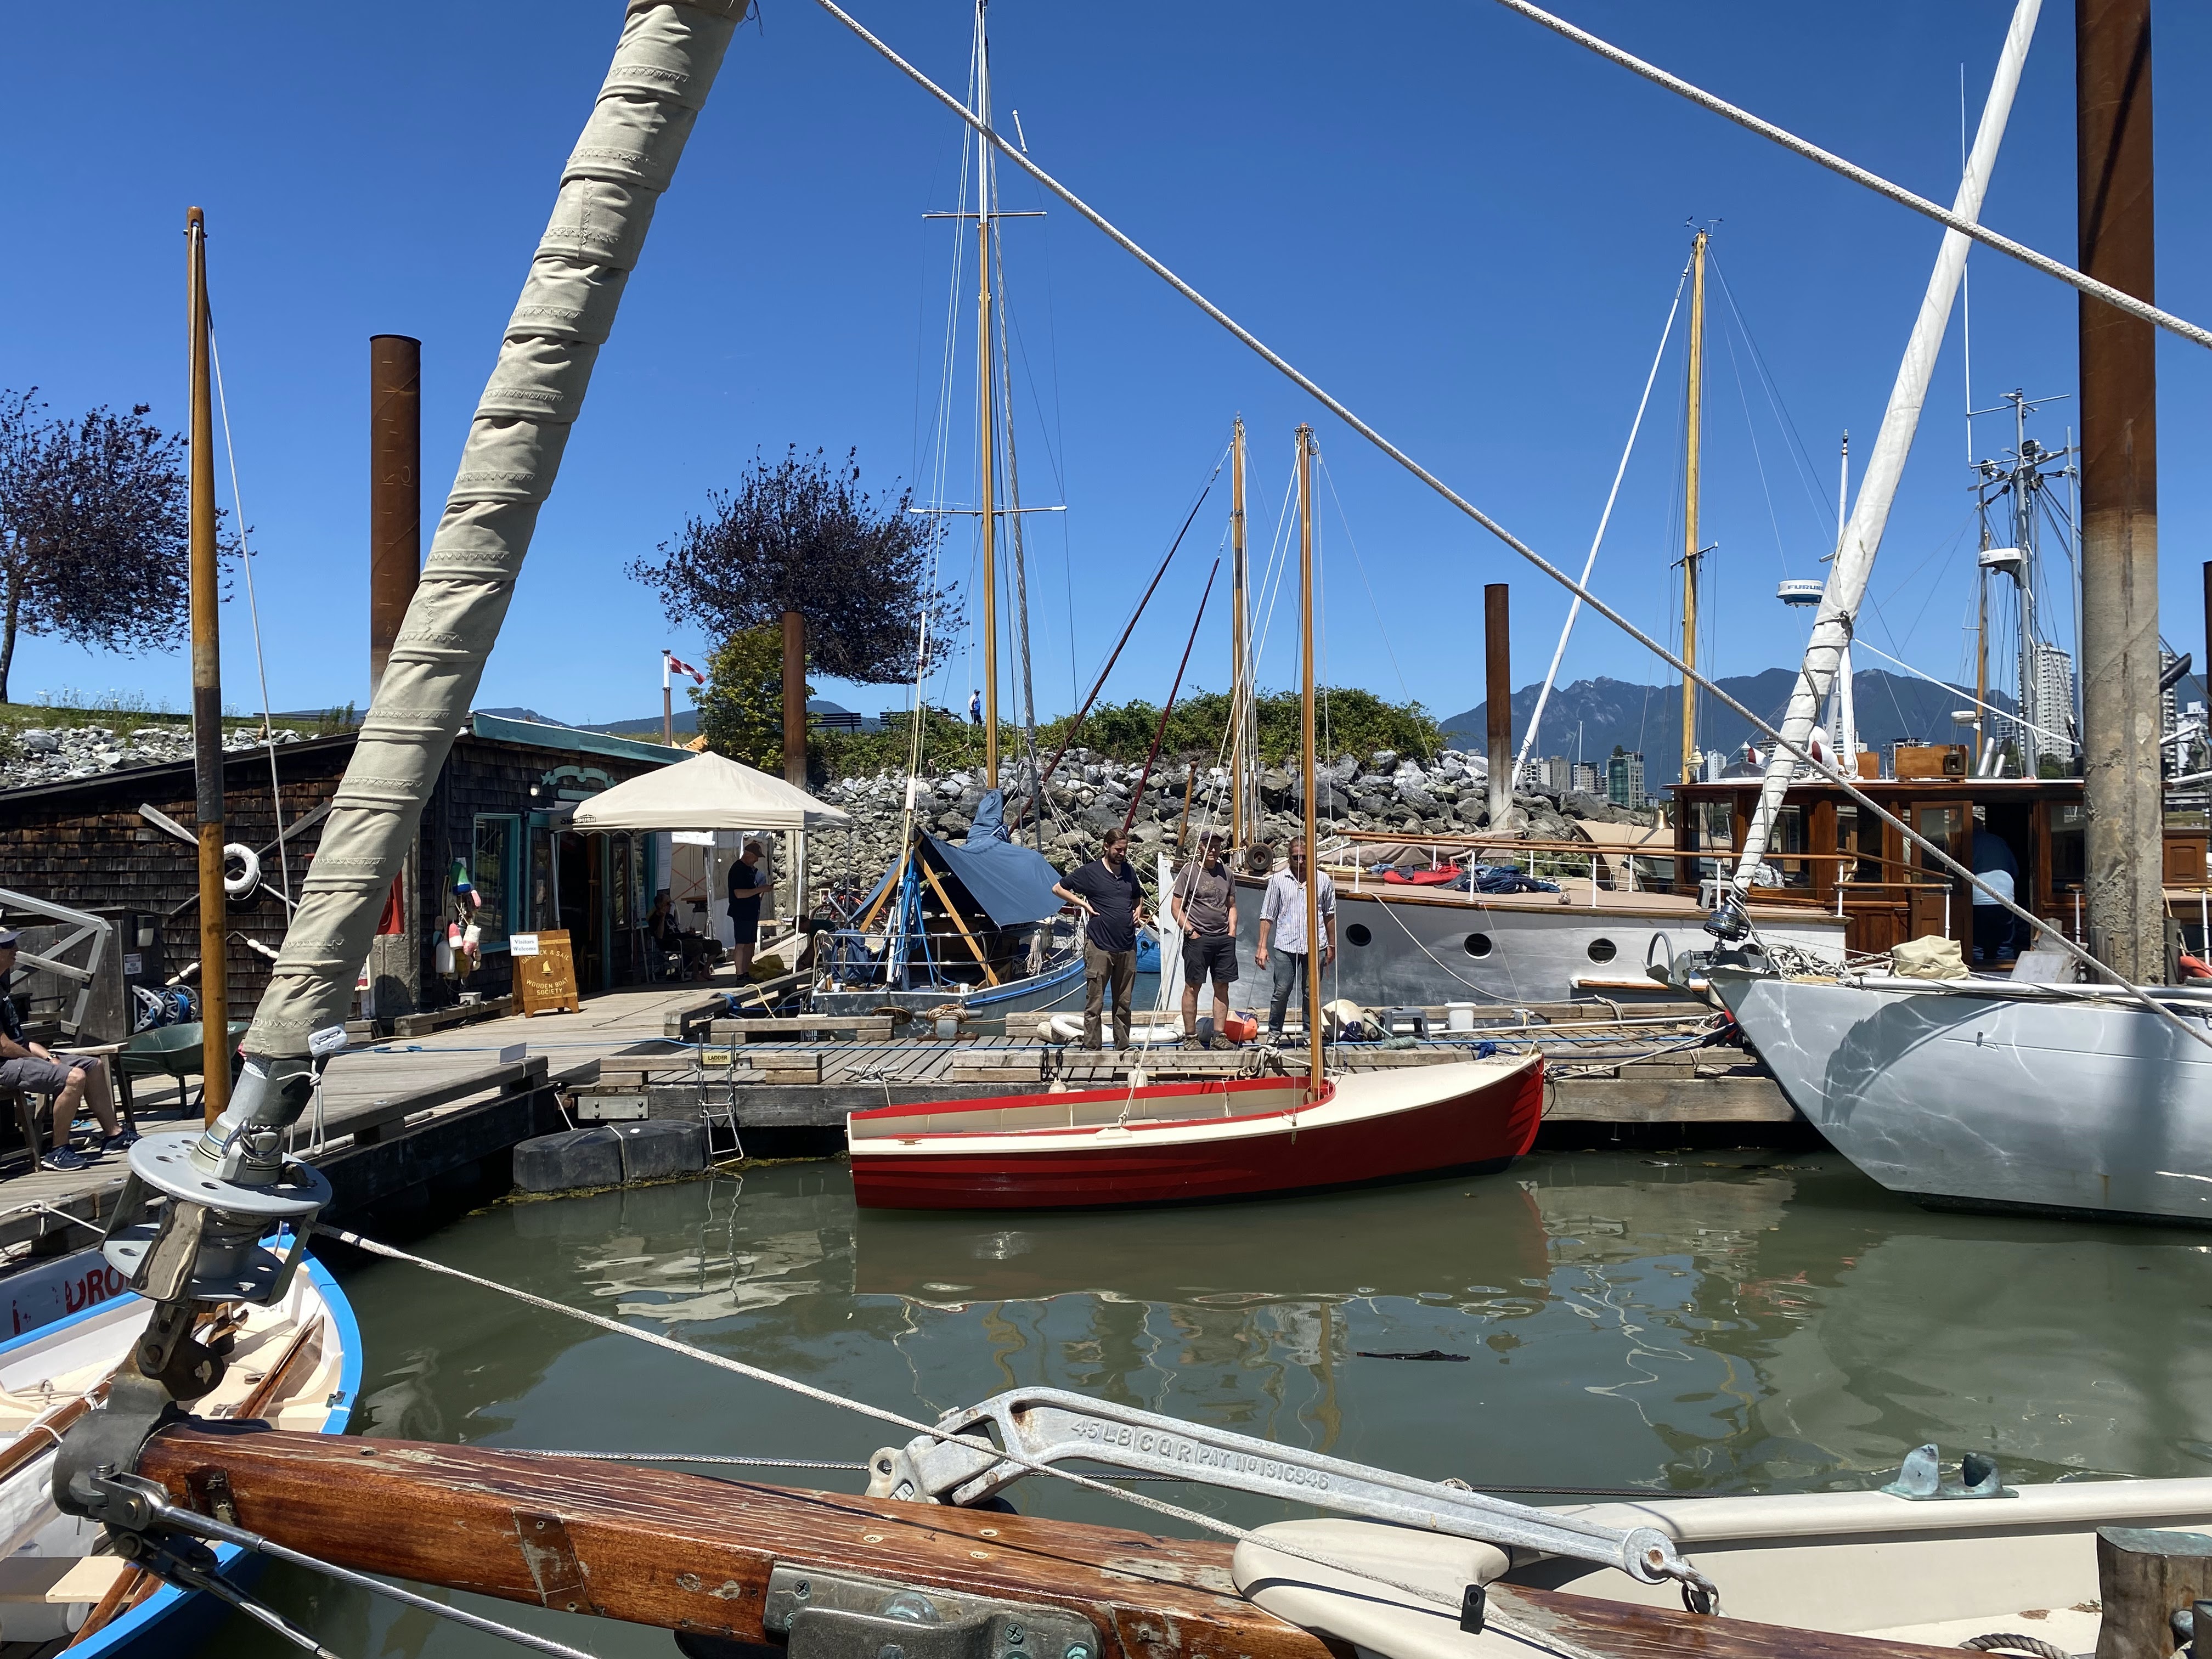
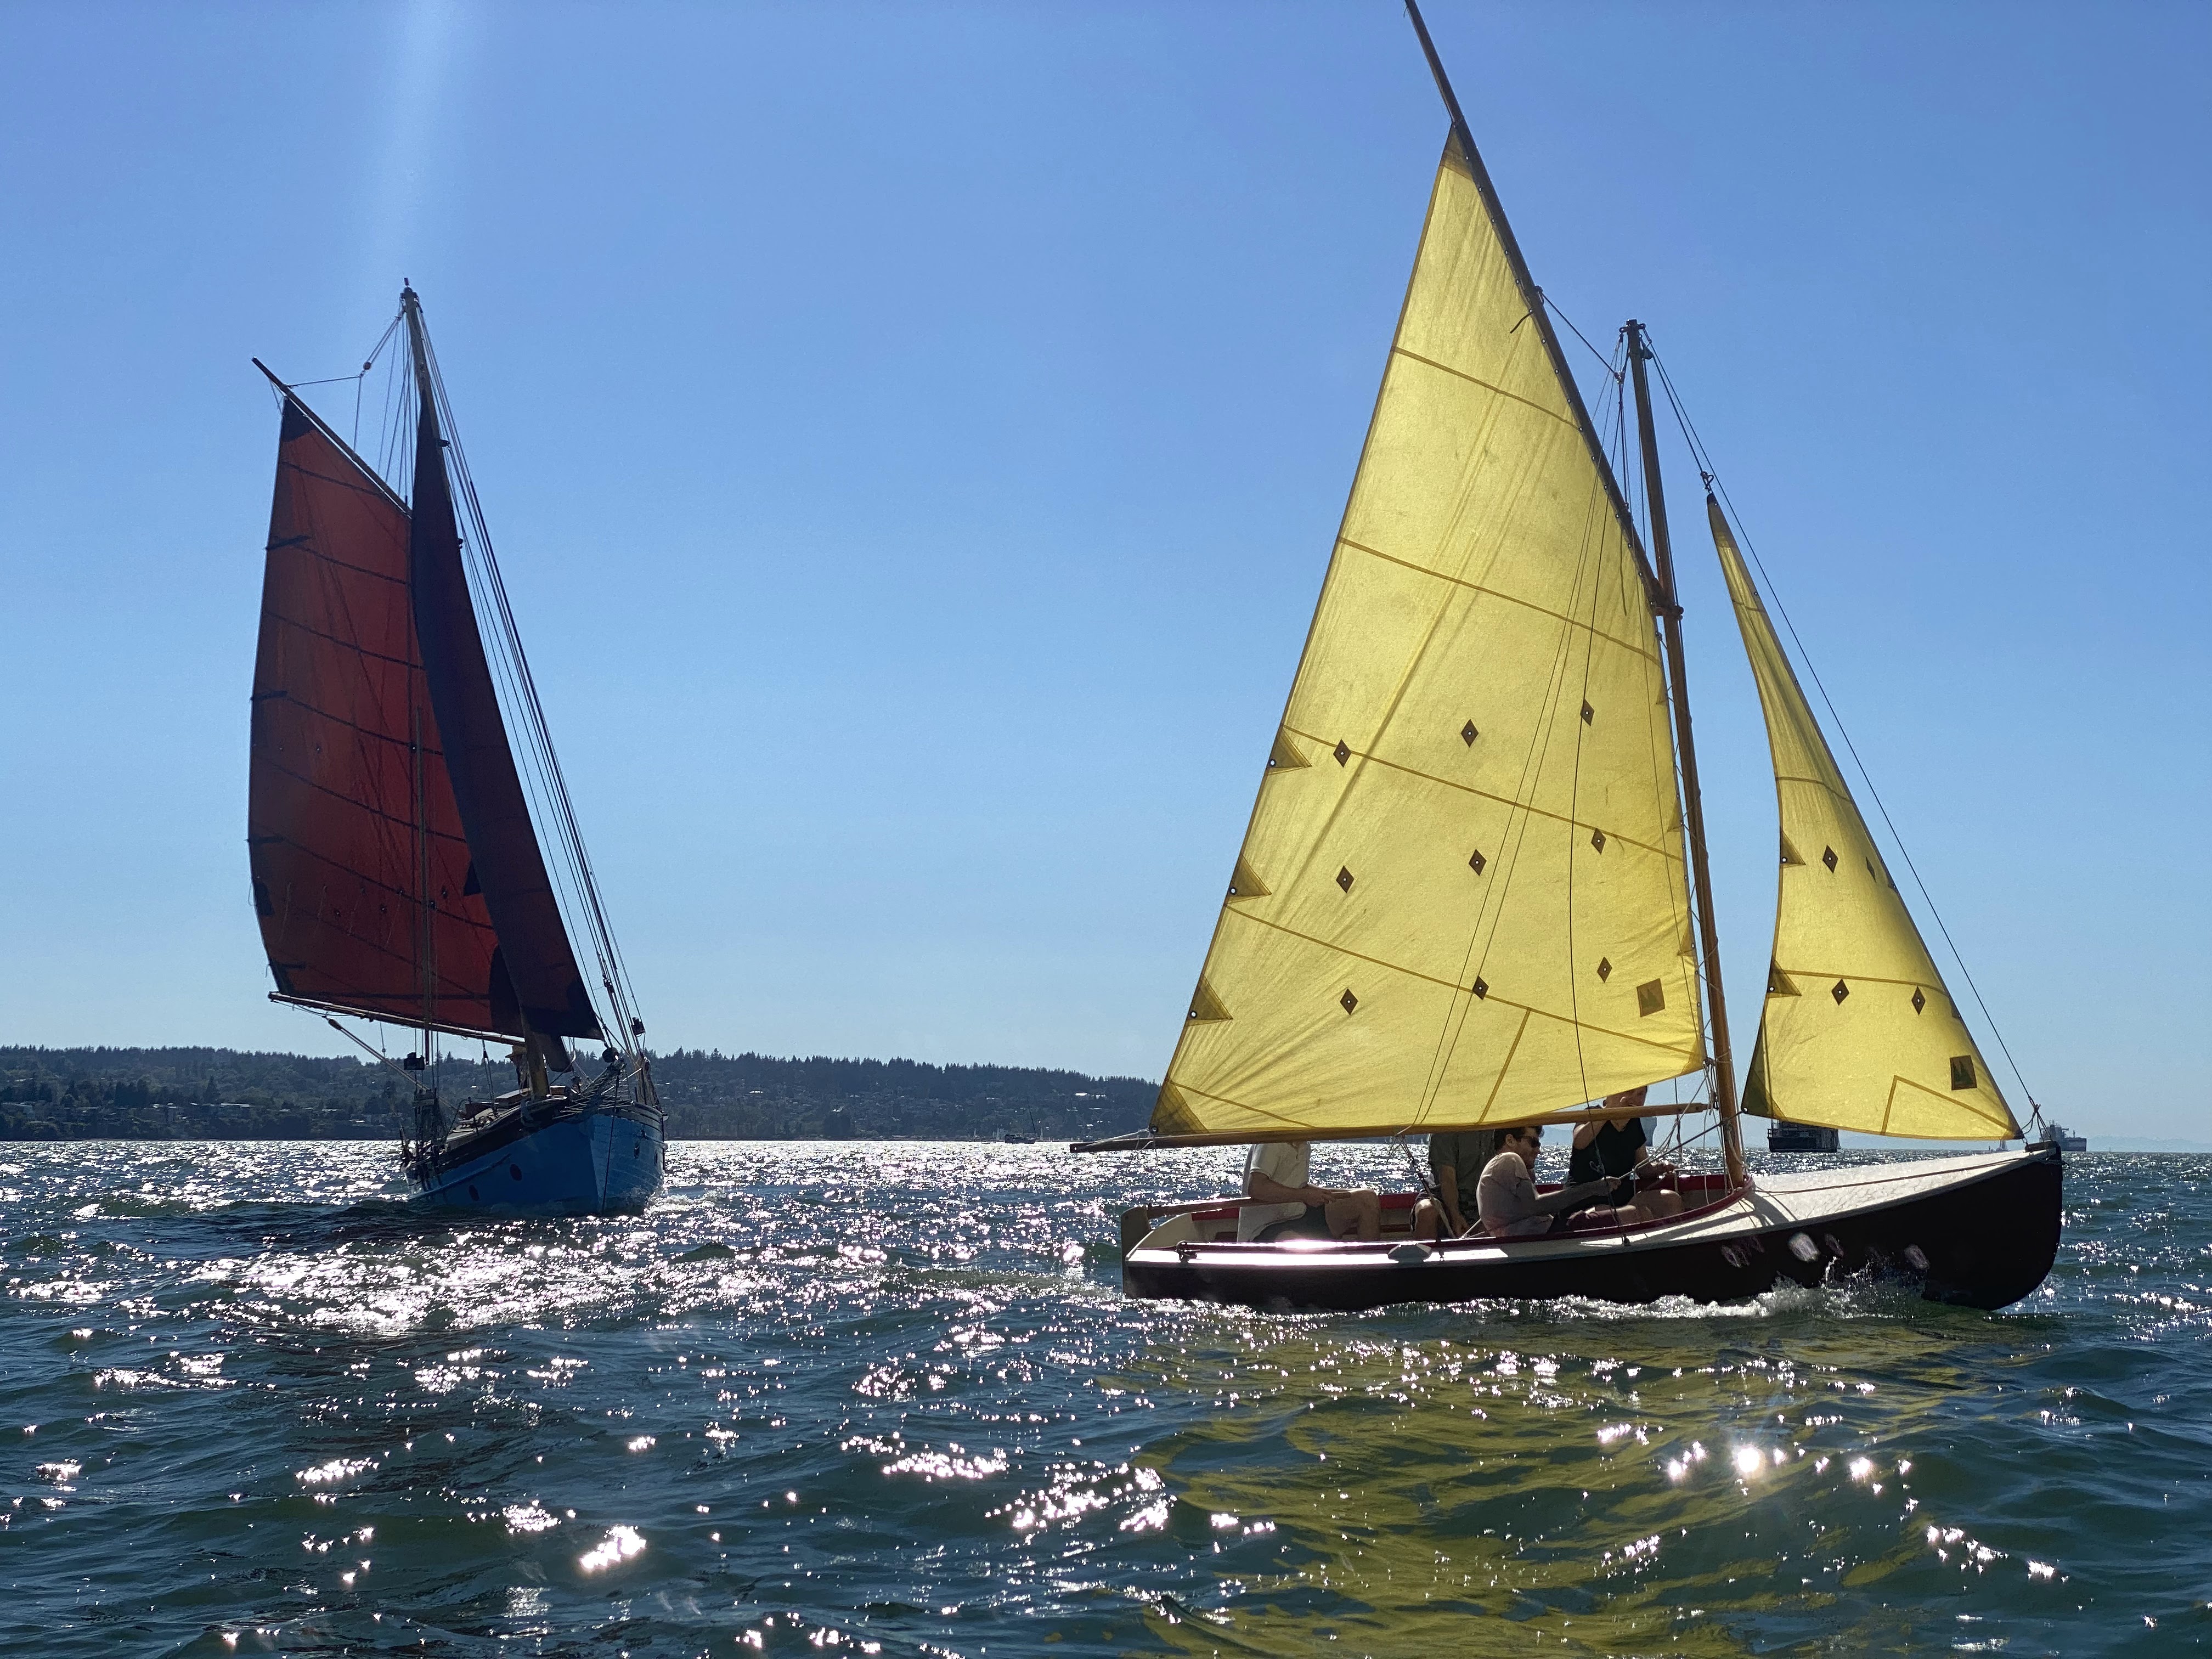
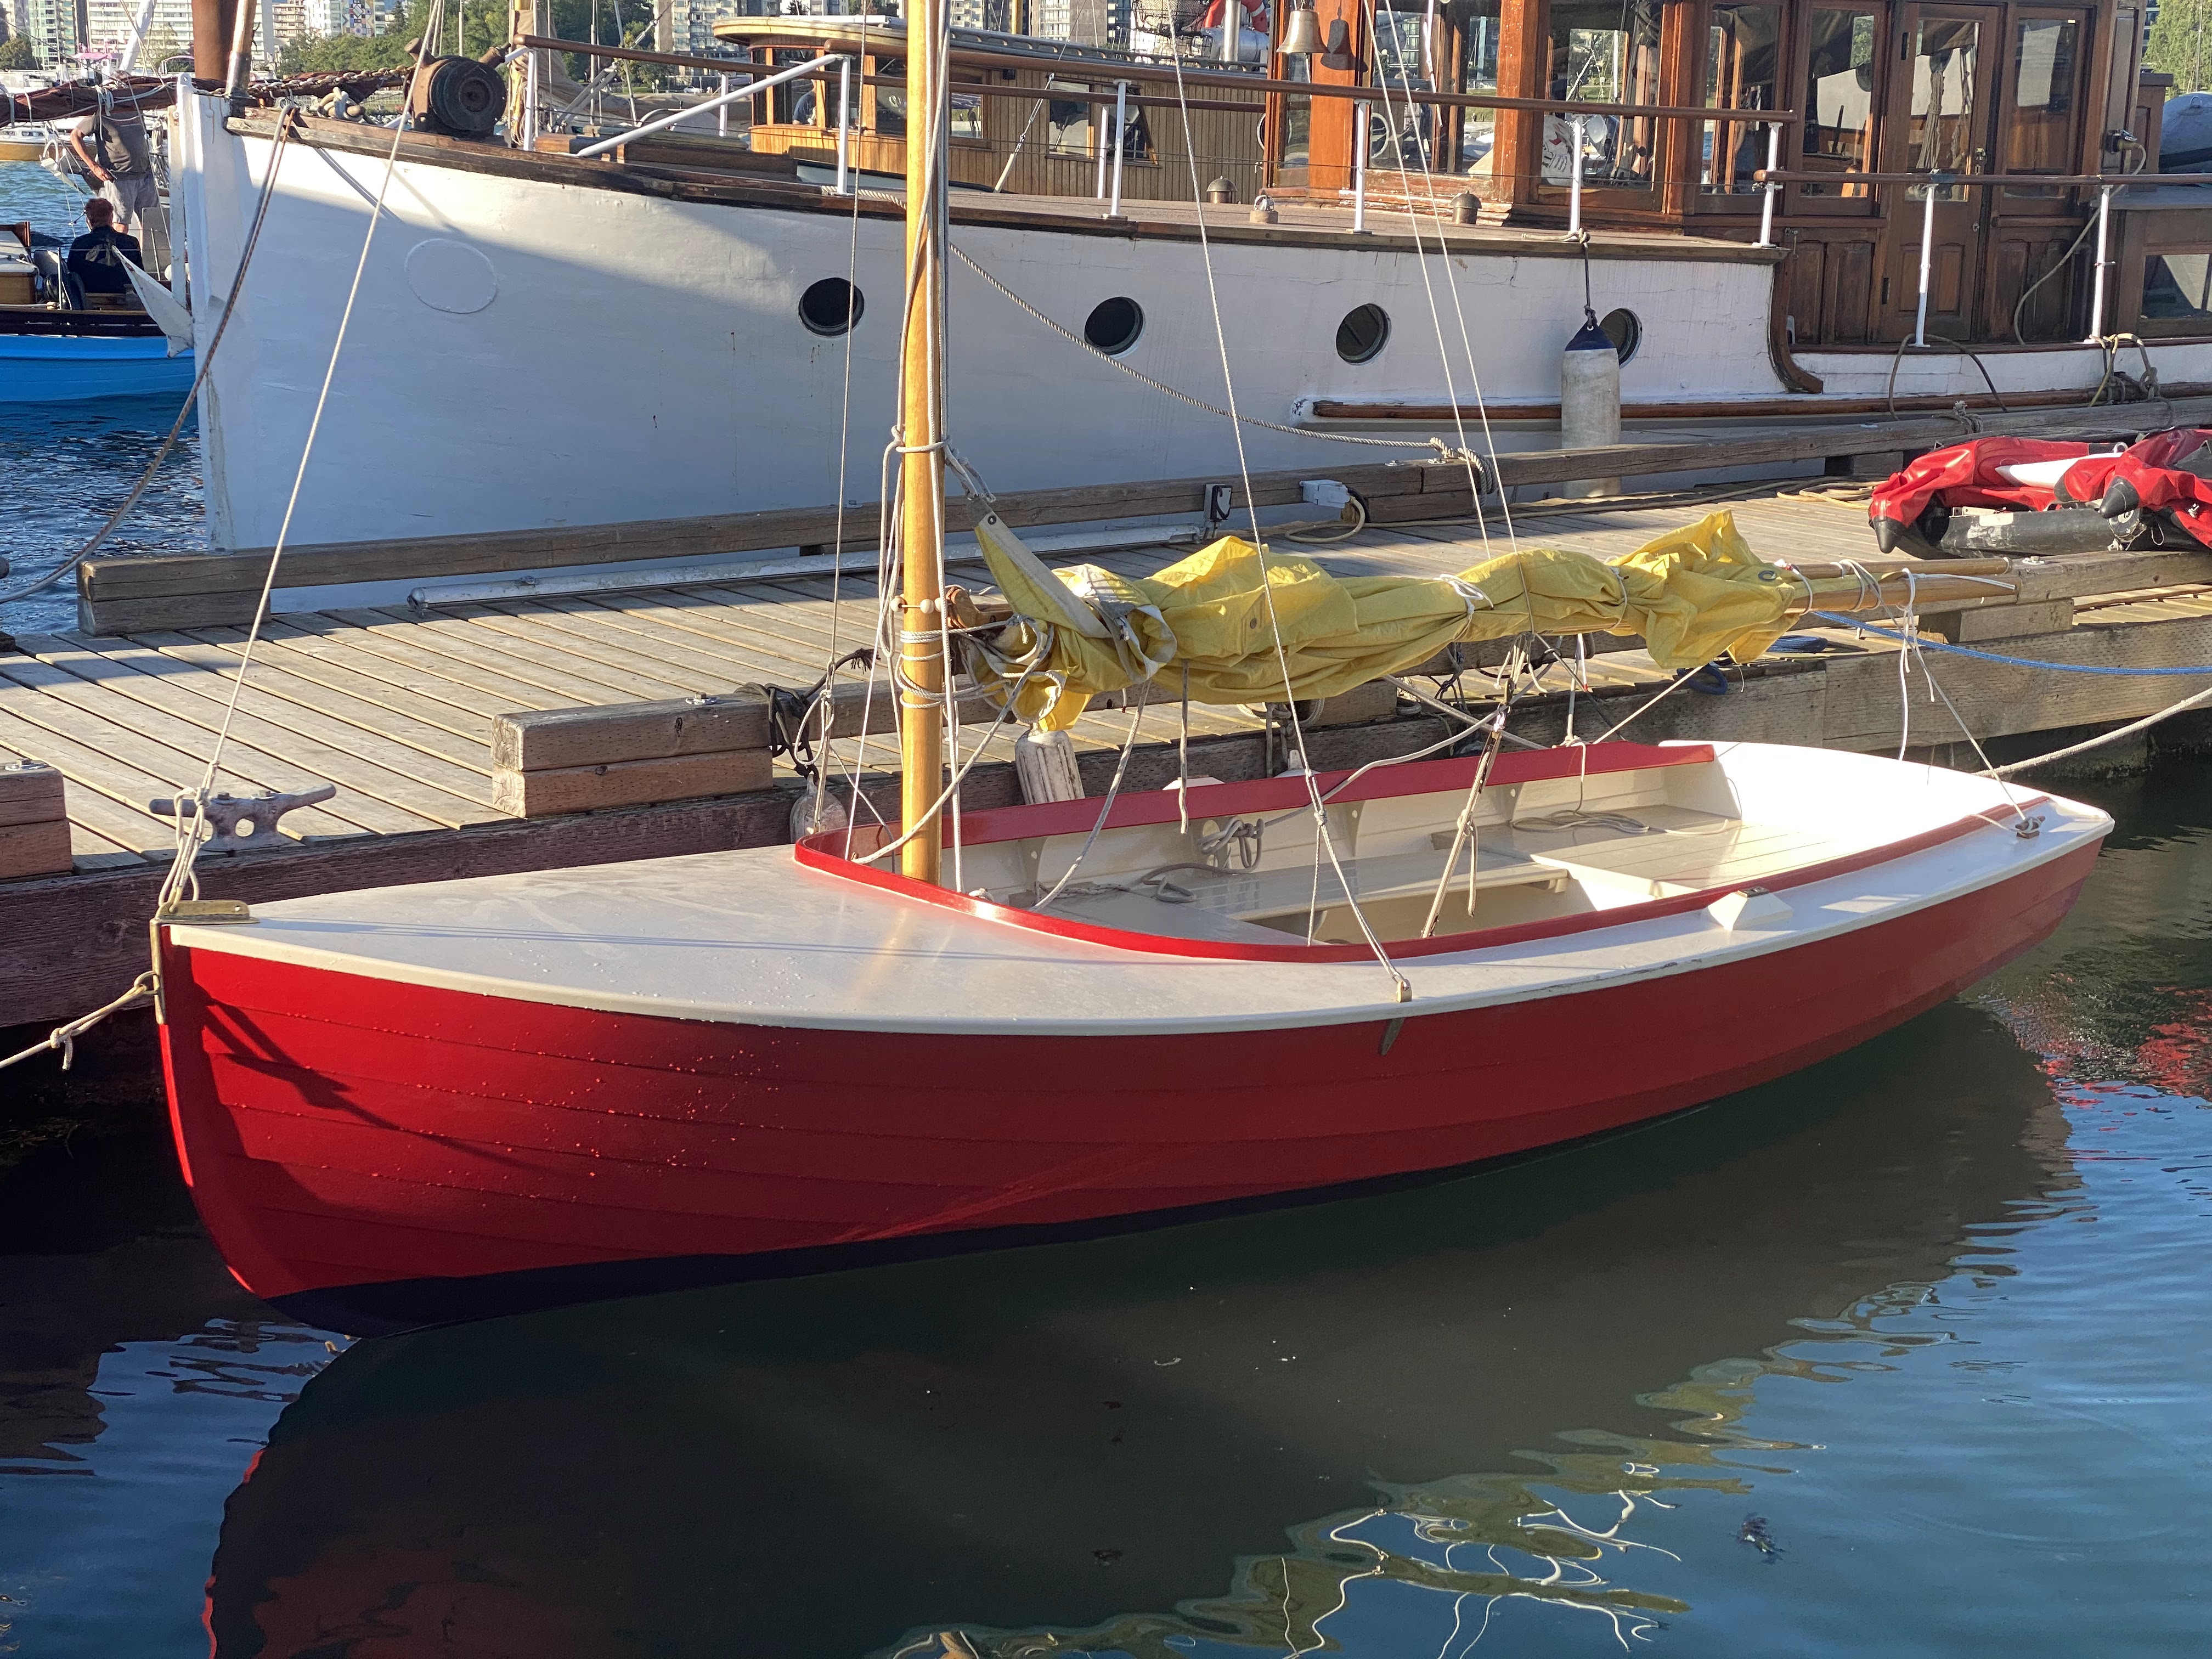
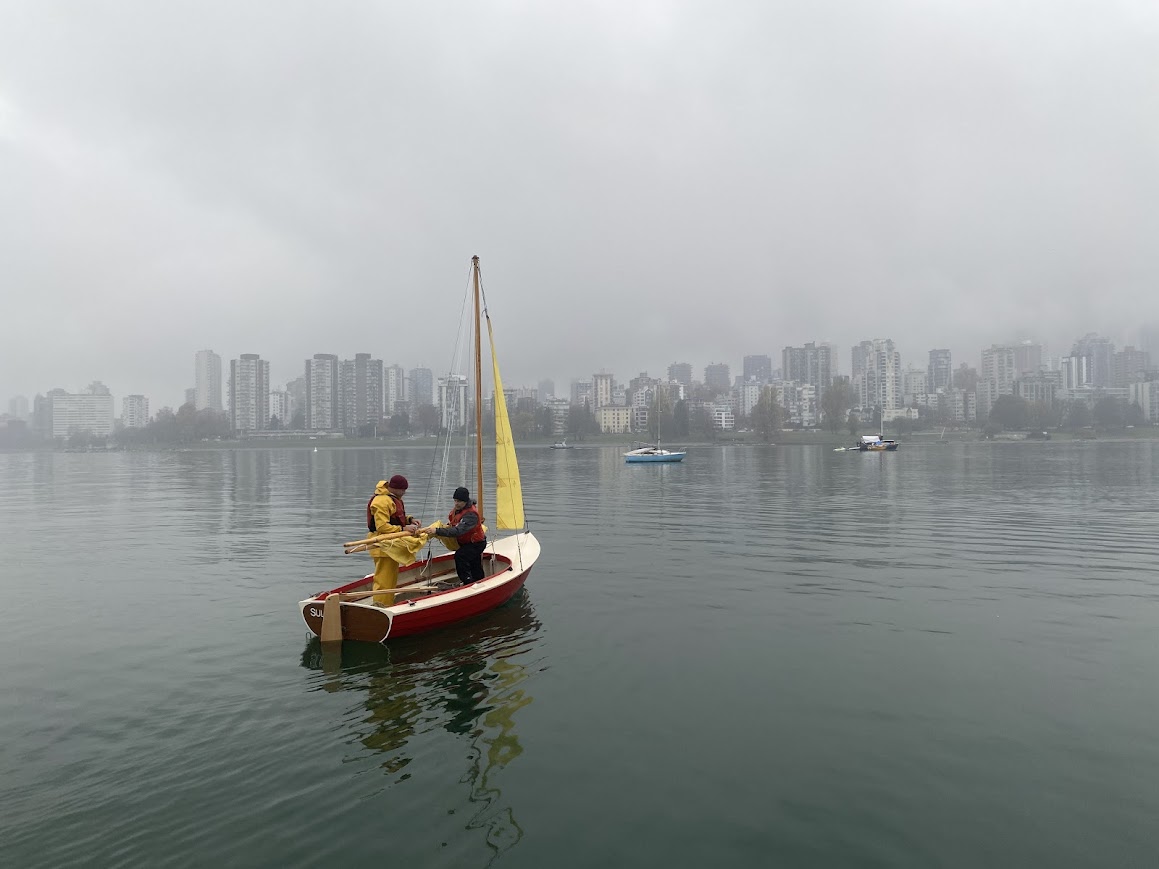
Winter sailing has been excellent, with our boats getting a lot of enjoyment, rain or shine!
Hope you can make it to the shop to participate or check out our progress!