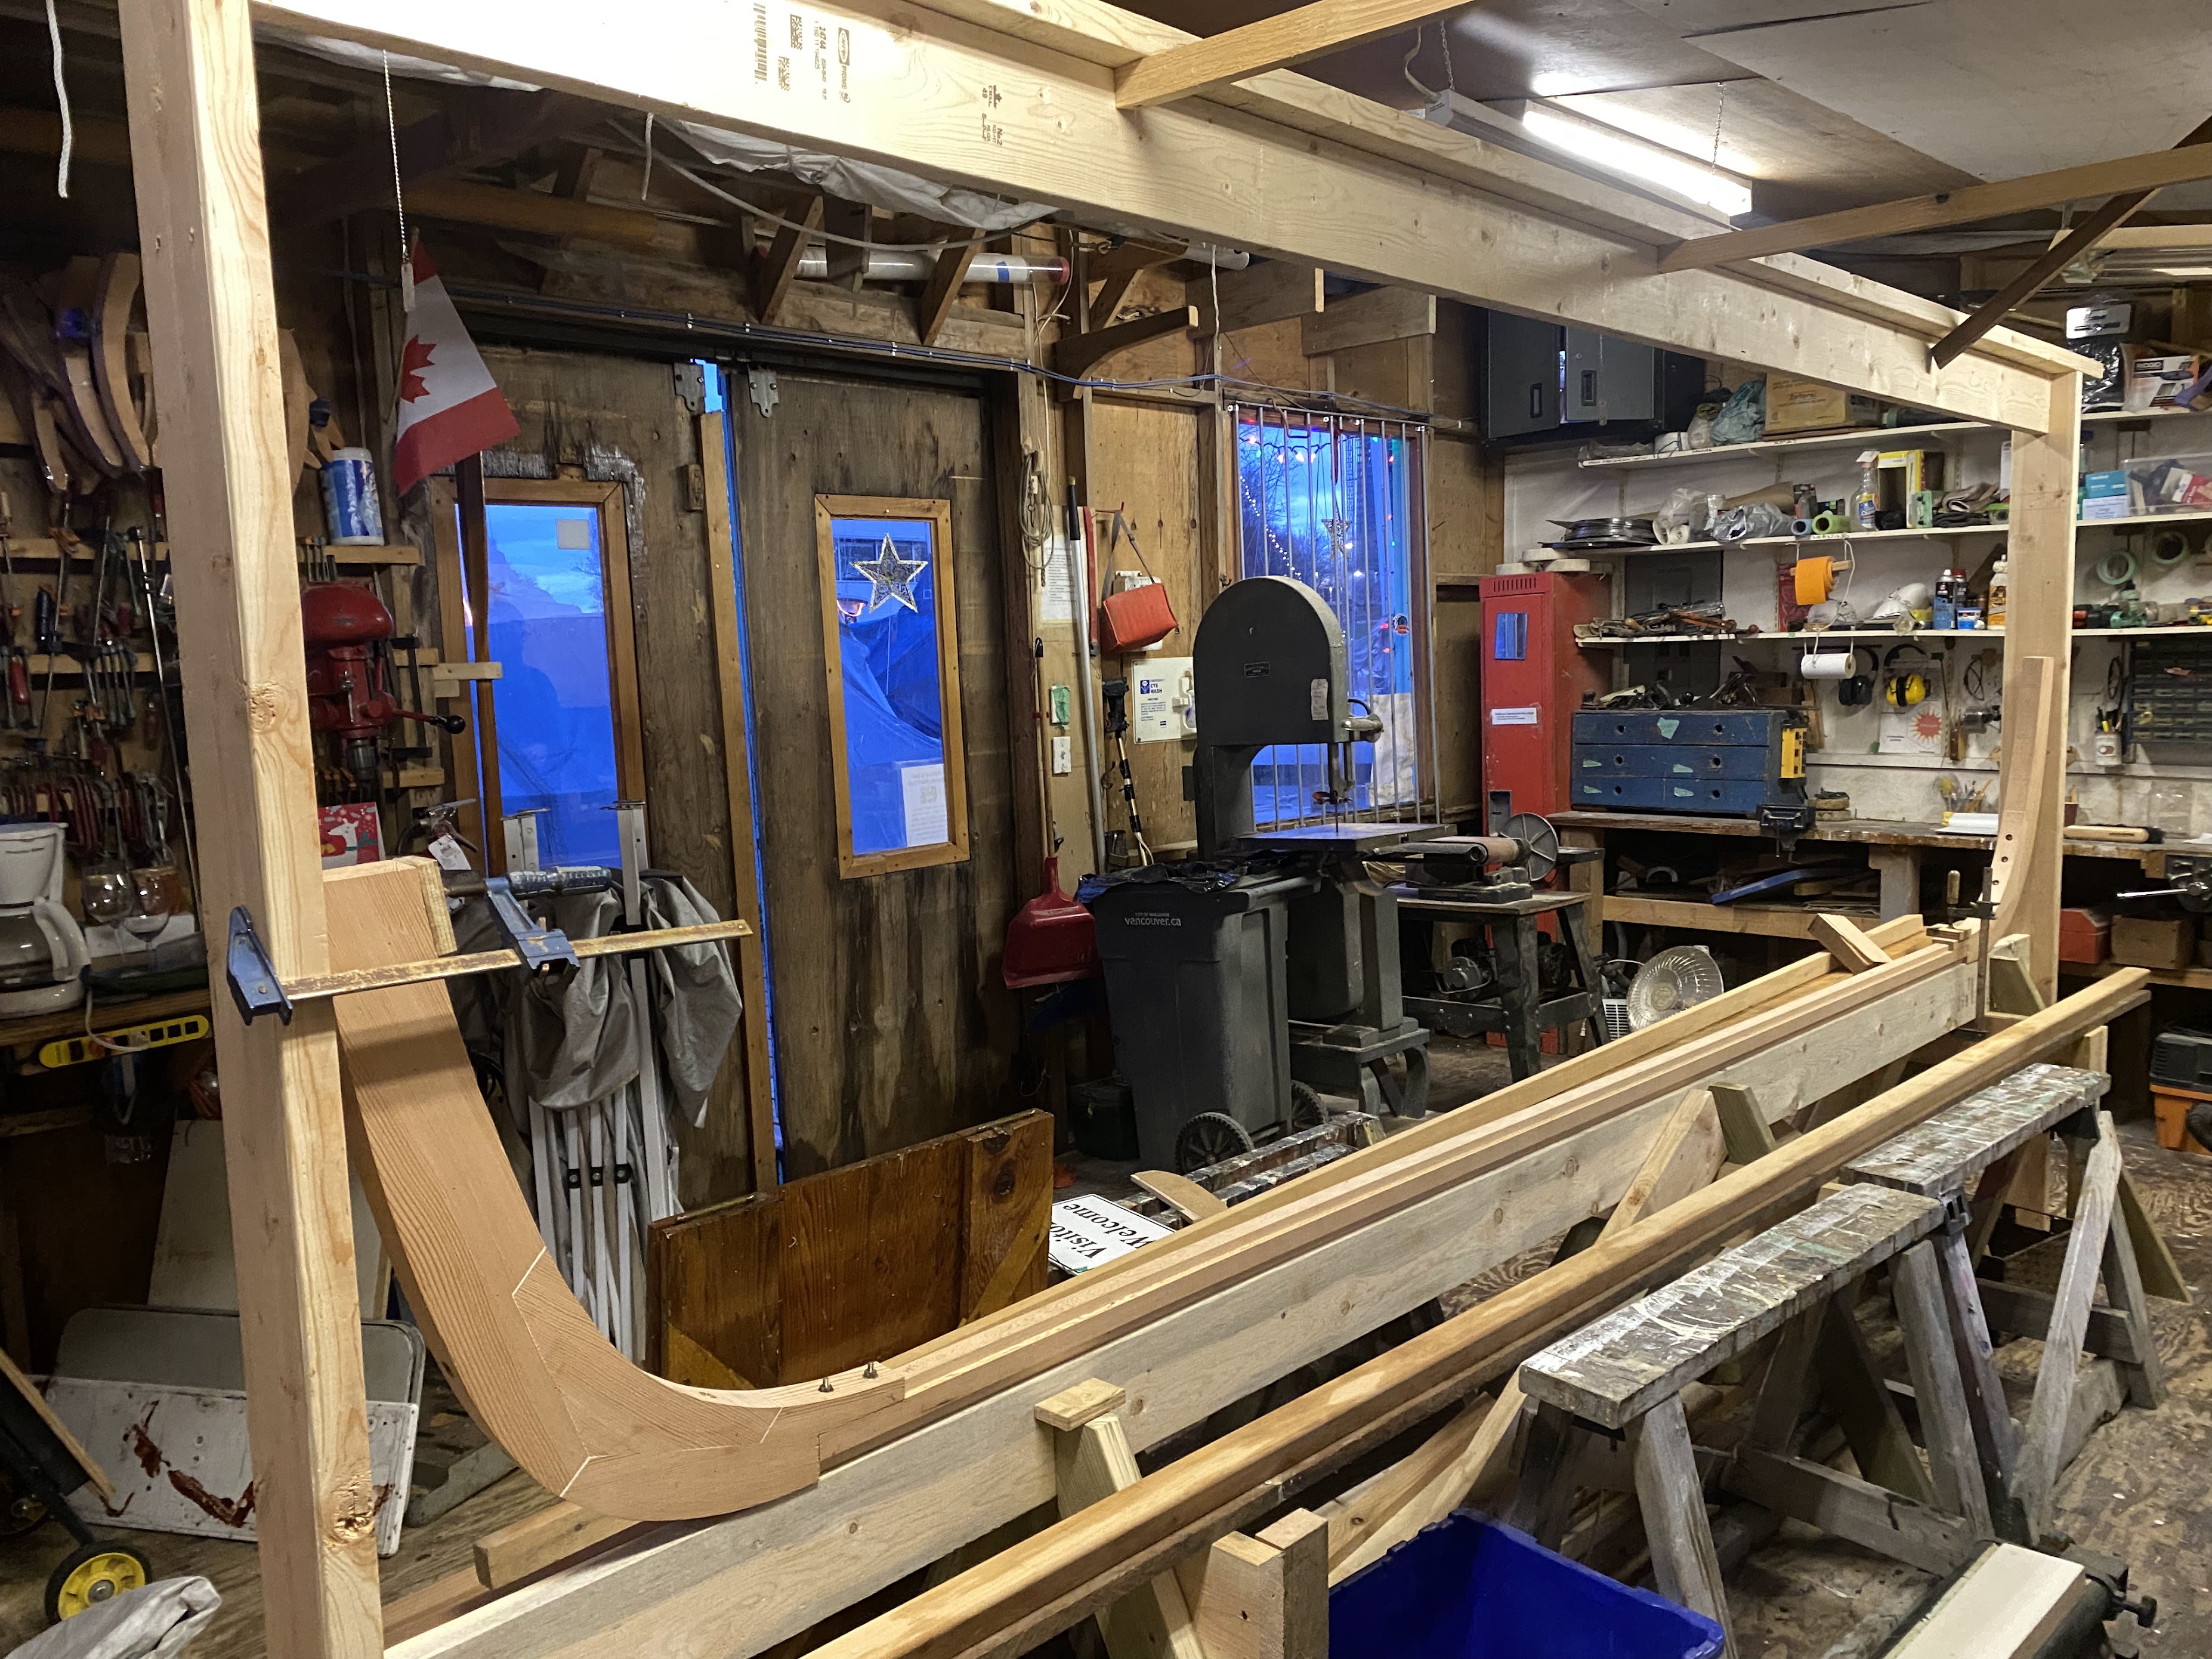
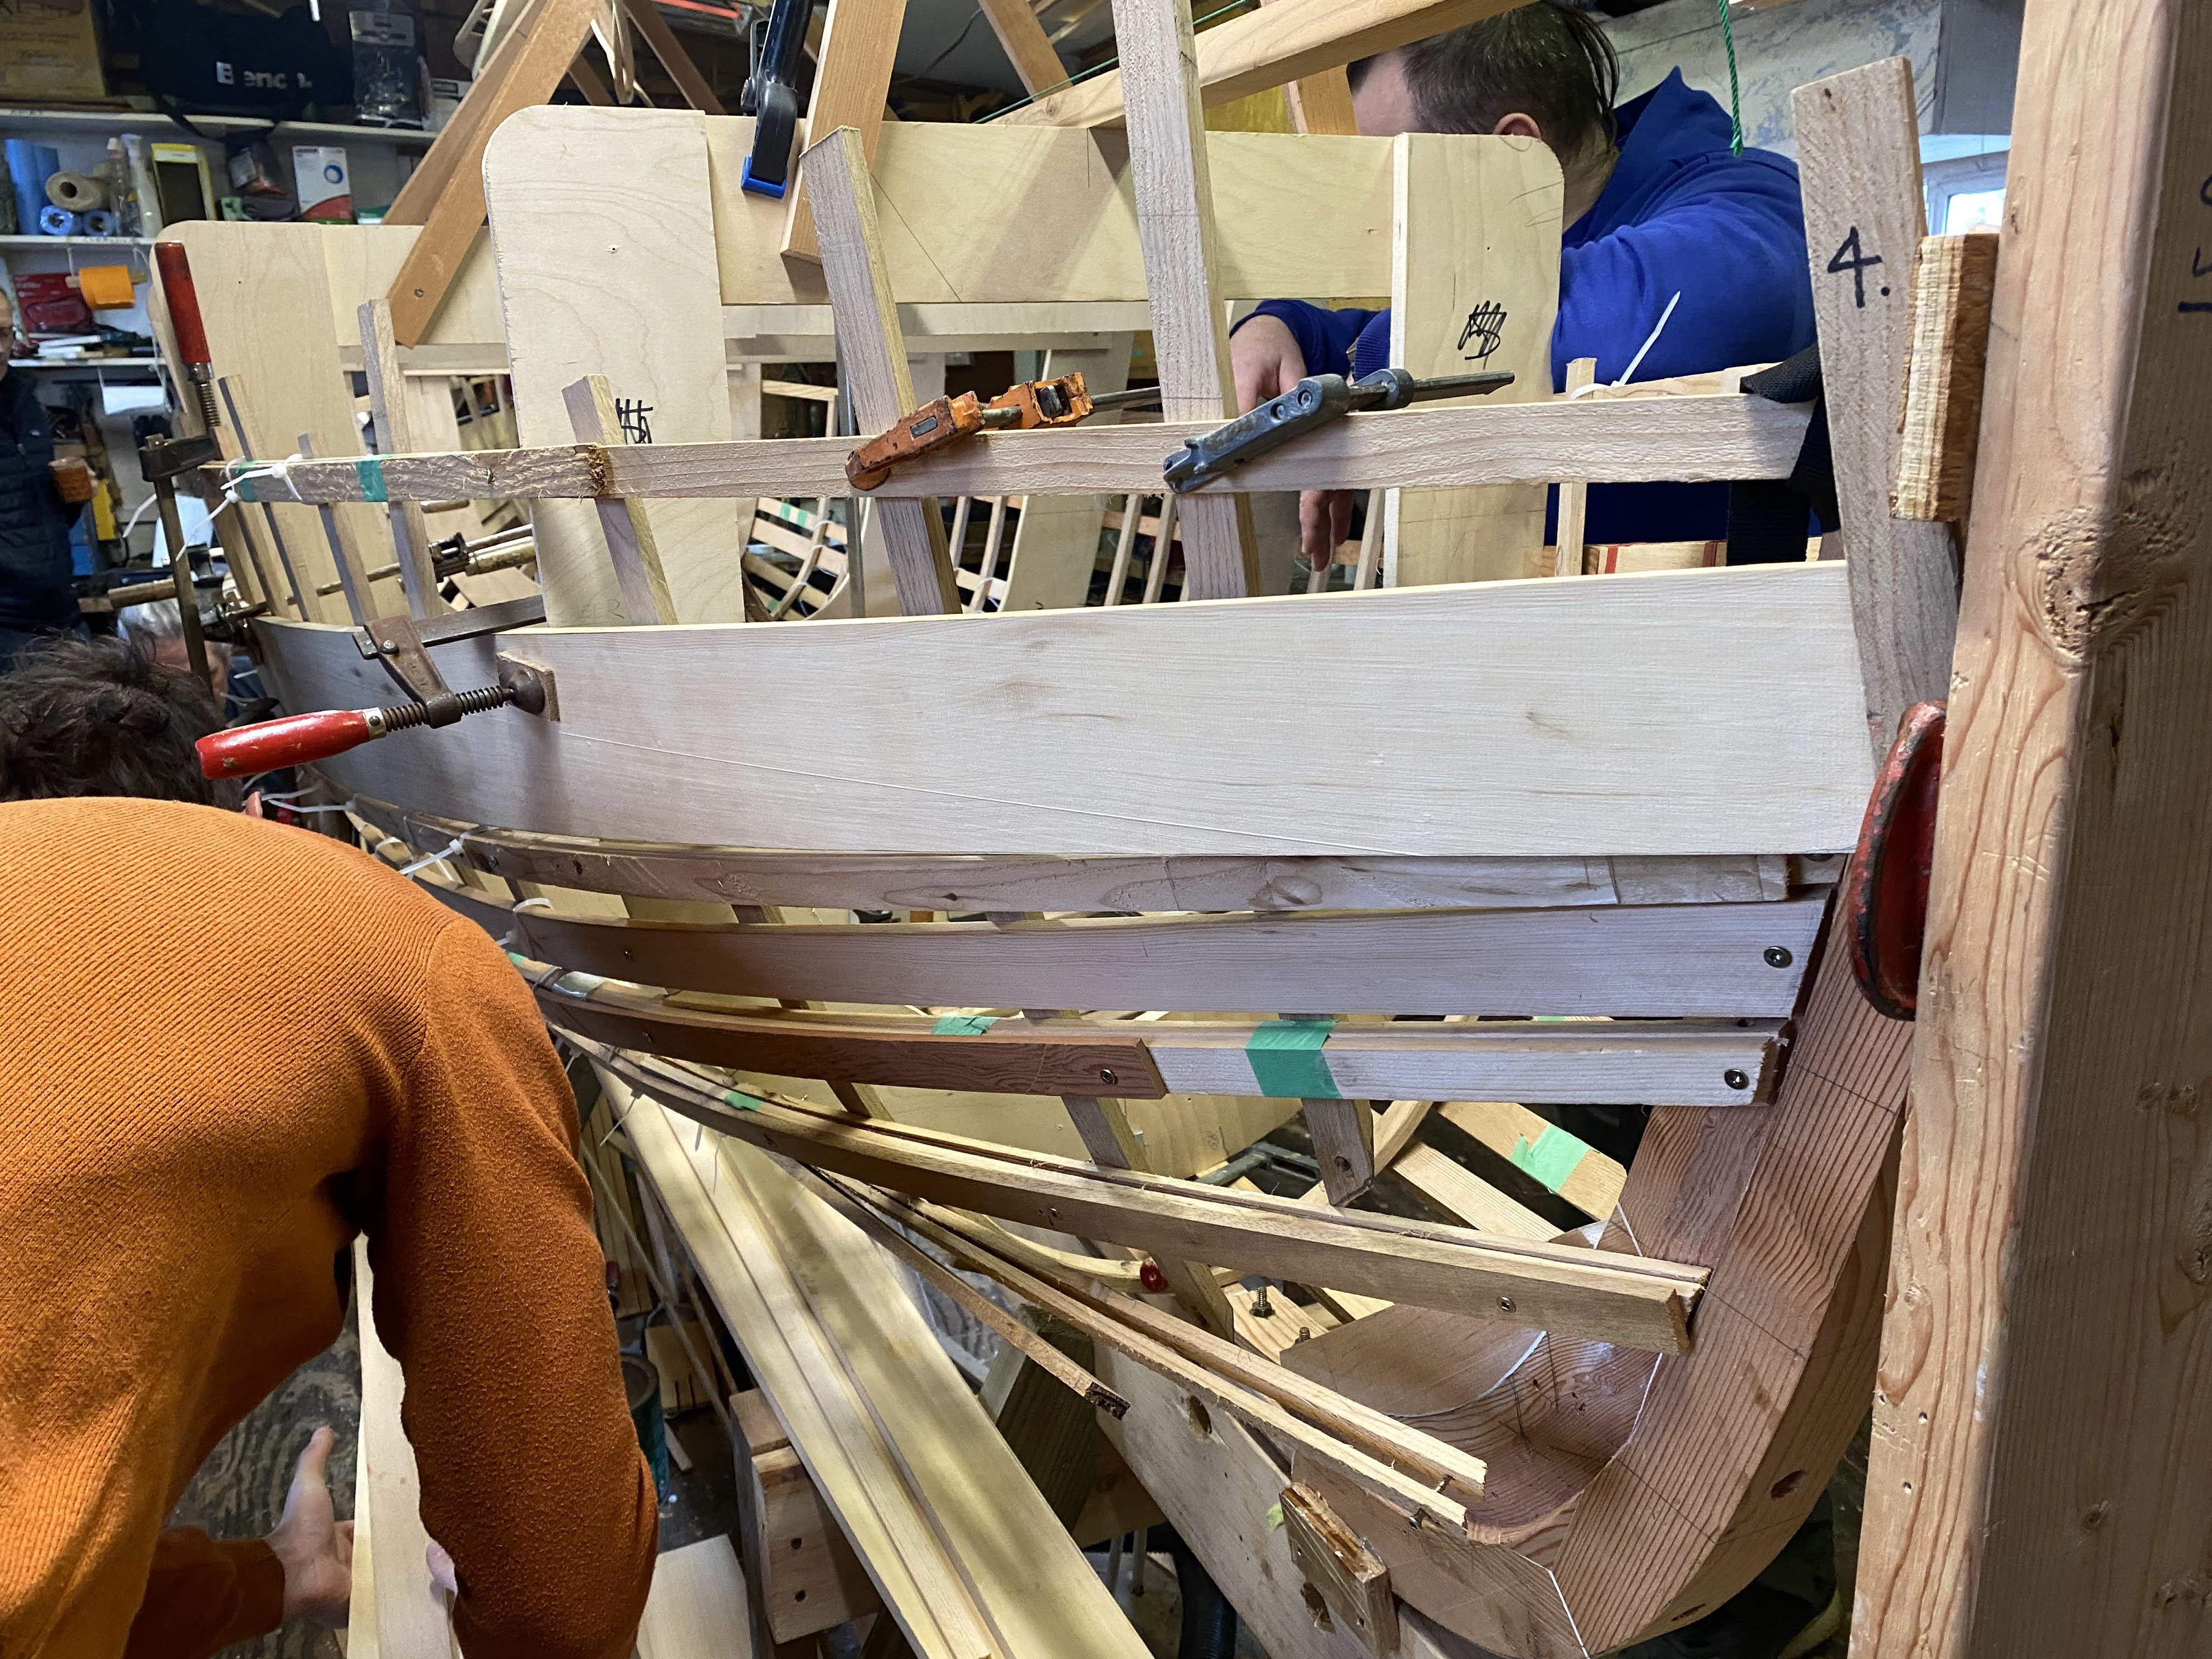
We have fitted the first plank on our handliner project, and getting ready to do some riveting soon! A LOT has happened since our last post:
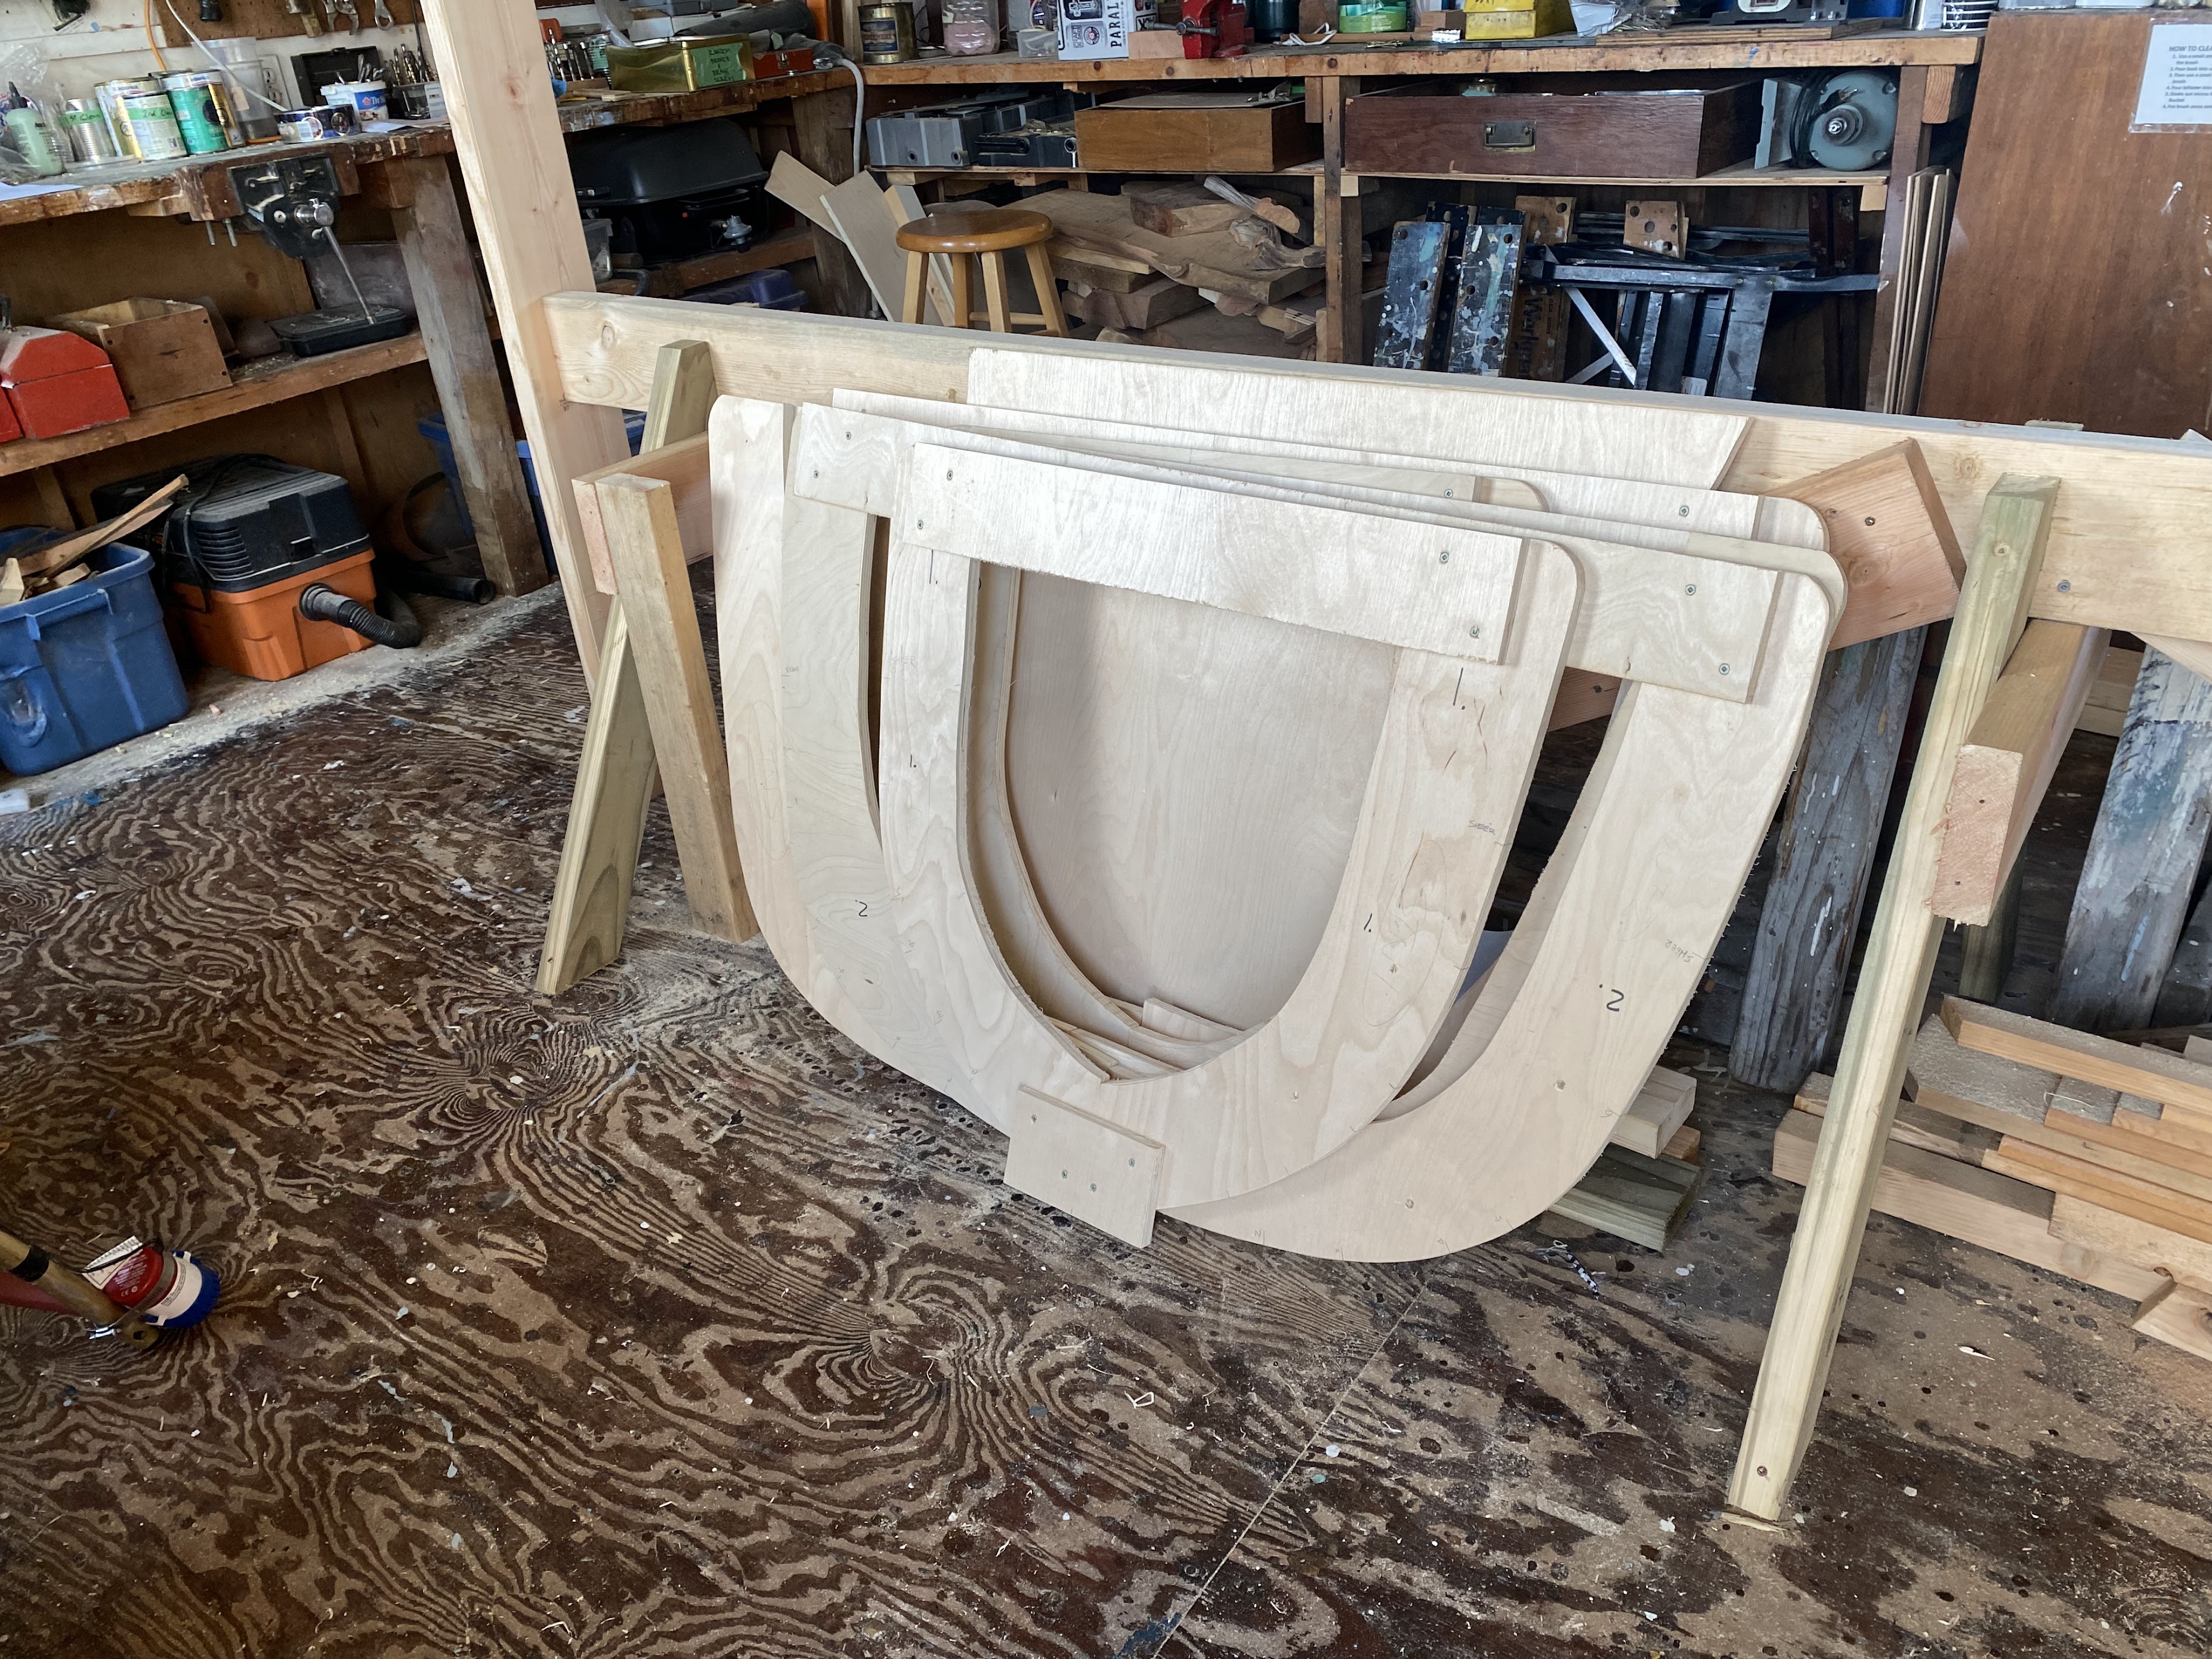
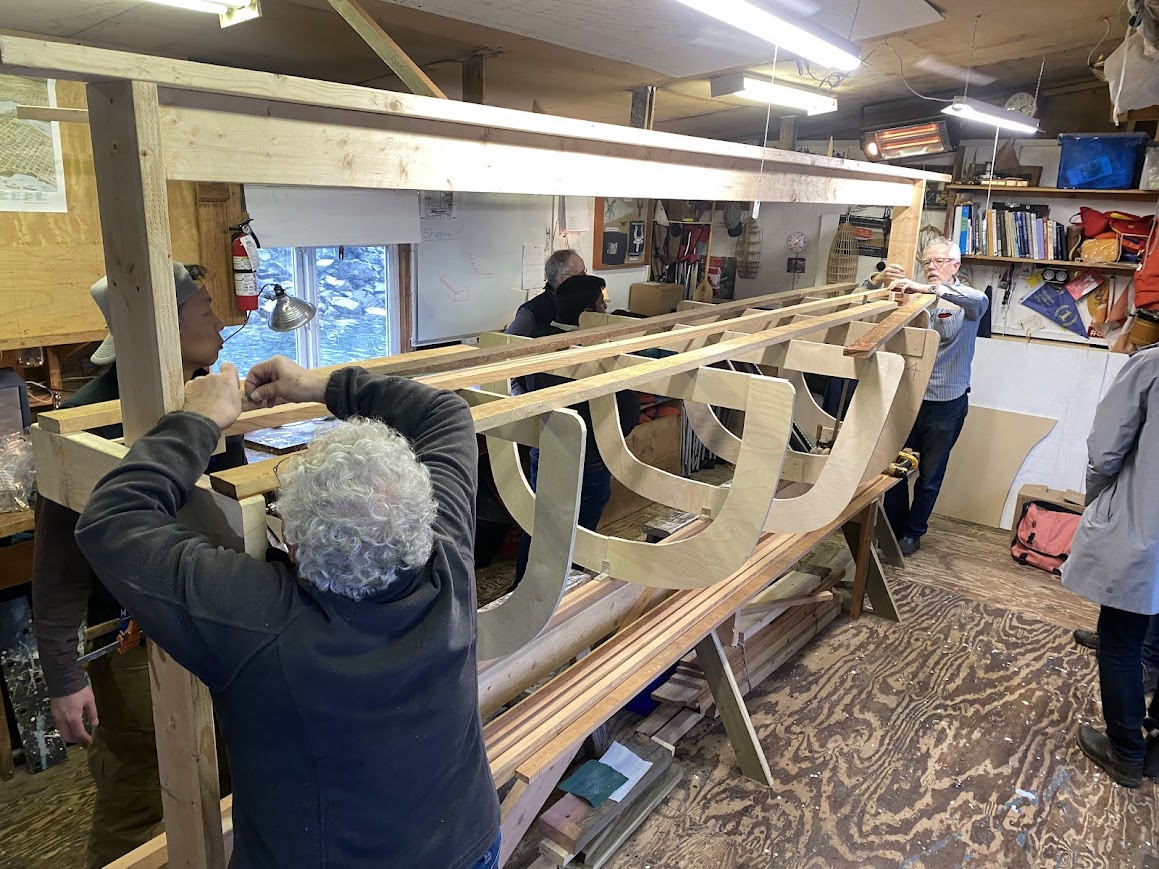
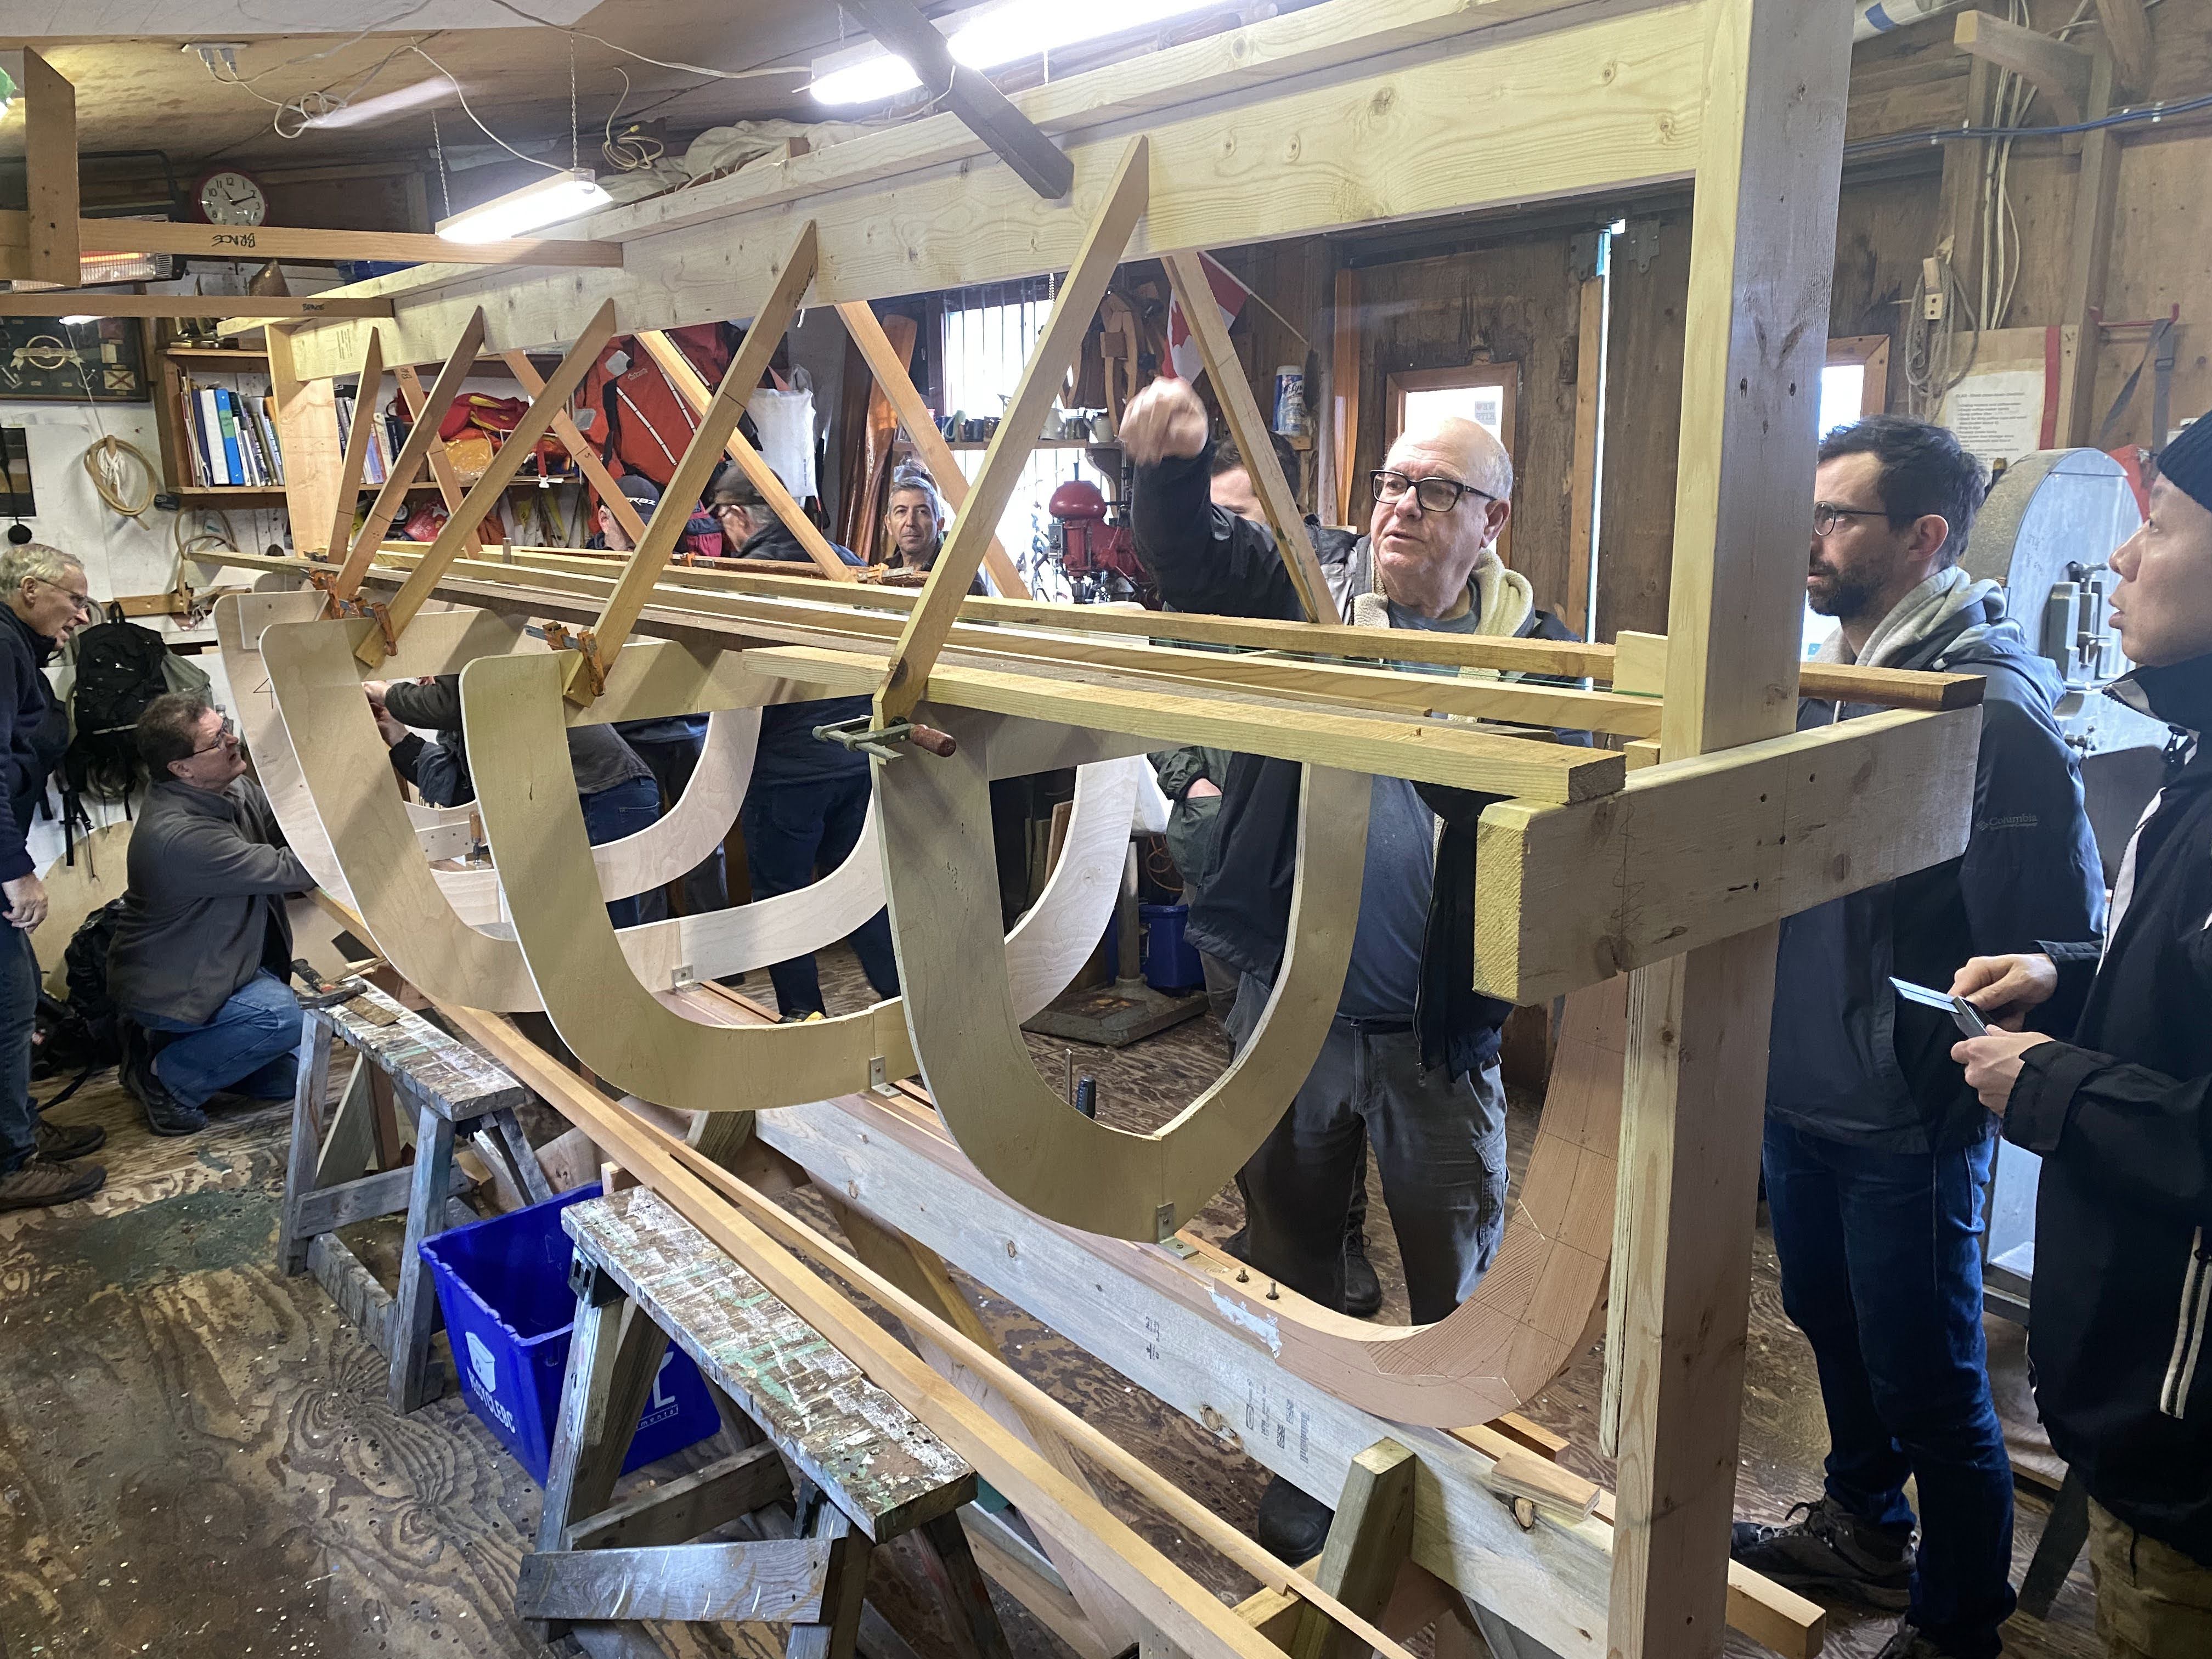
- we finished bracing the moulds for a strong foundation
- cut the rabbets in the stem and stern post
- added ribbands (temporary longitudinal strips) to give us something to bend the ribs into
- steam-bent all the ribs into shape
- patterned the first planks
- cut and rough fit the planks
- steamed and twisted the planks into place


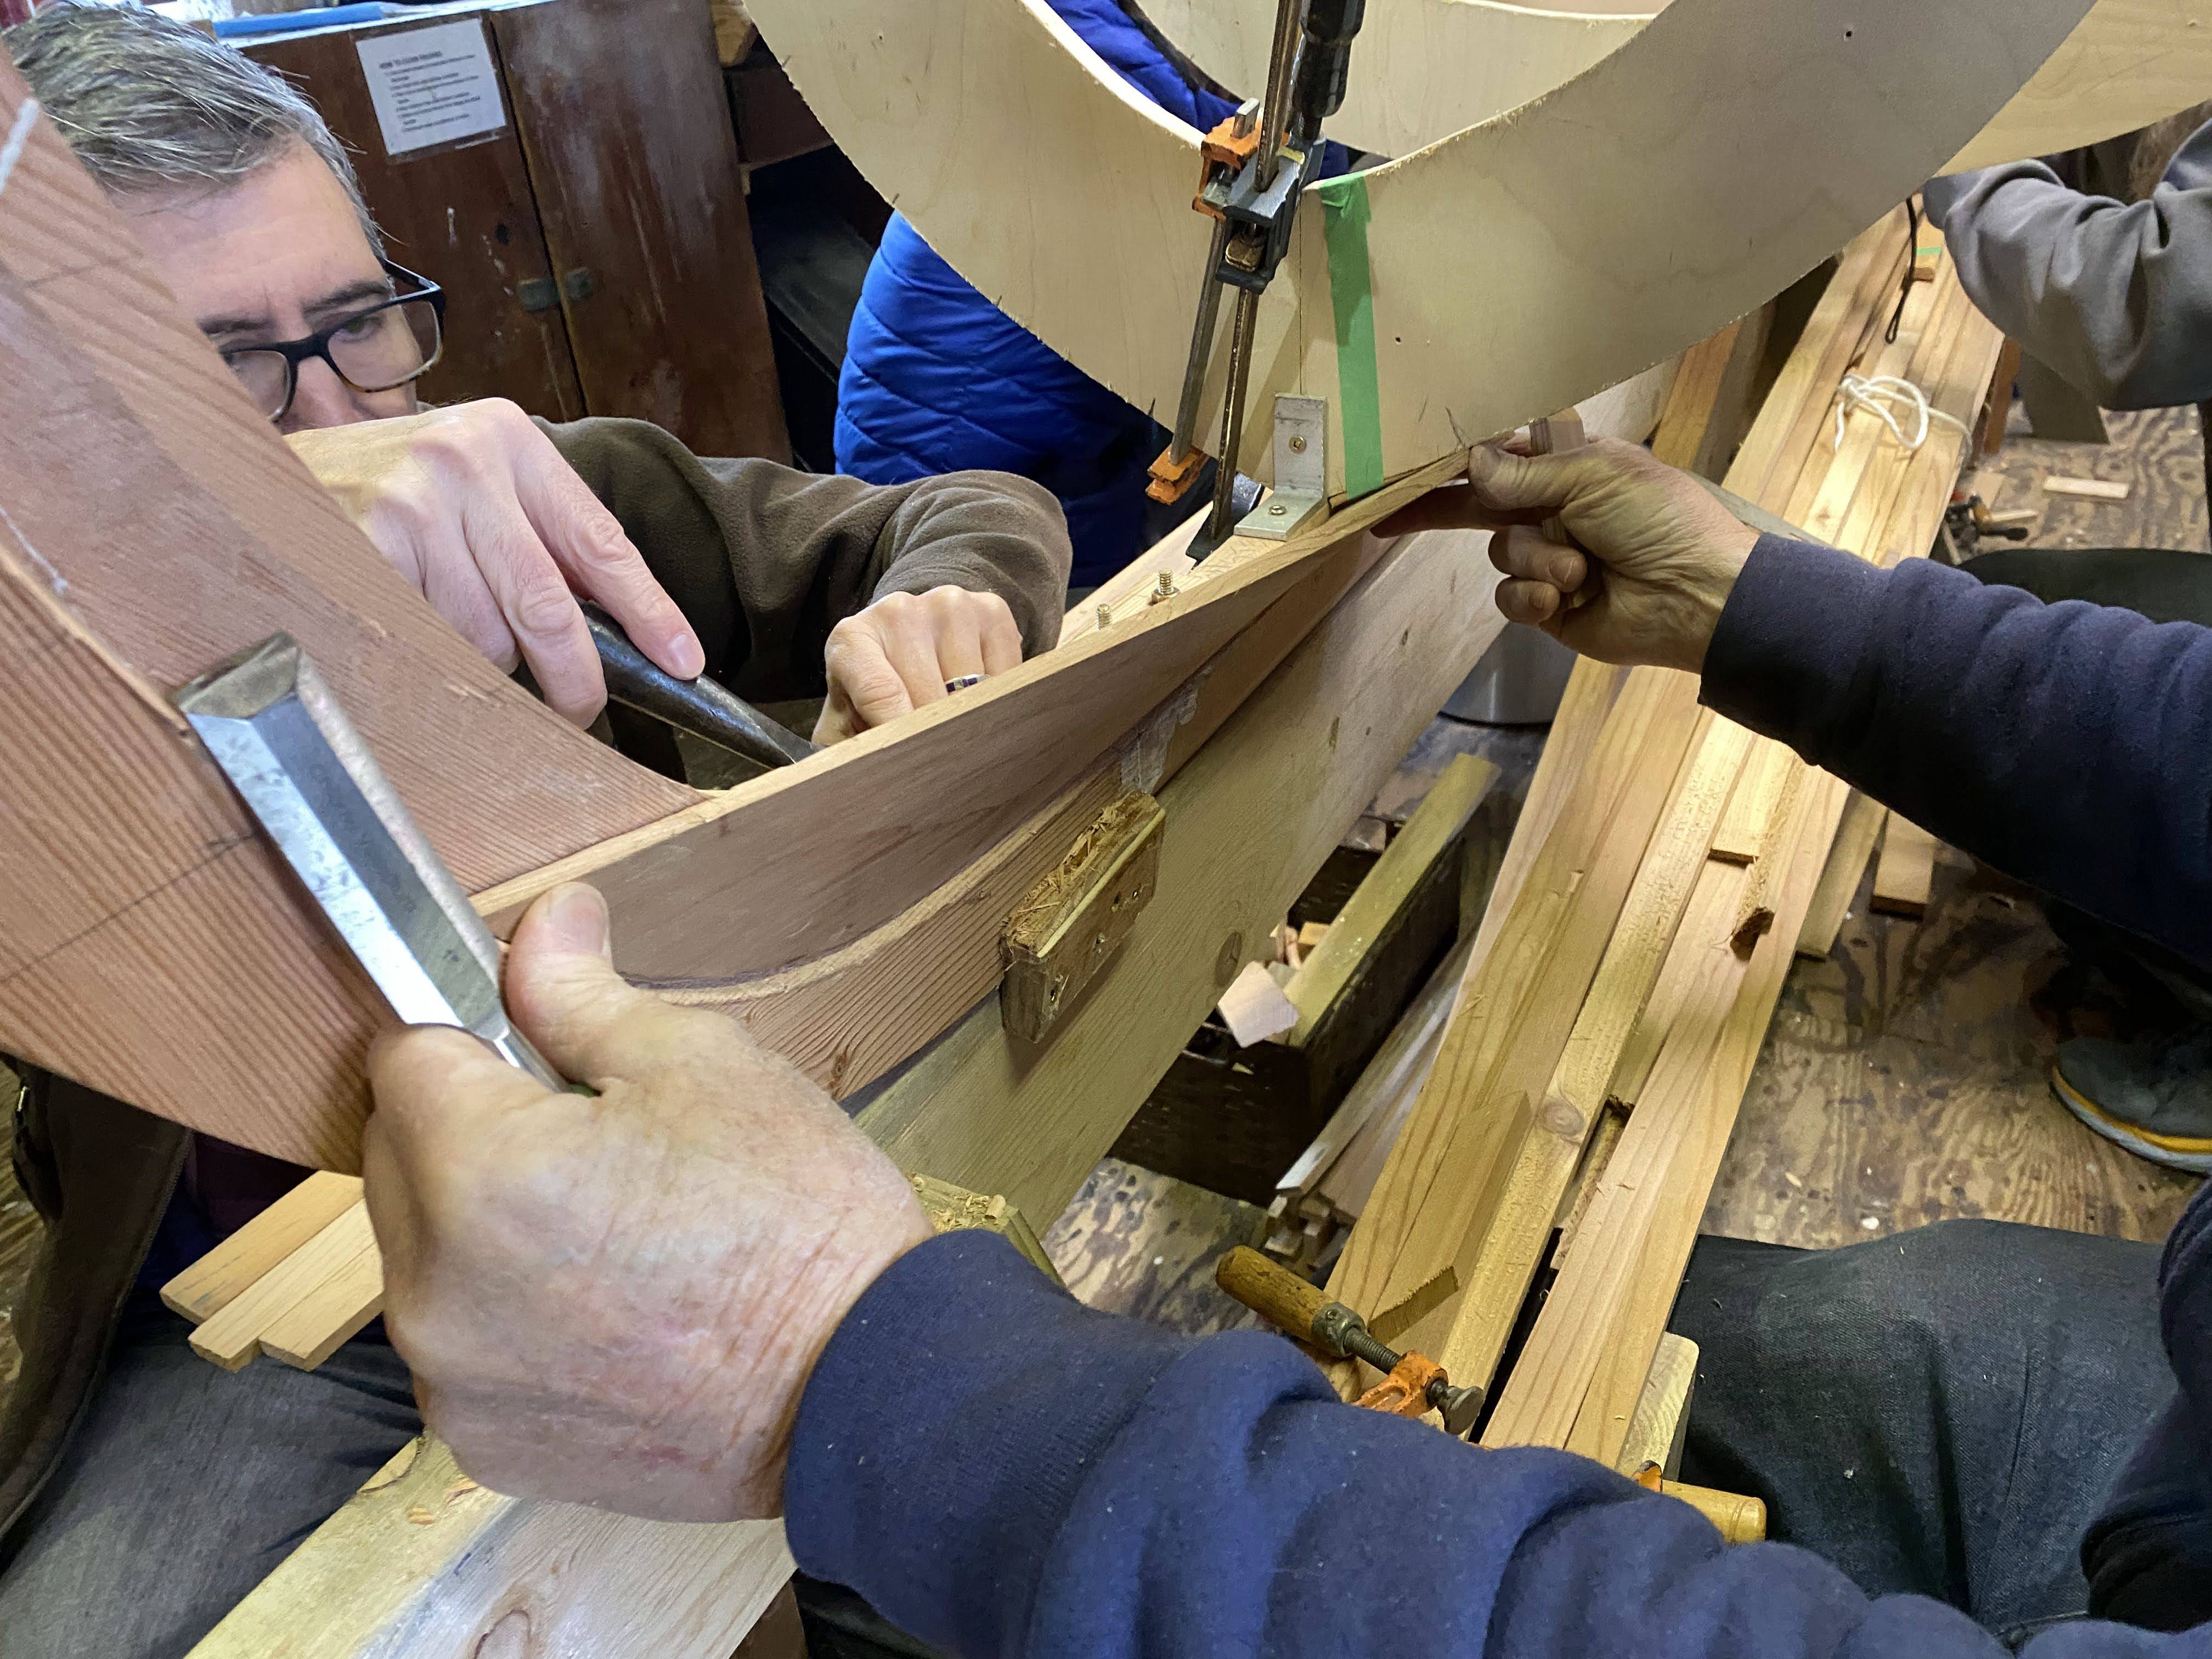
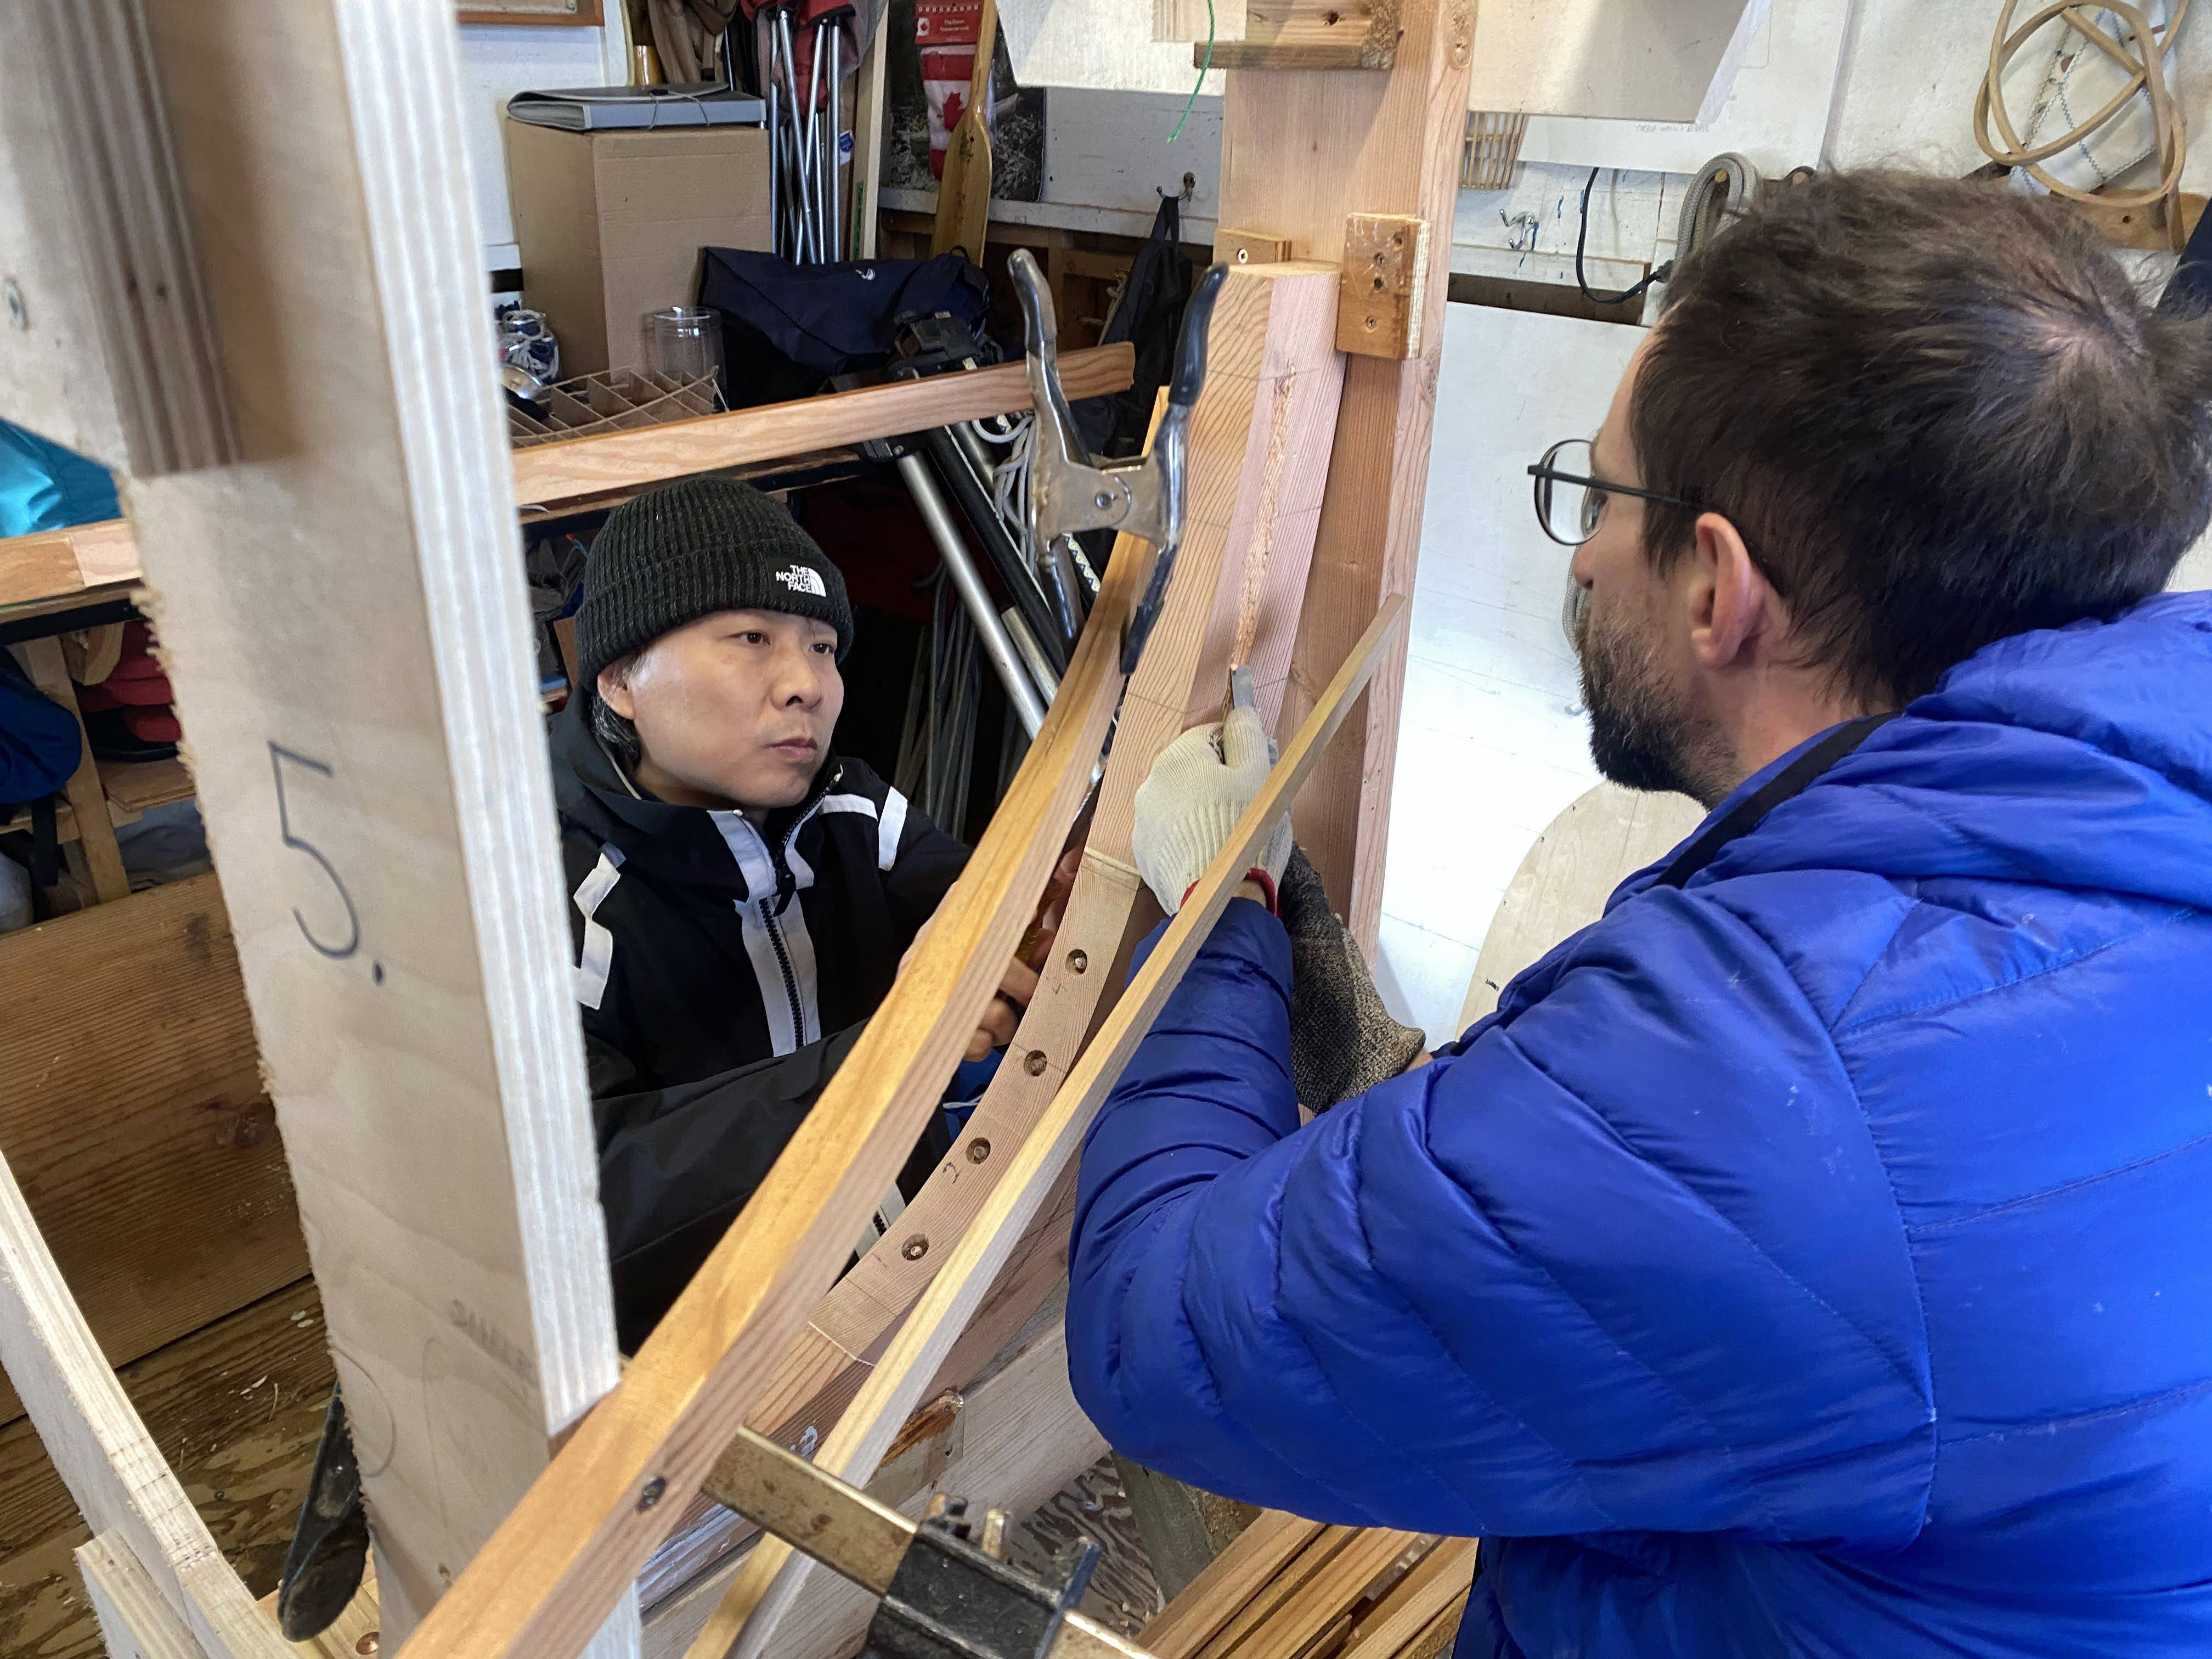
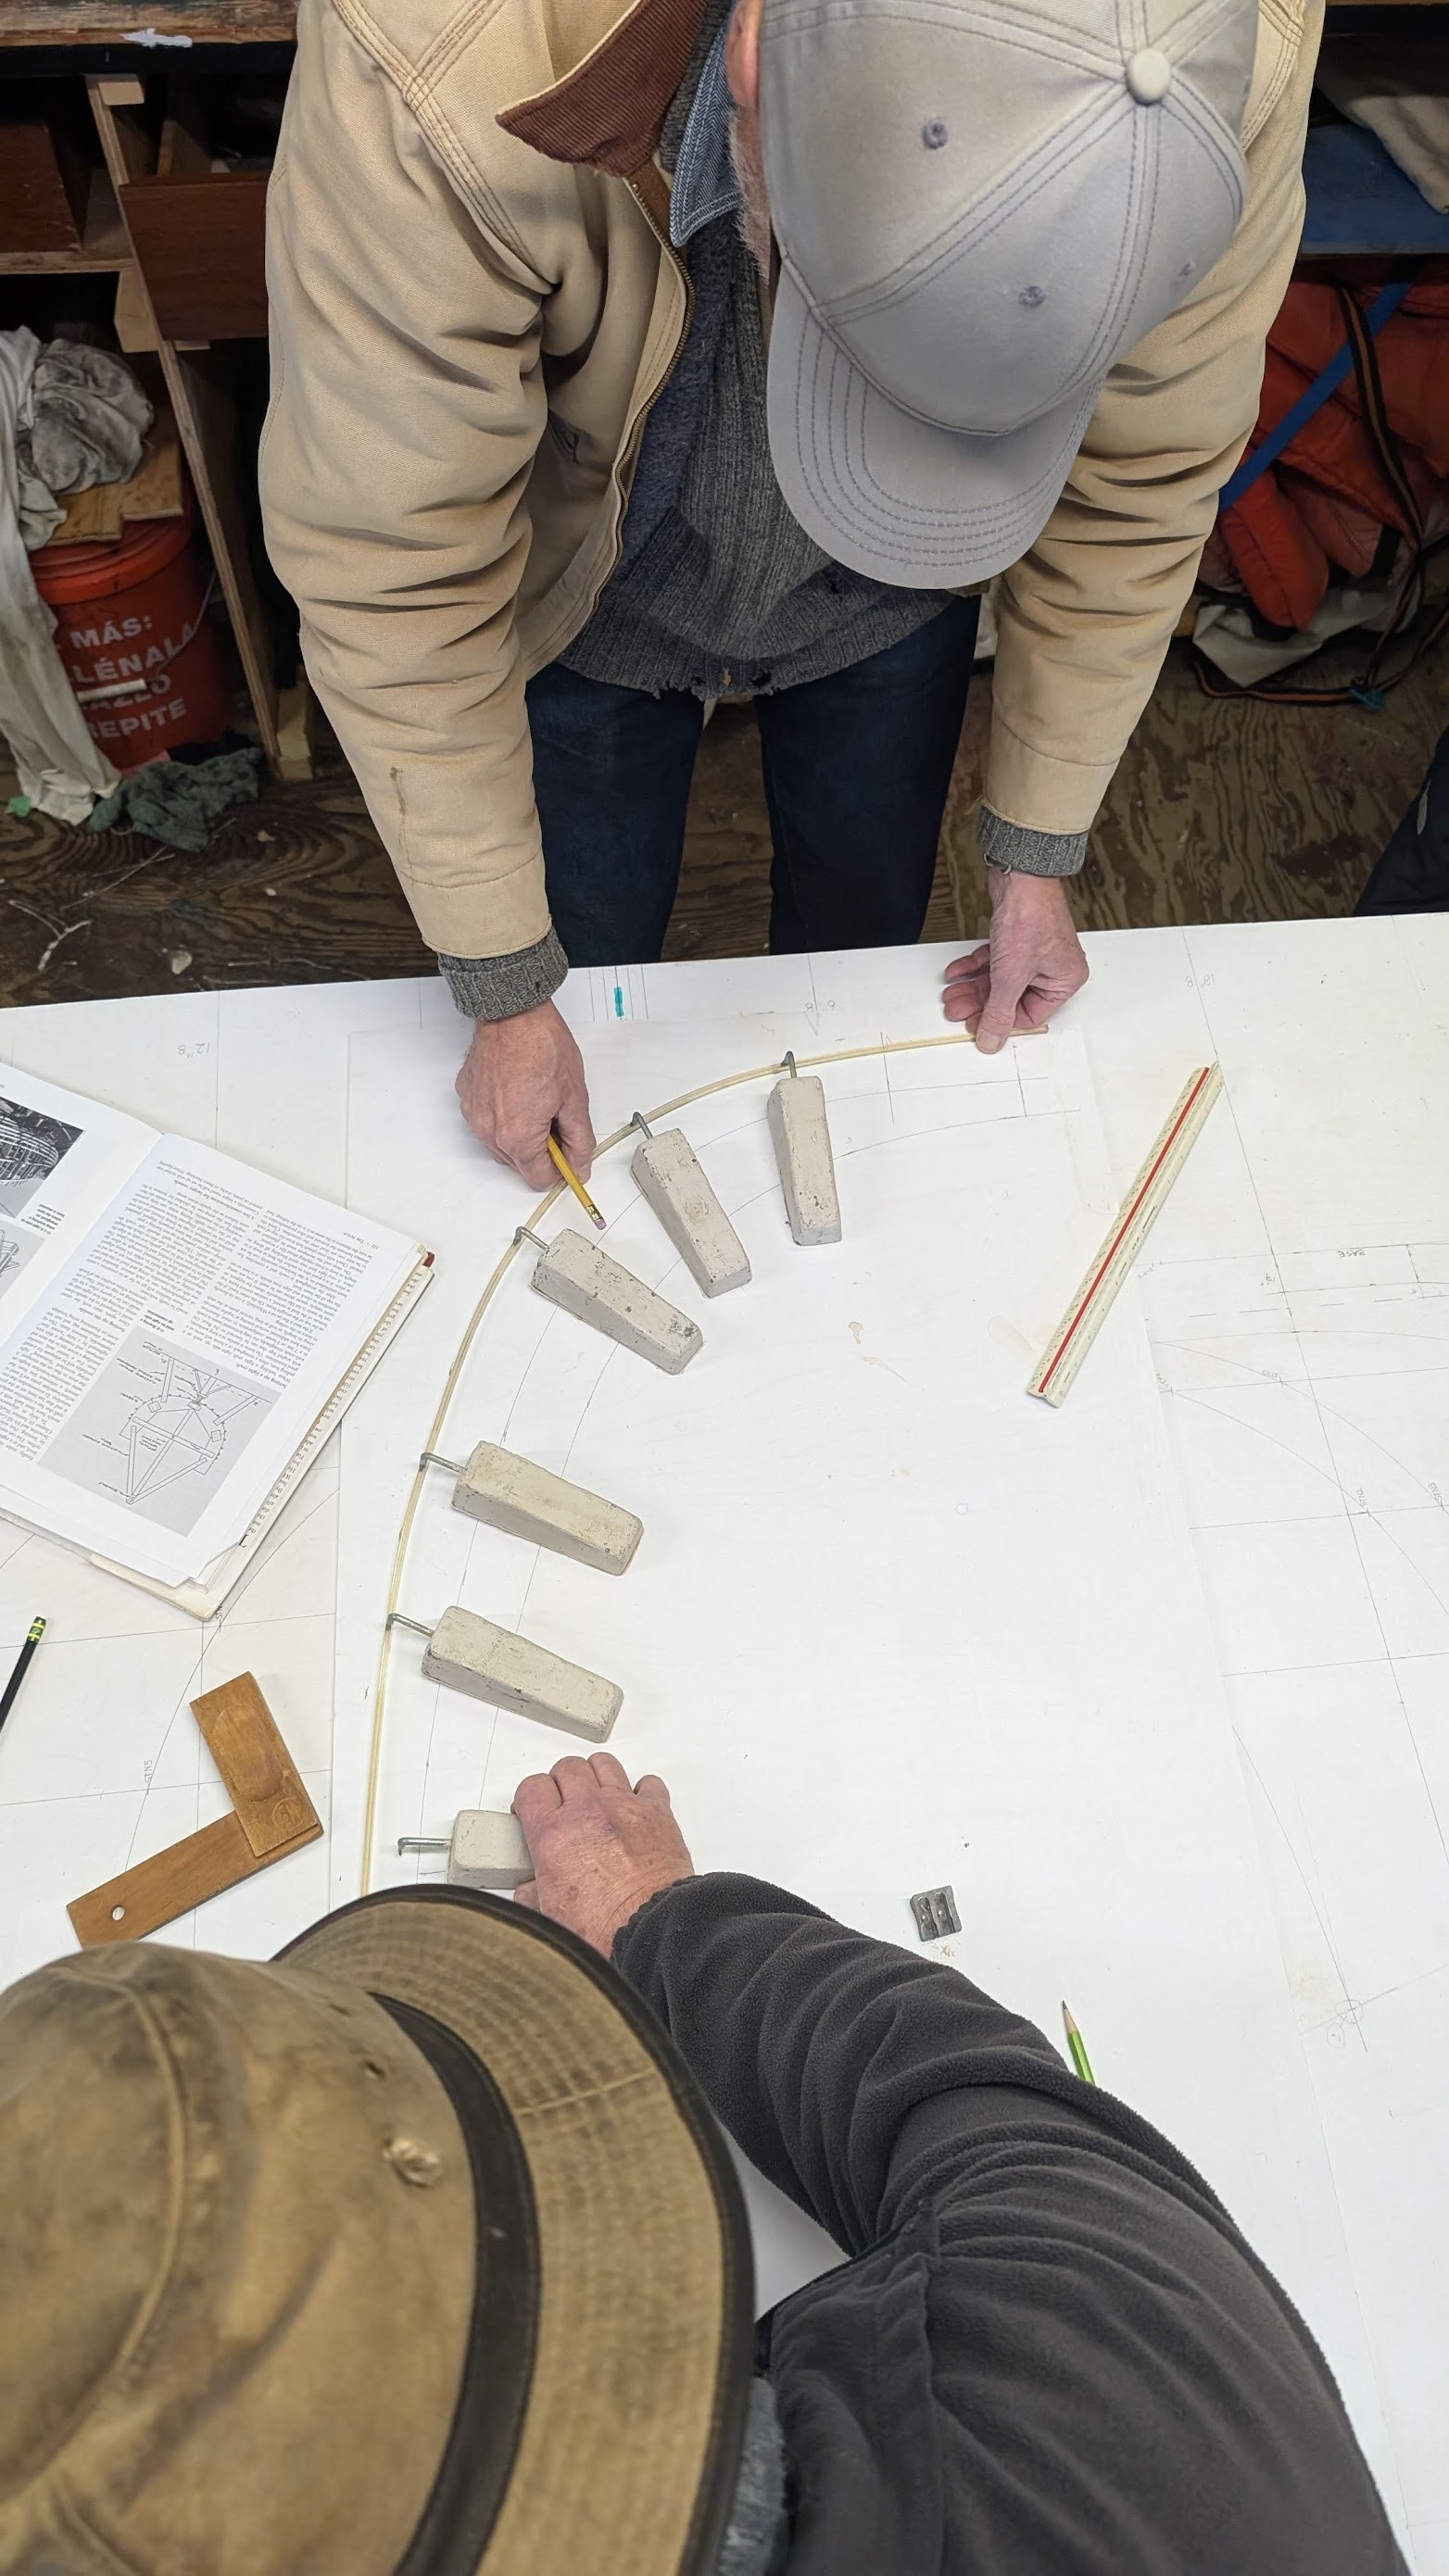
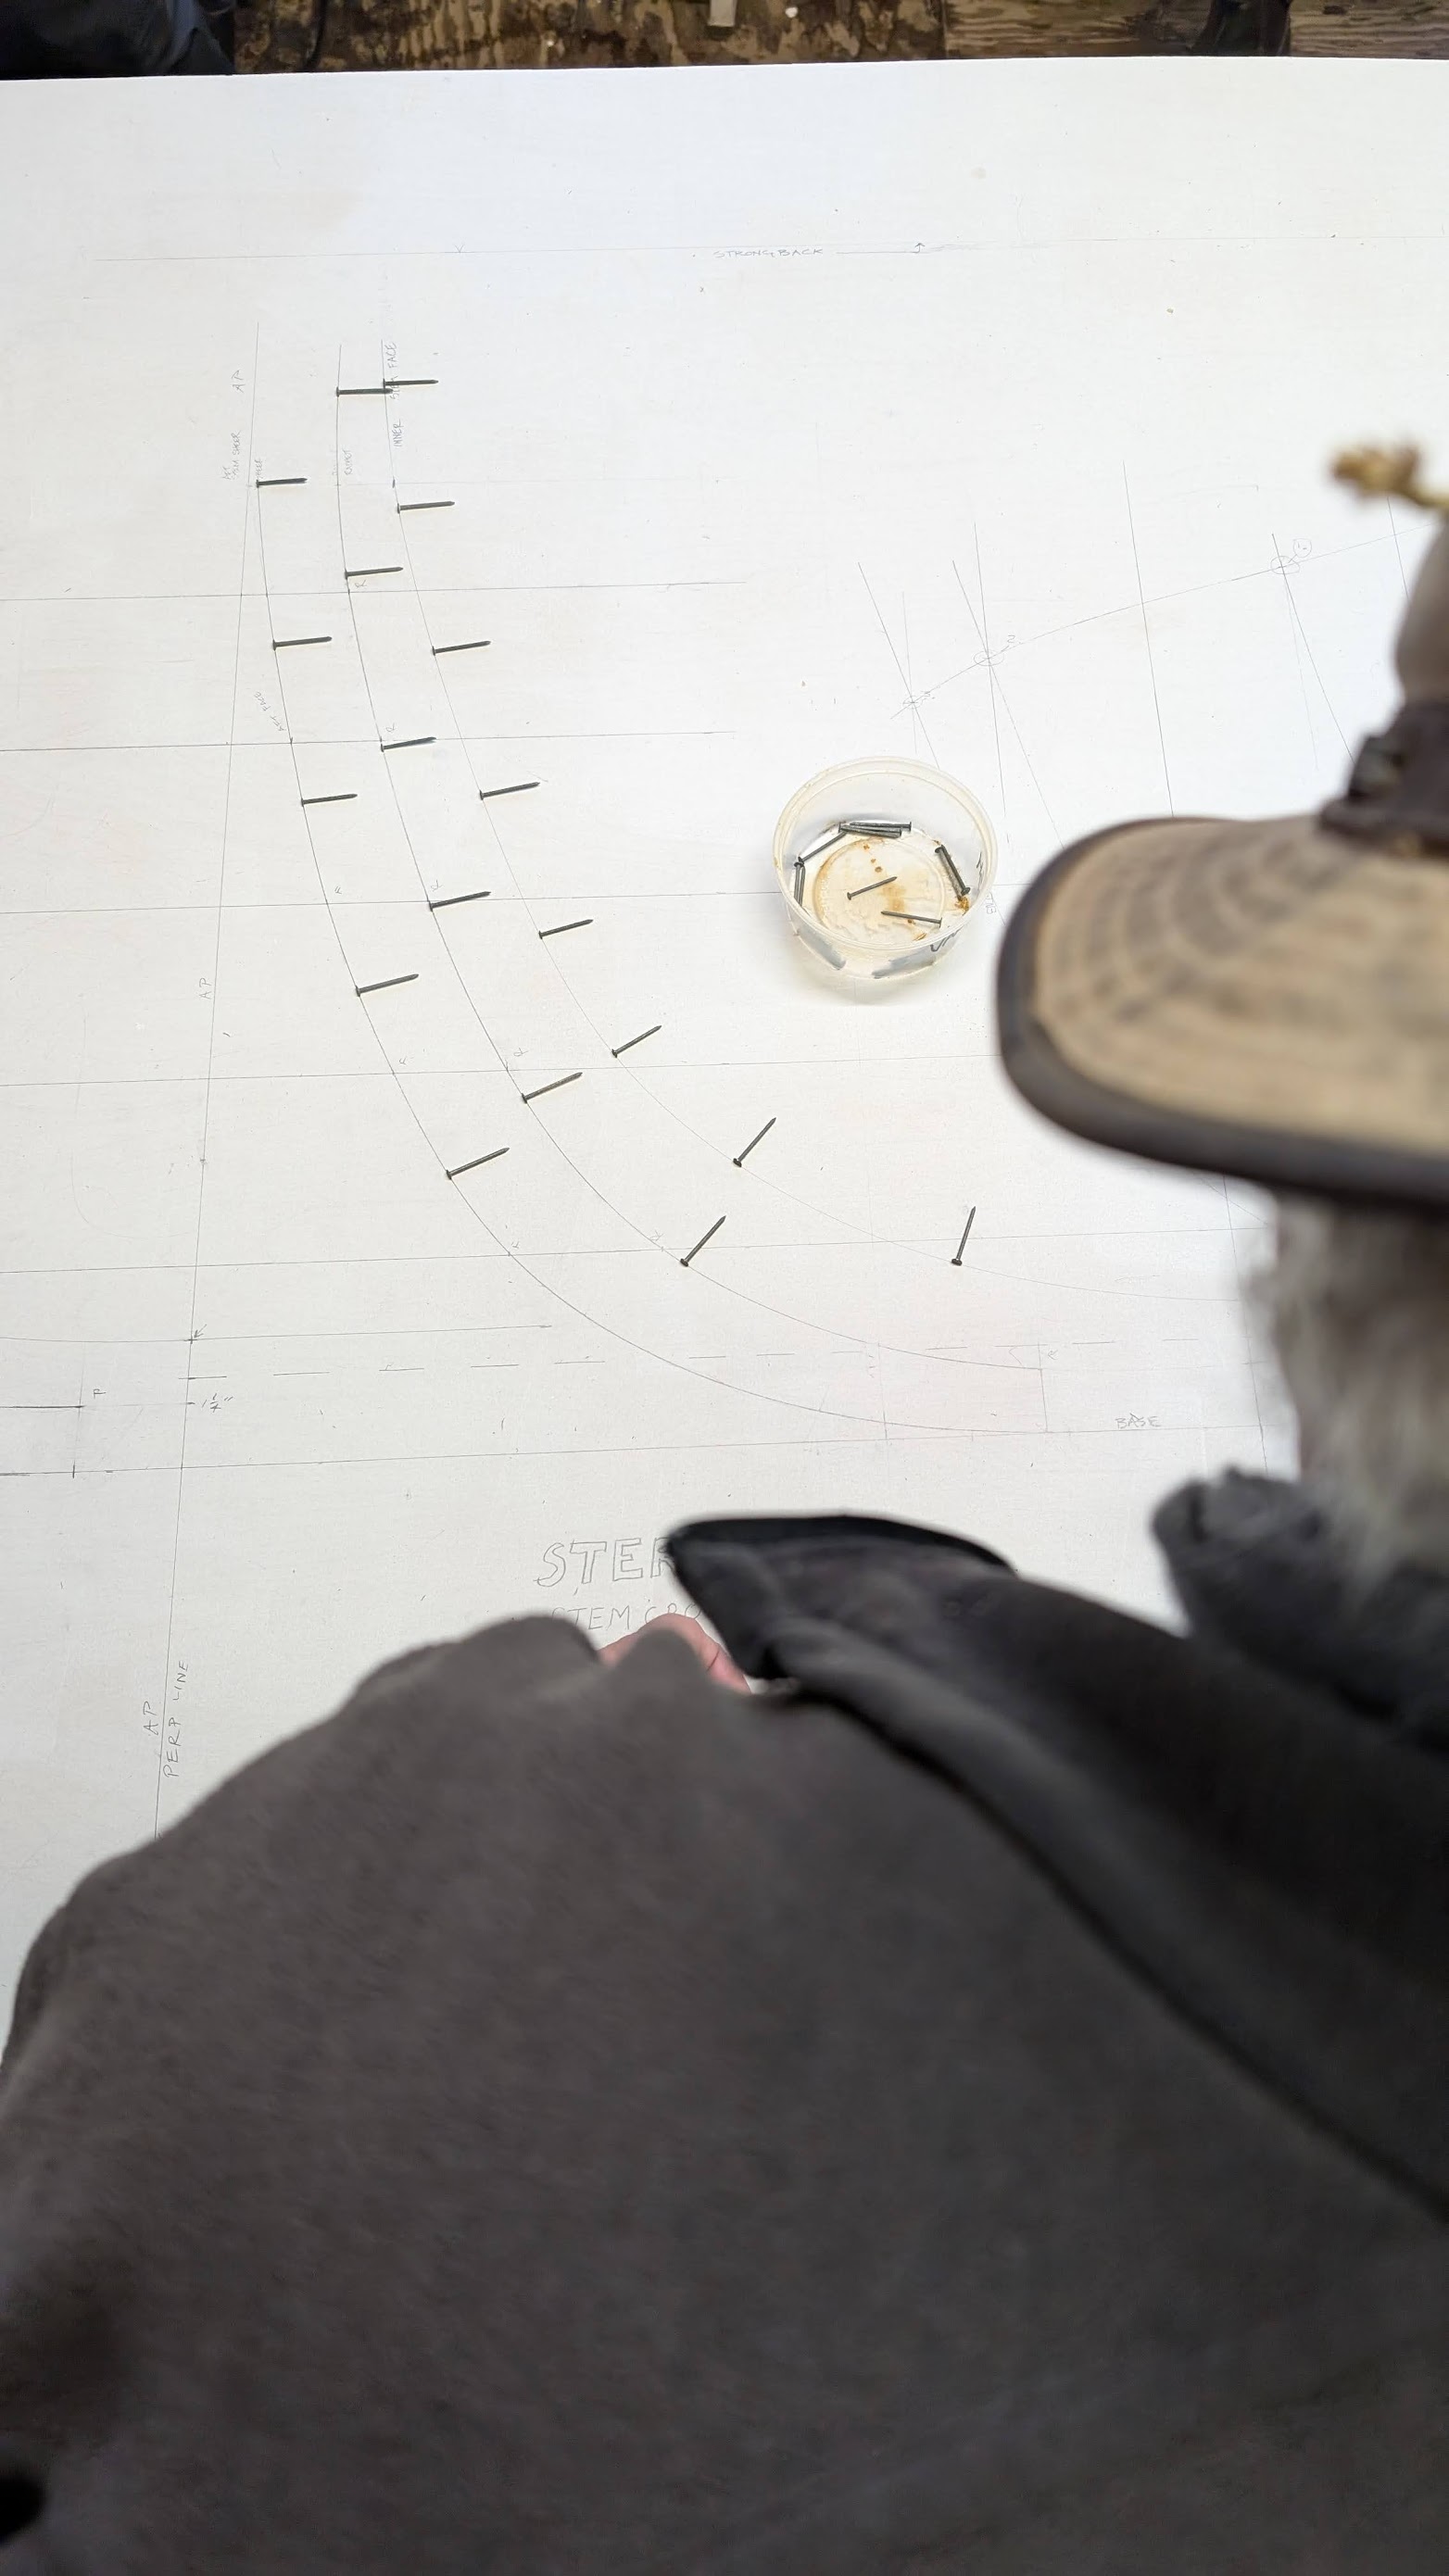
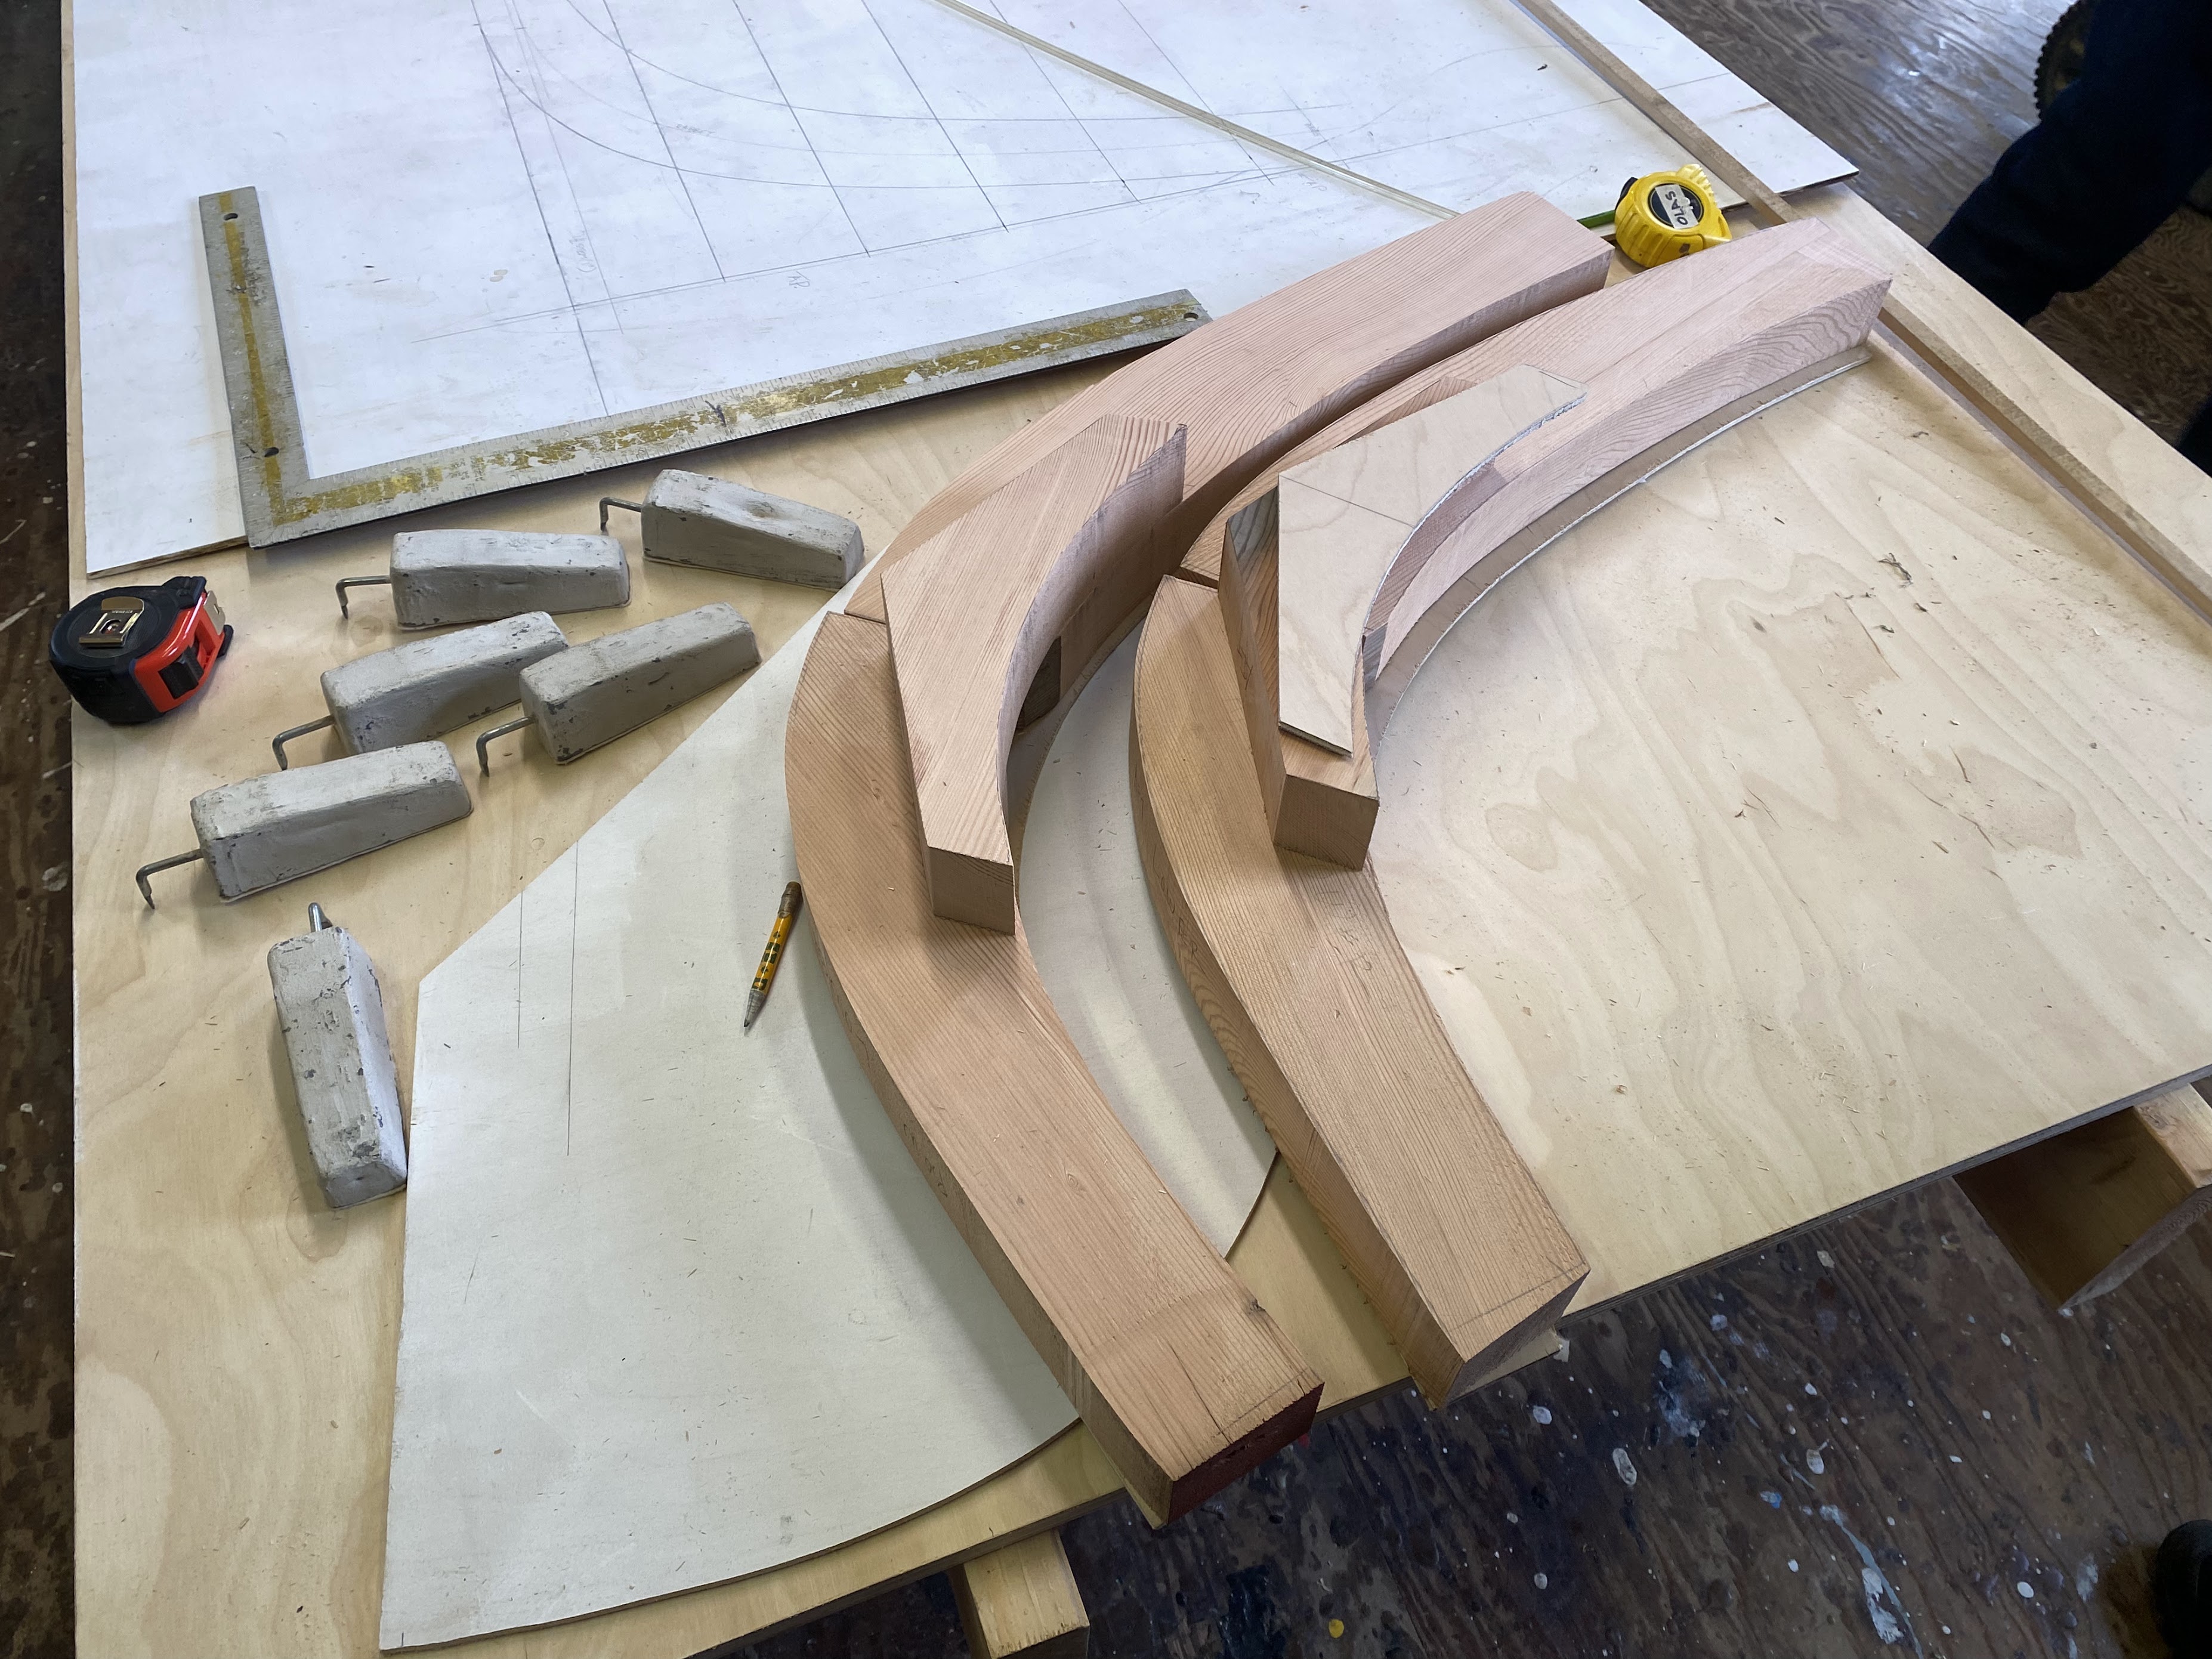
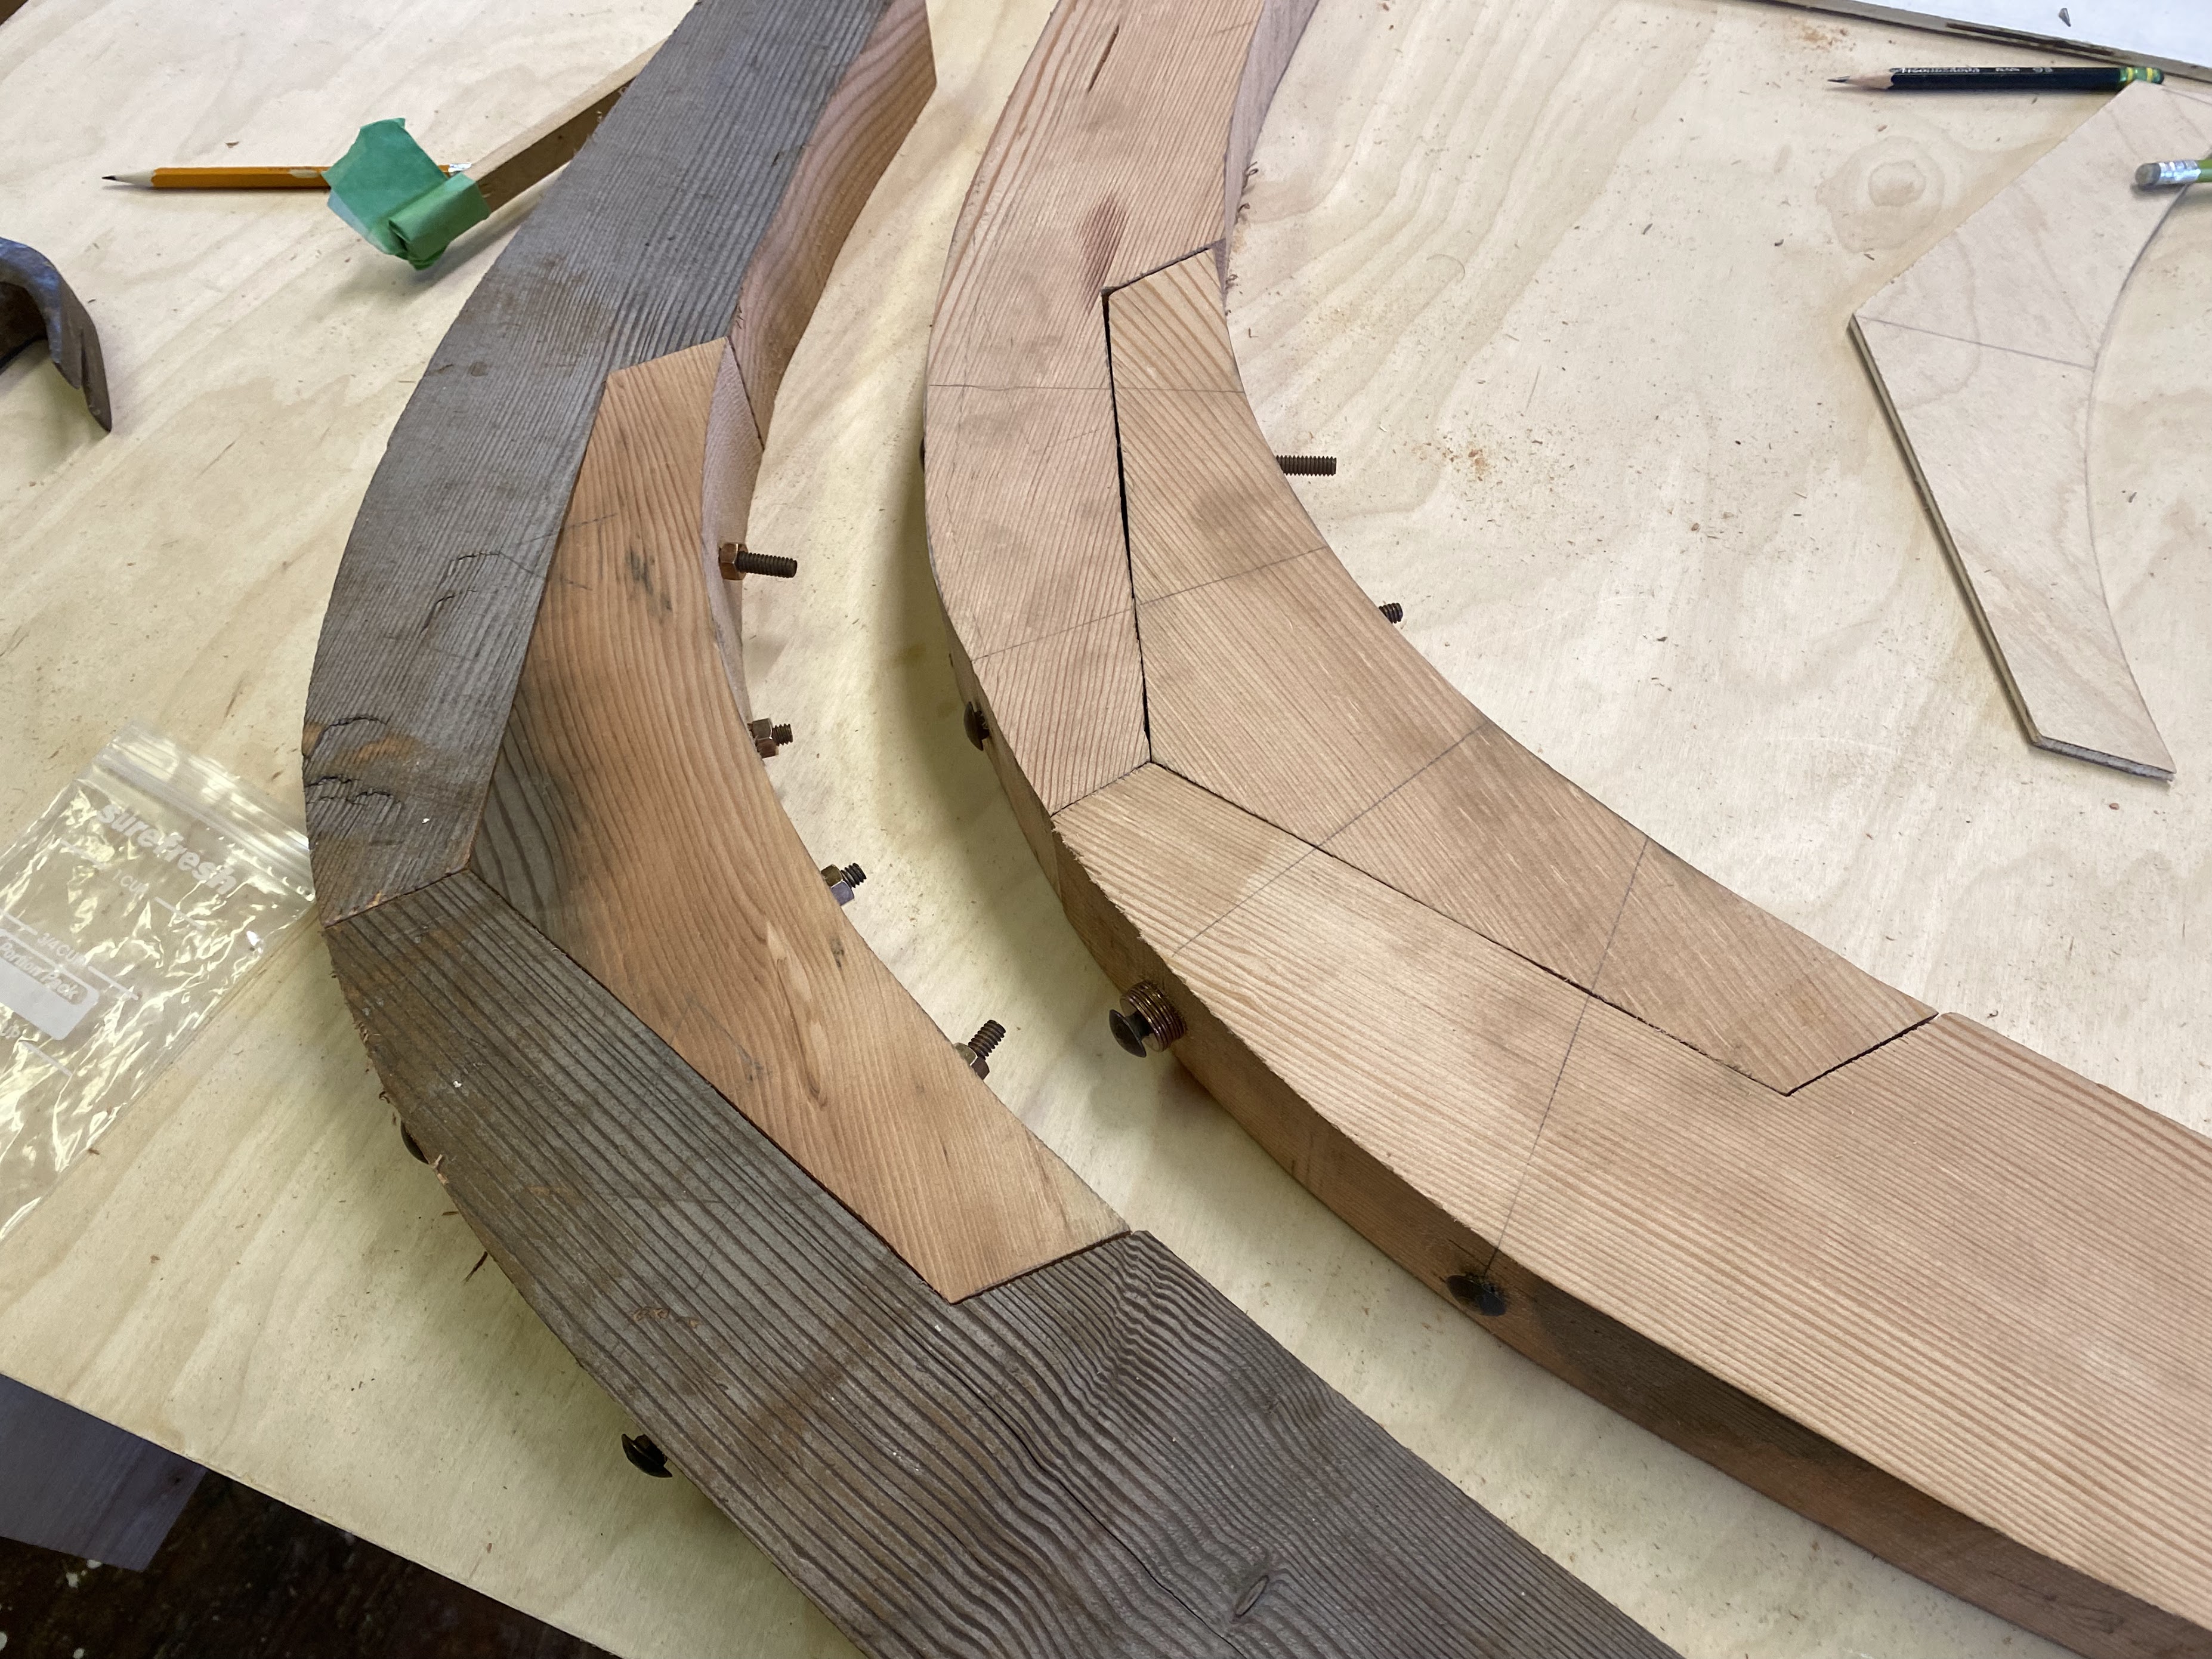
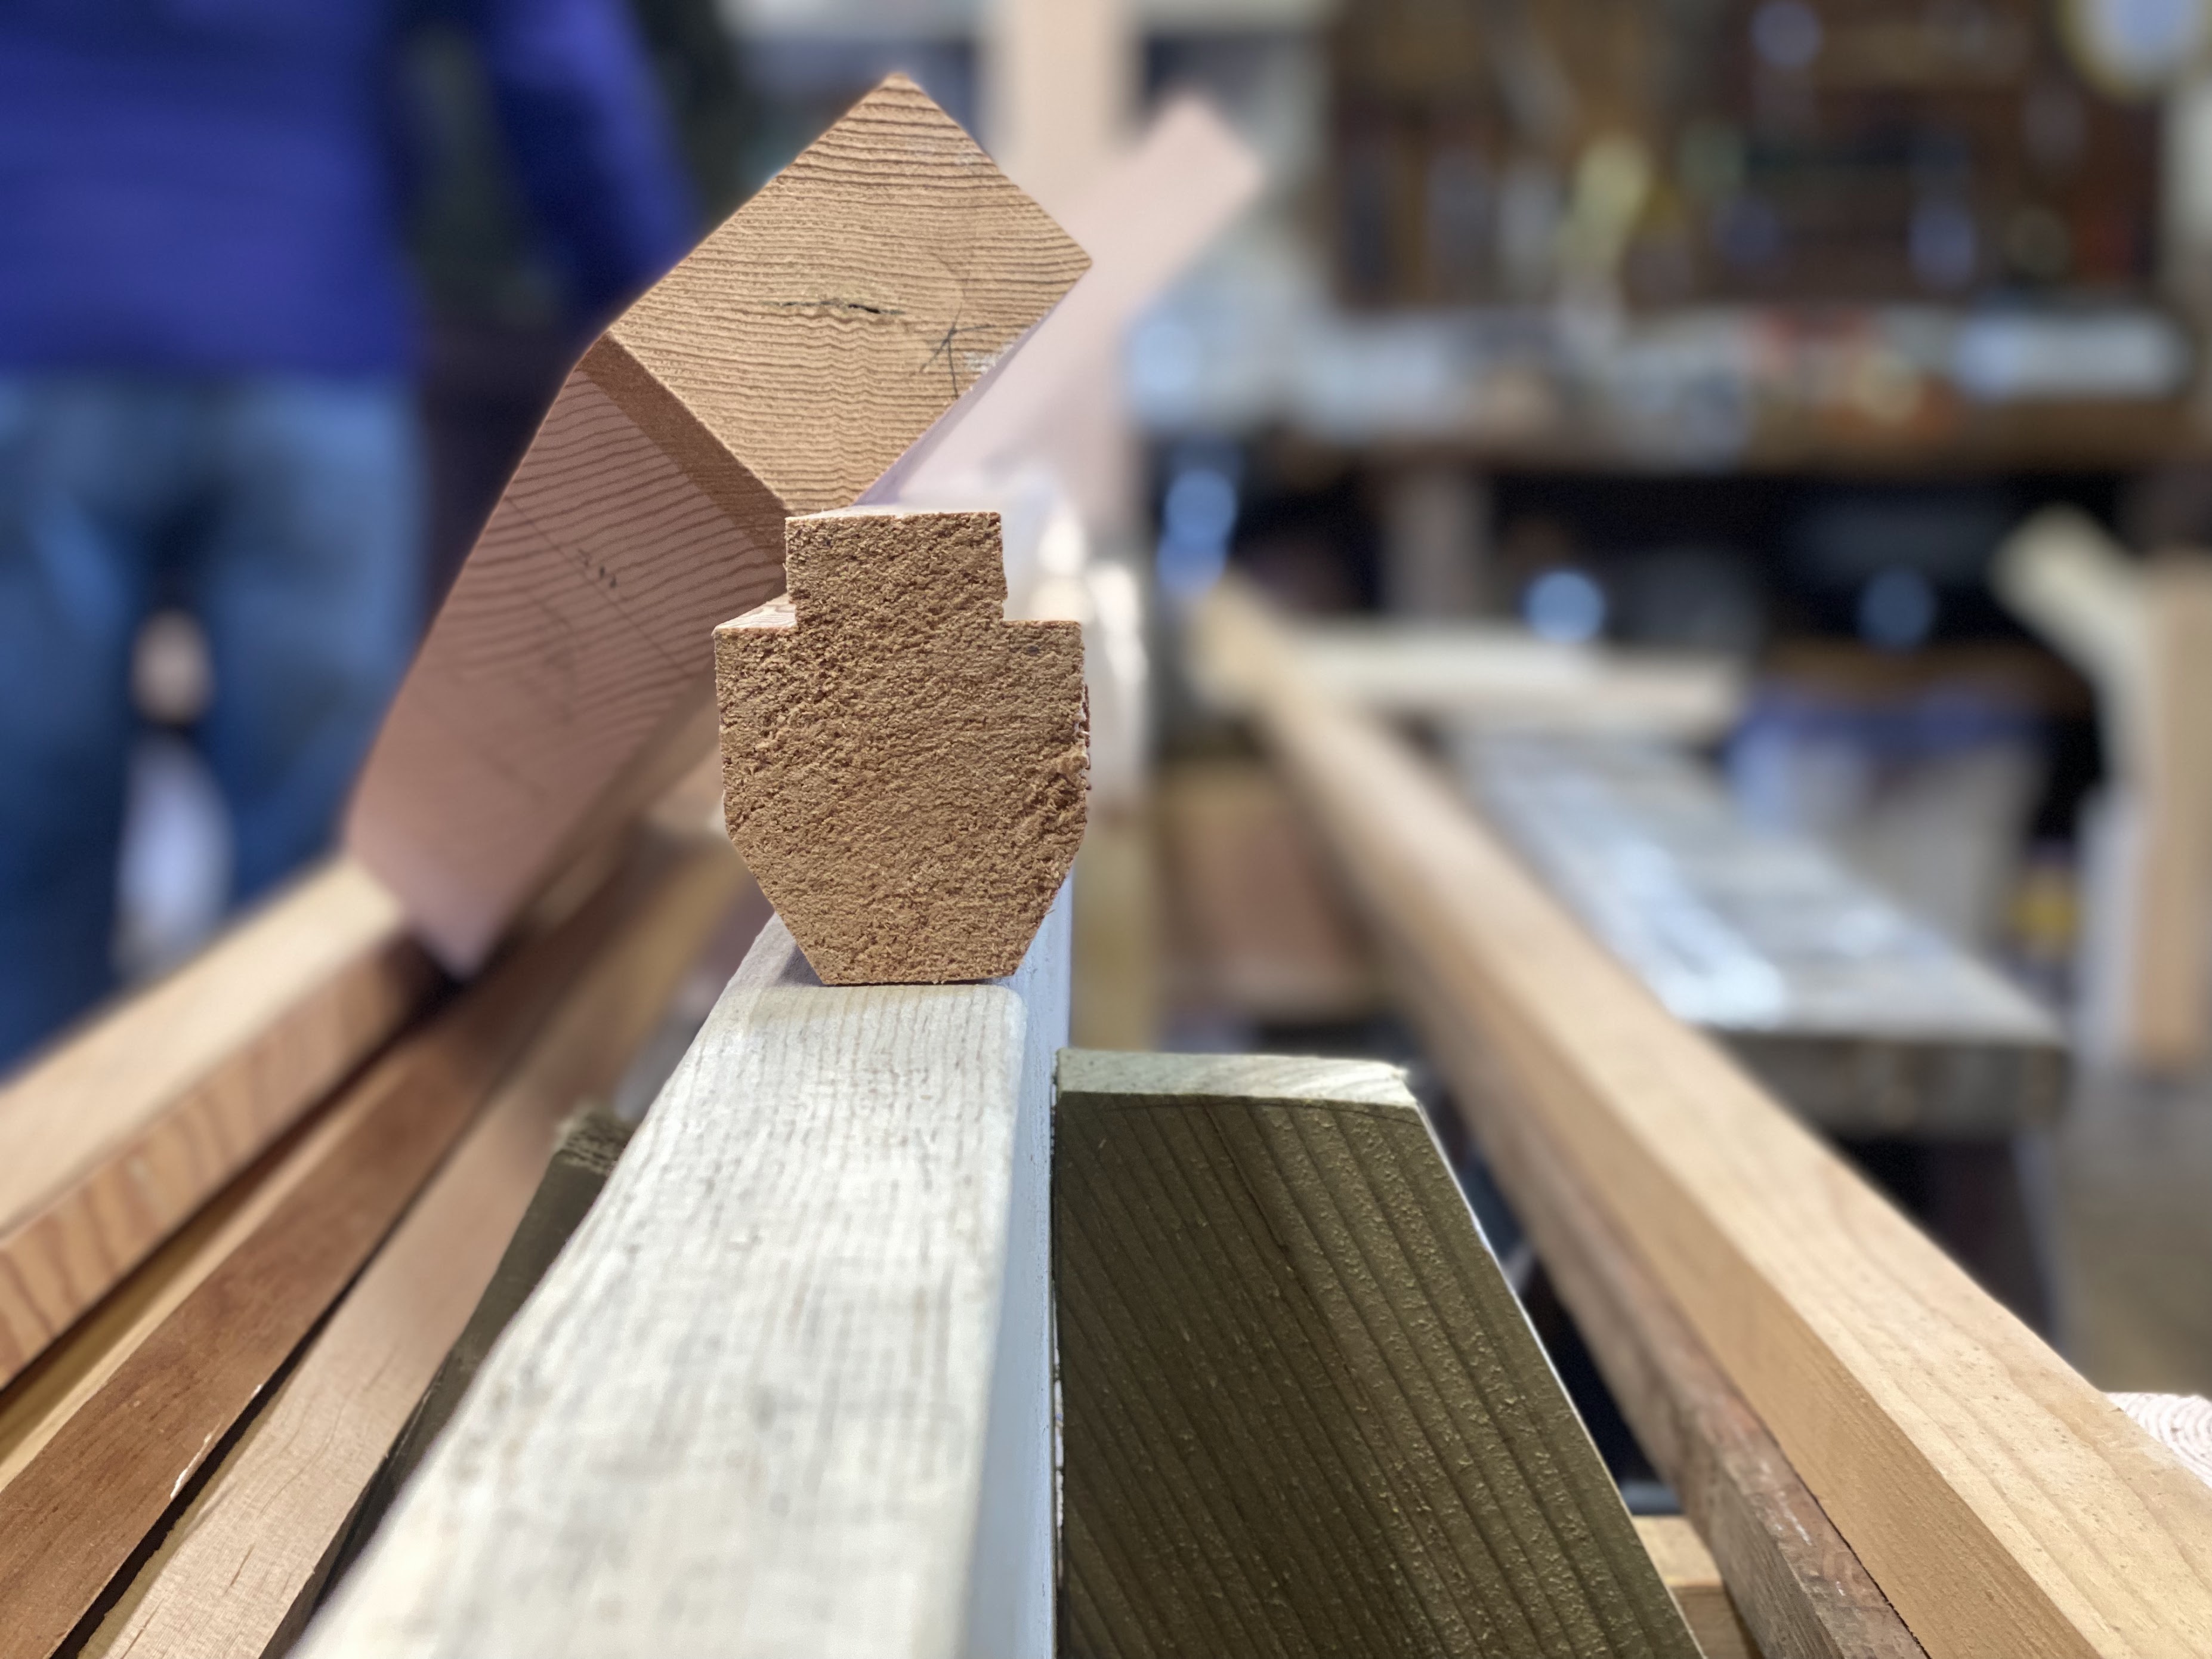
The rabbets in the stem and stern post were cut by chisel and mallet, carefully following the lines laid out from our lofting. We made some short sections of planking, steam bent into the twisted shape that the garboards (bottom-most planks next to the keel) will take at each end of the boat. That guided us in cutting the rabbet to the right shape.
Next up was the ribbands, which were screwed to the moulds. These are temporary strips that we then bent the ribs into, so they had to be strong enough to hold that force, and to keep their proper shape.

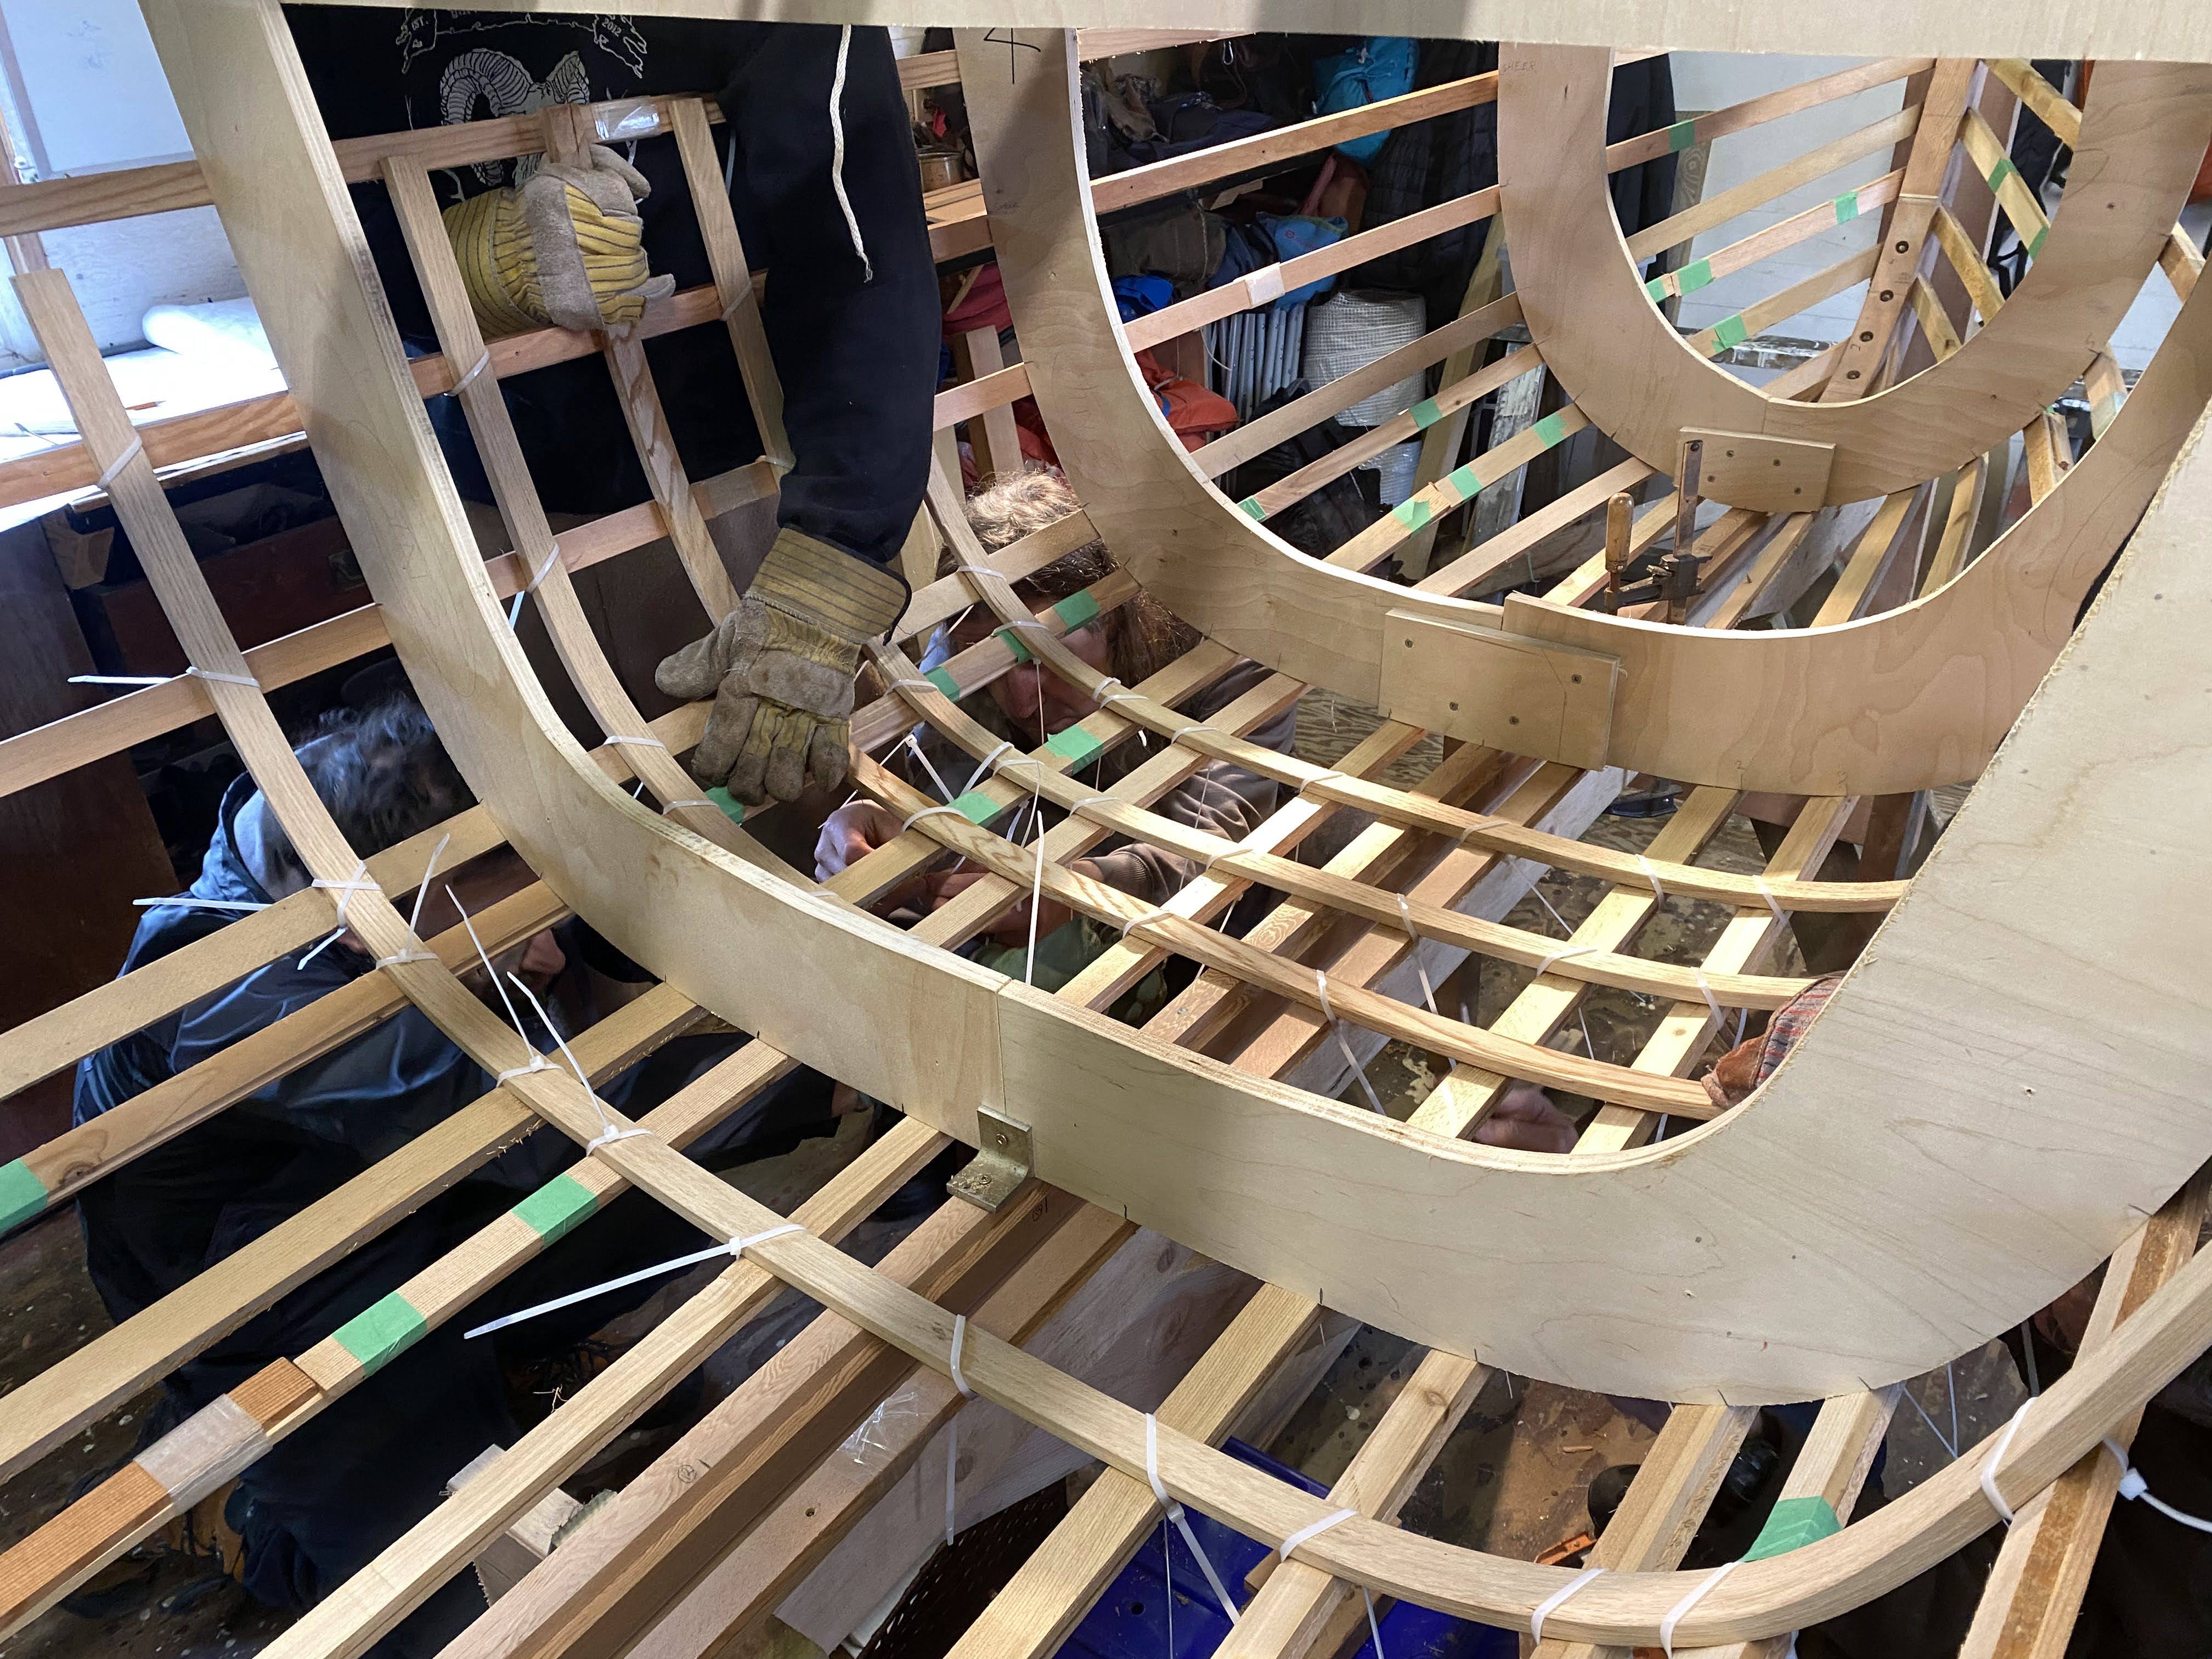

When we got to steam-bending the ribs, we found that the strips that we cut from the donated log were sadly too knotty – a lot of tiny knots that barely showed up – until we started bending them into shape, and they split or kinked. That was a disappointing turn of events – we had been quite hopeful that we could use that great local source of material. And it meant that we had to go and buy a board of suitable white oak. THAT was then cut into strips, and successfully bent in shape, thank goodness!


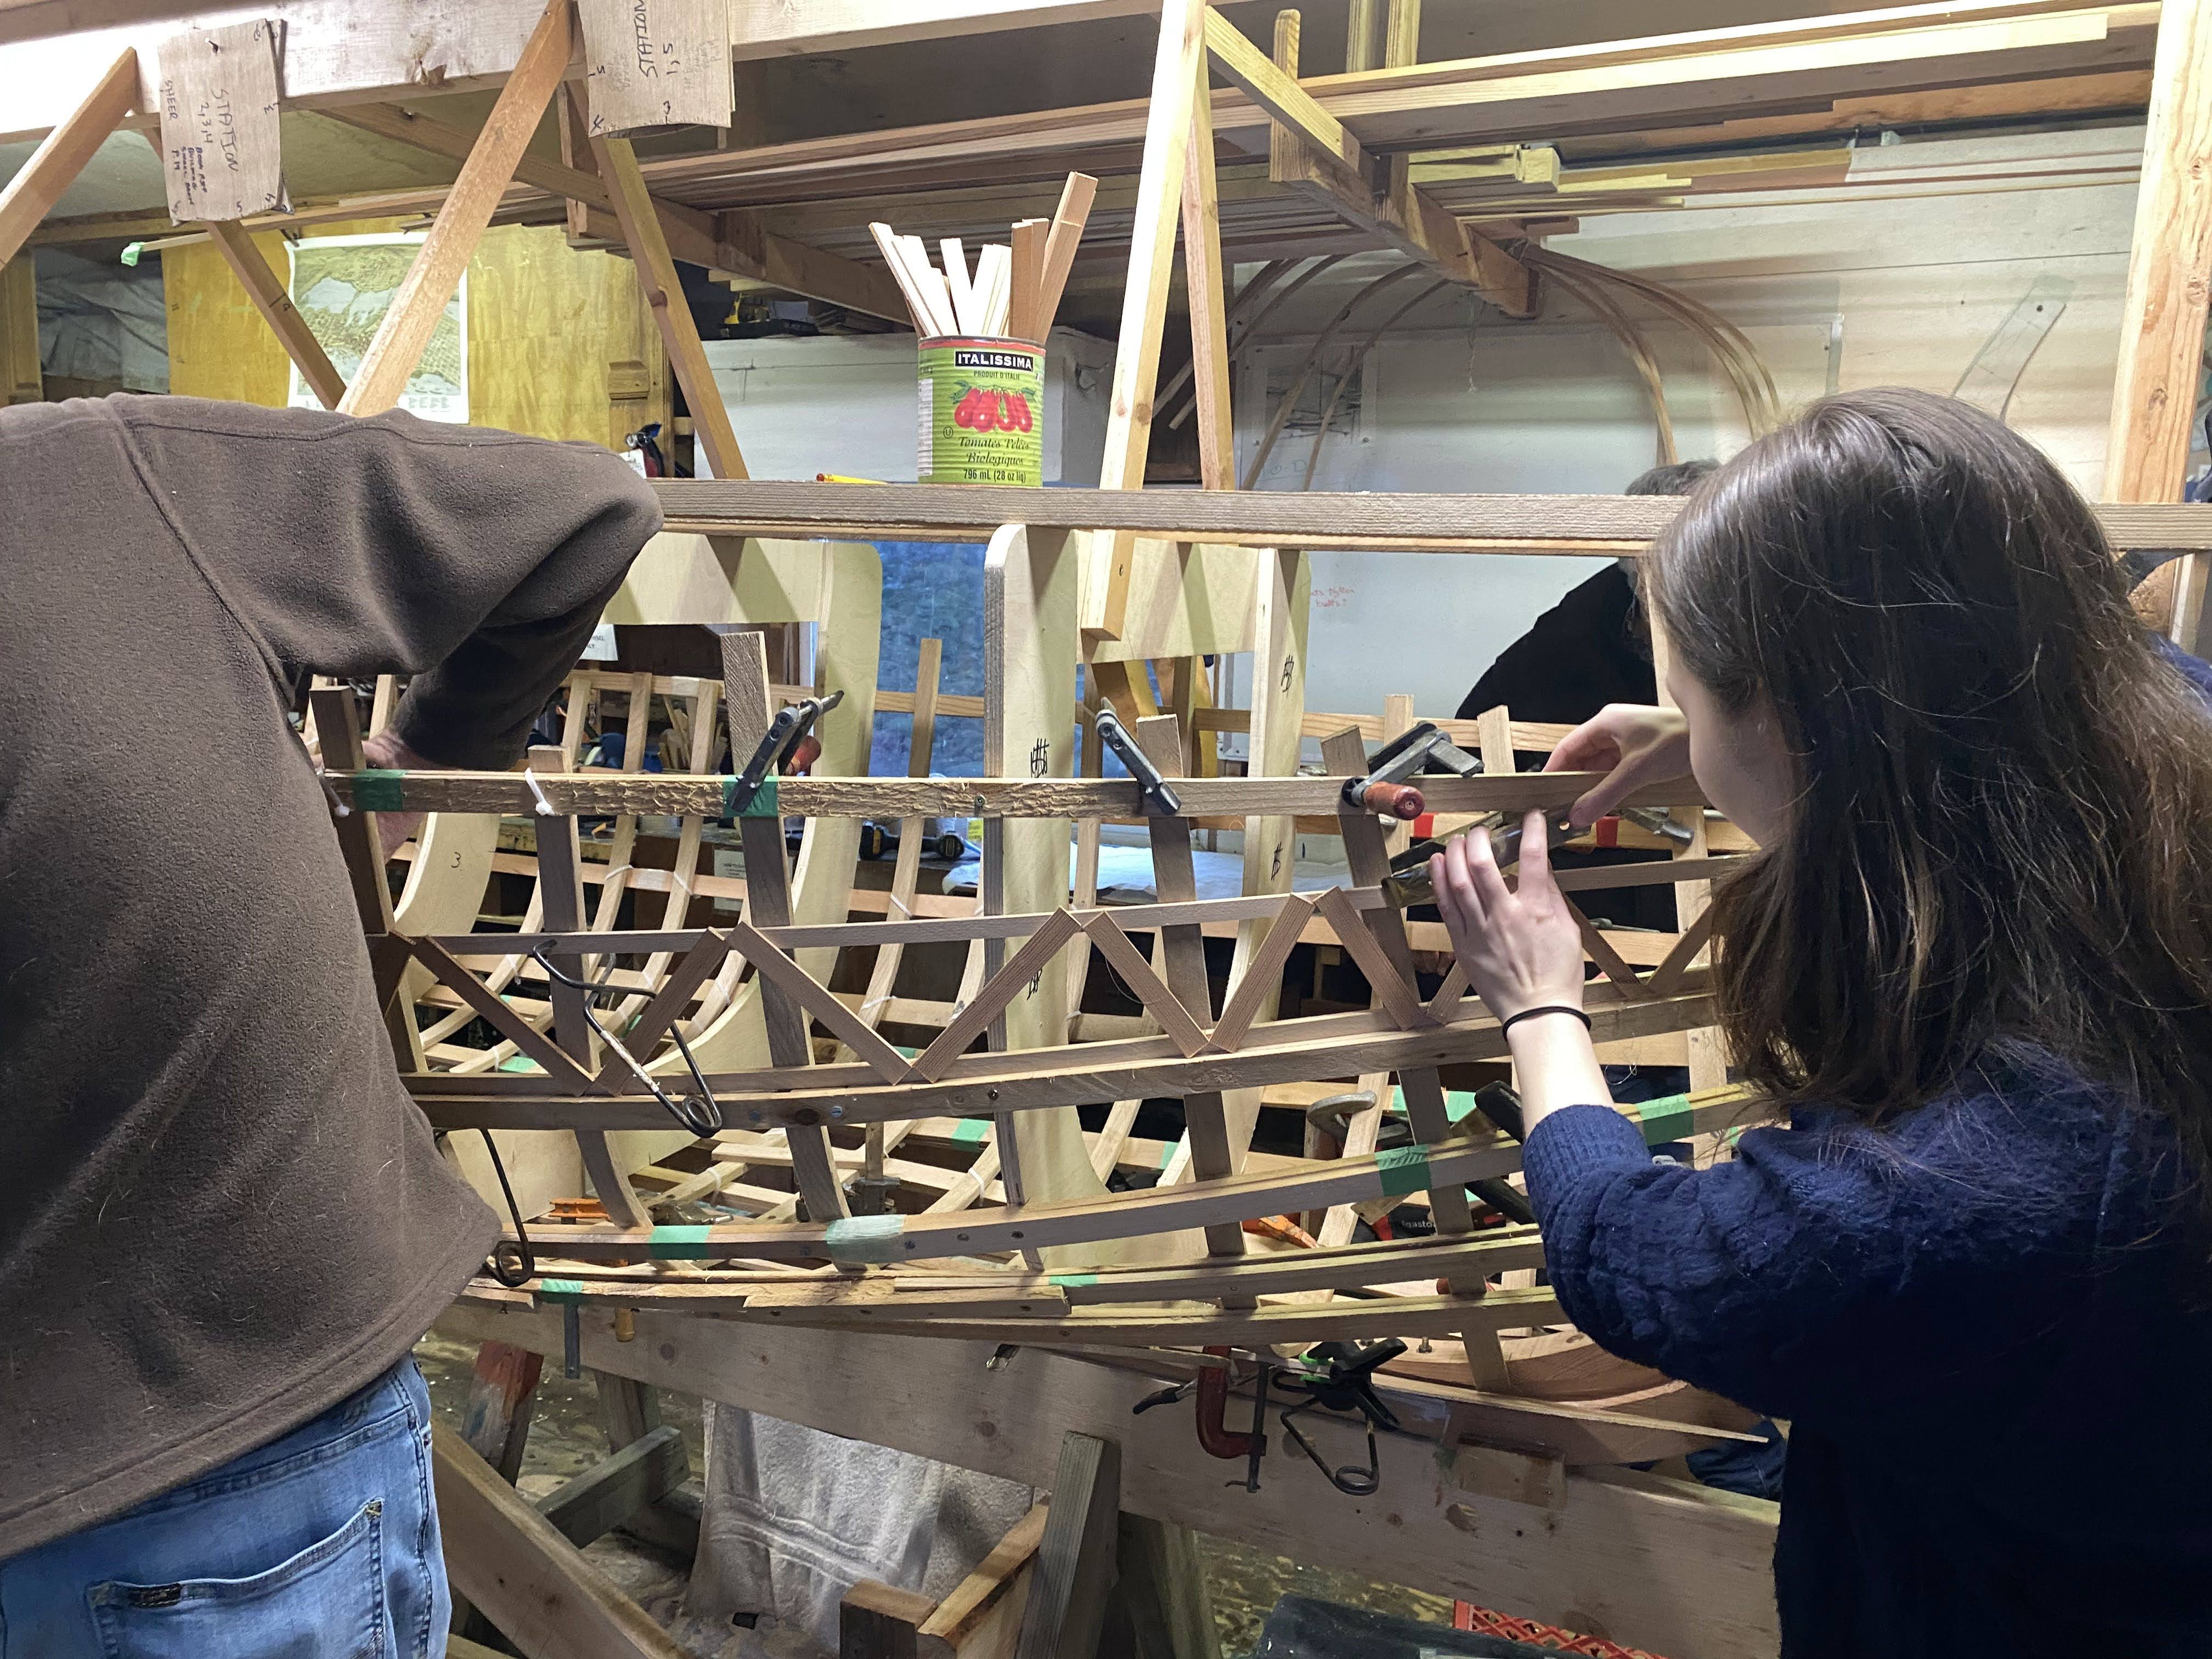

Next we formed the patterns for the sheer strake and garboard, using the lattice method – a batten was placed at each edge of where the plank will go, and connected to each other with a series of sticks hot-glued together.
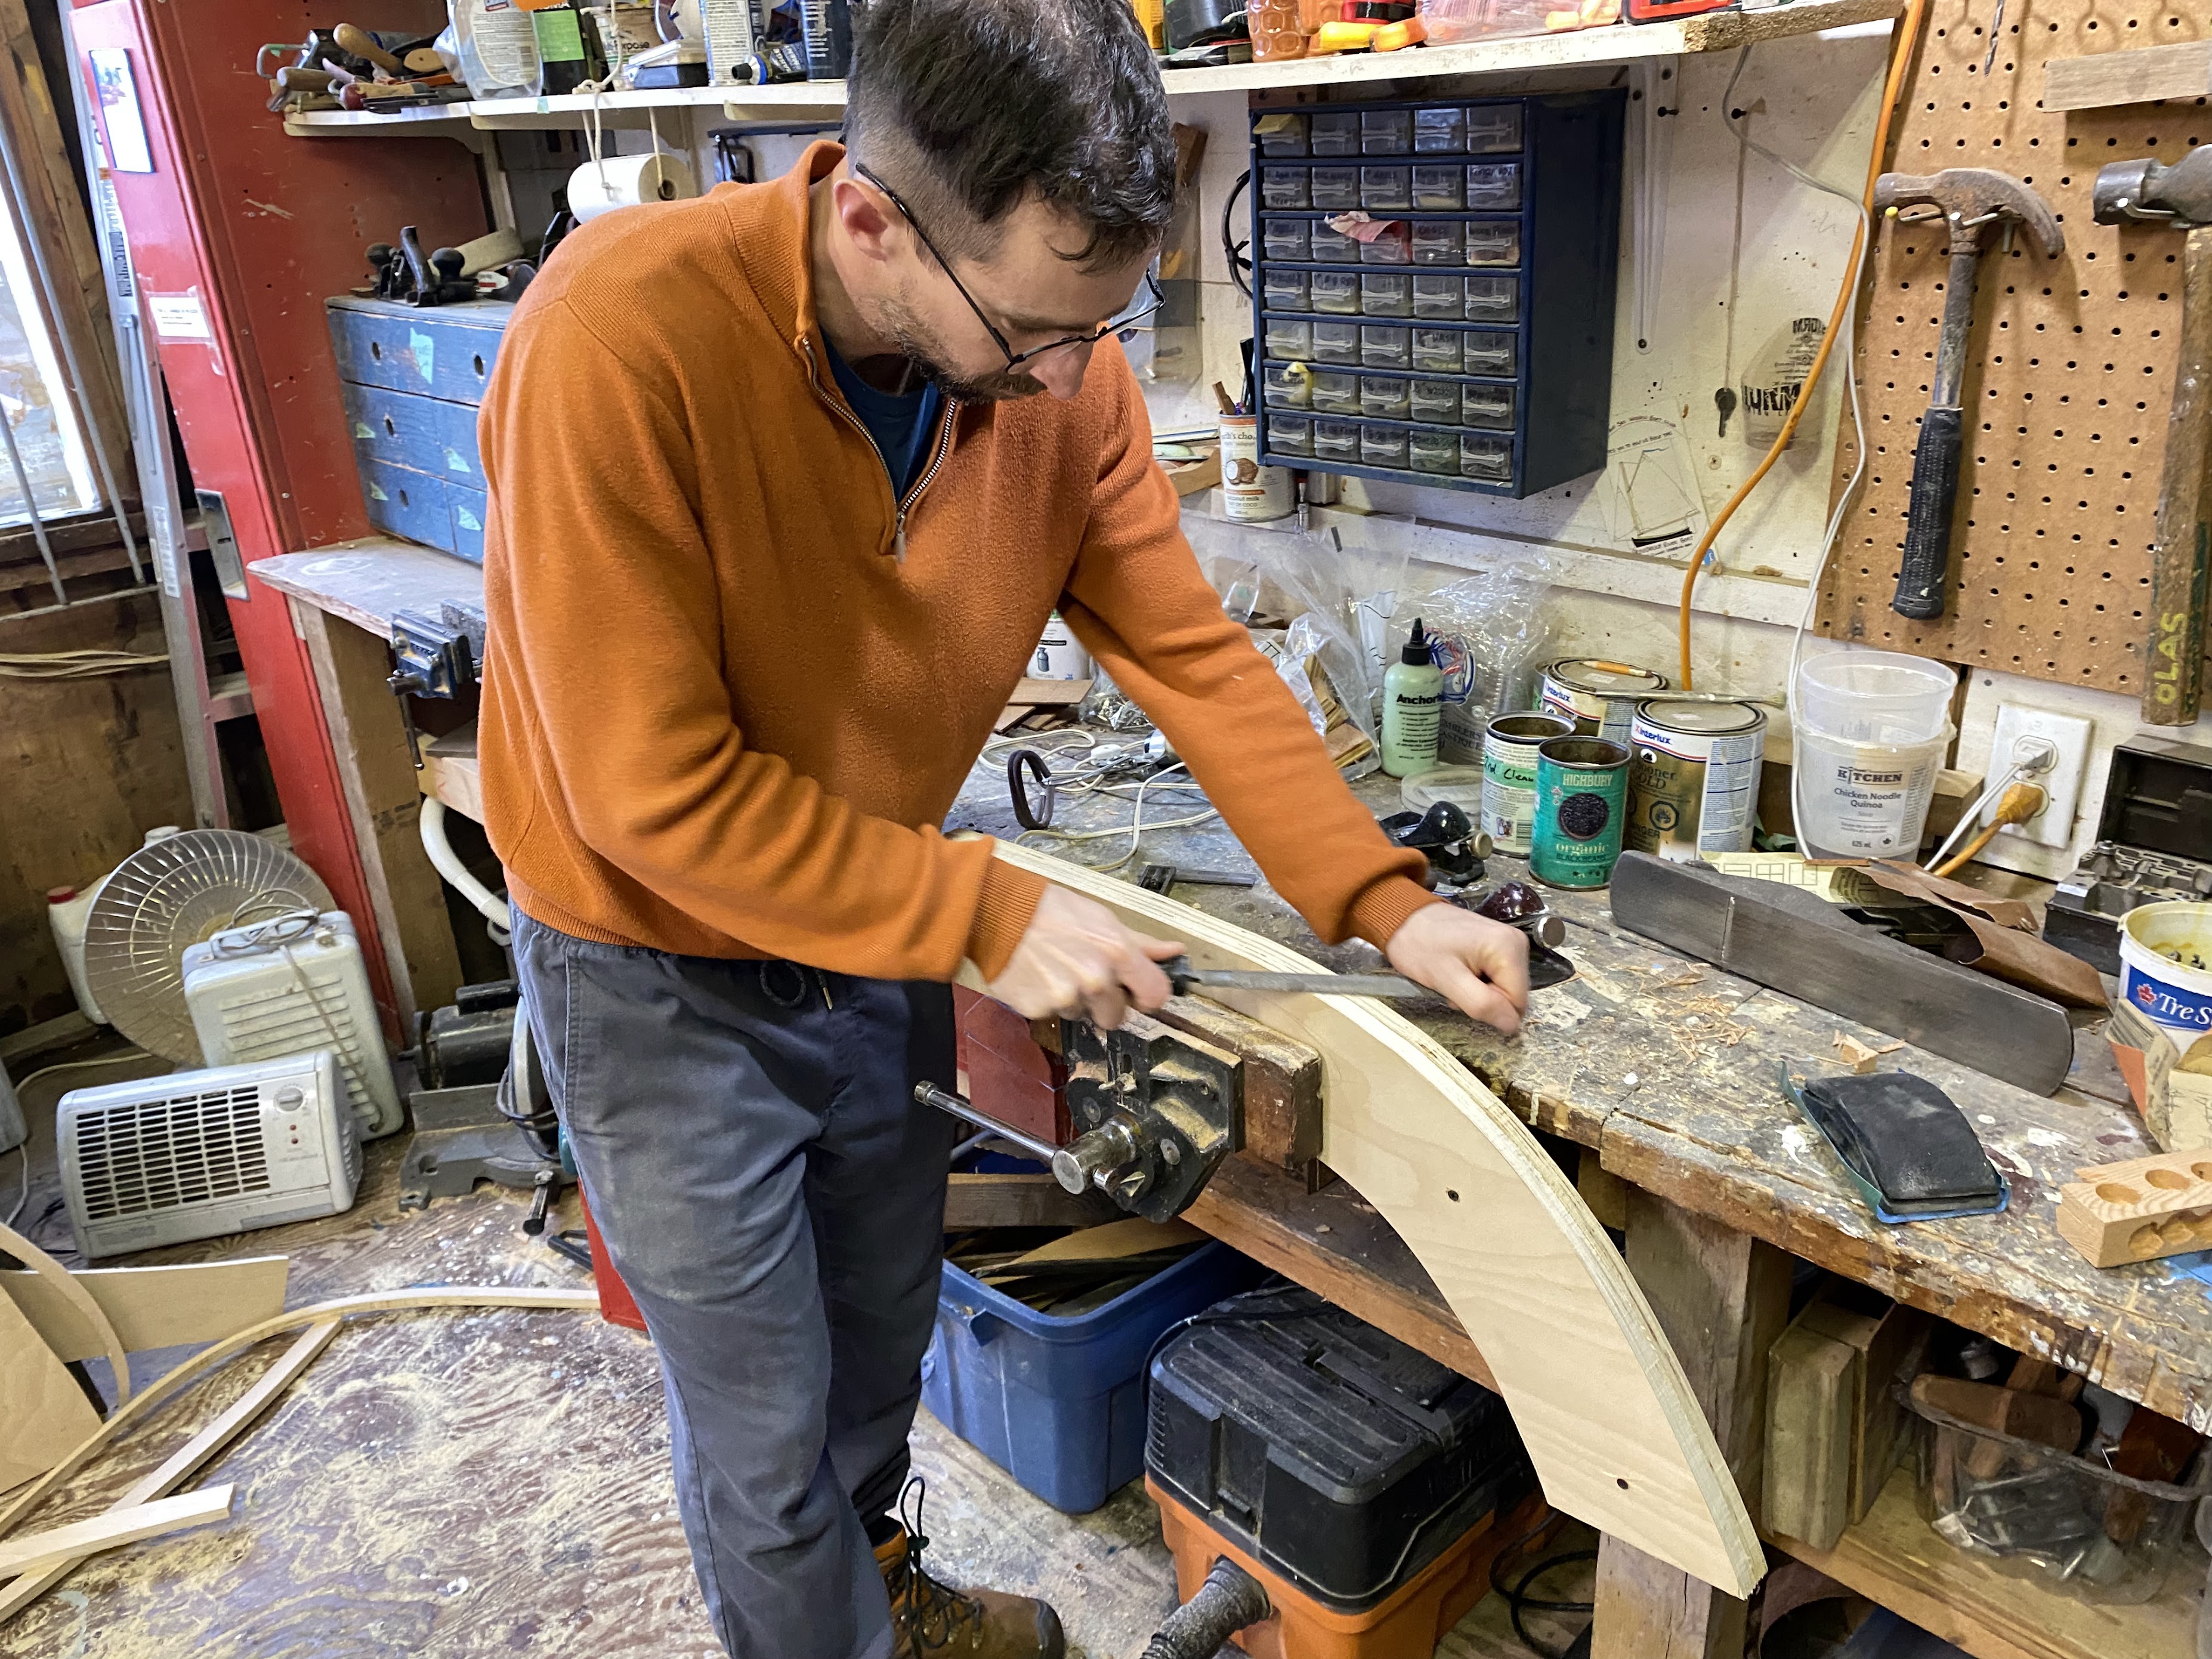
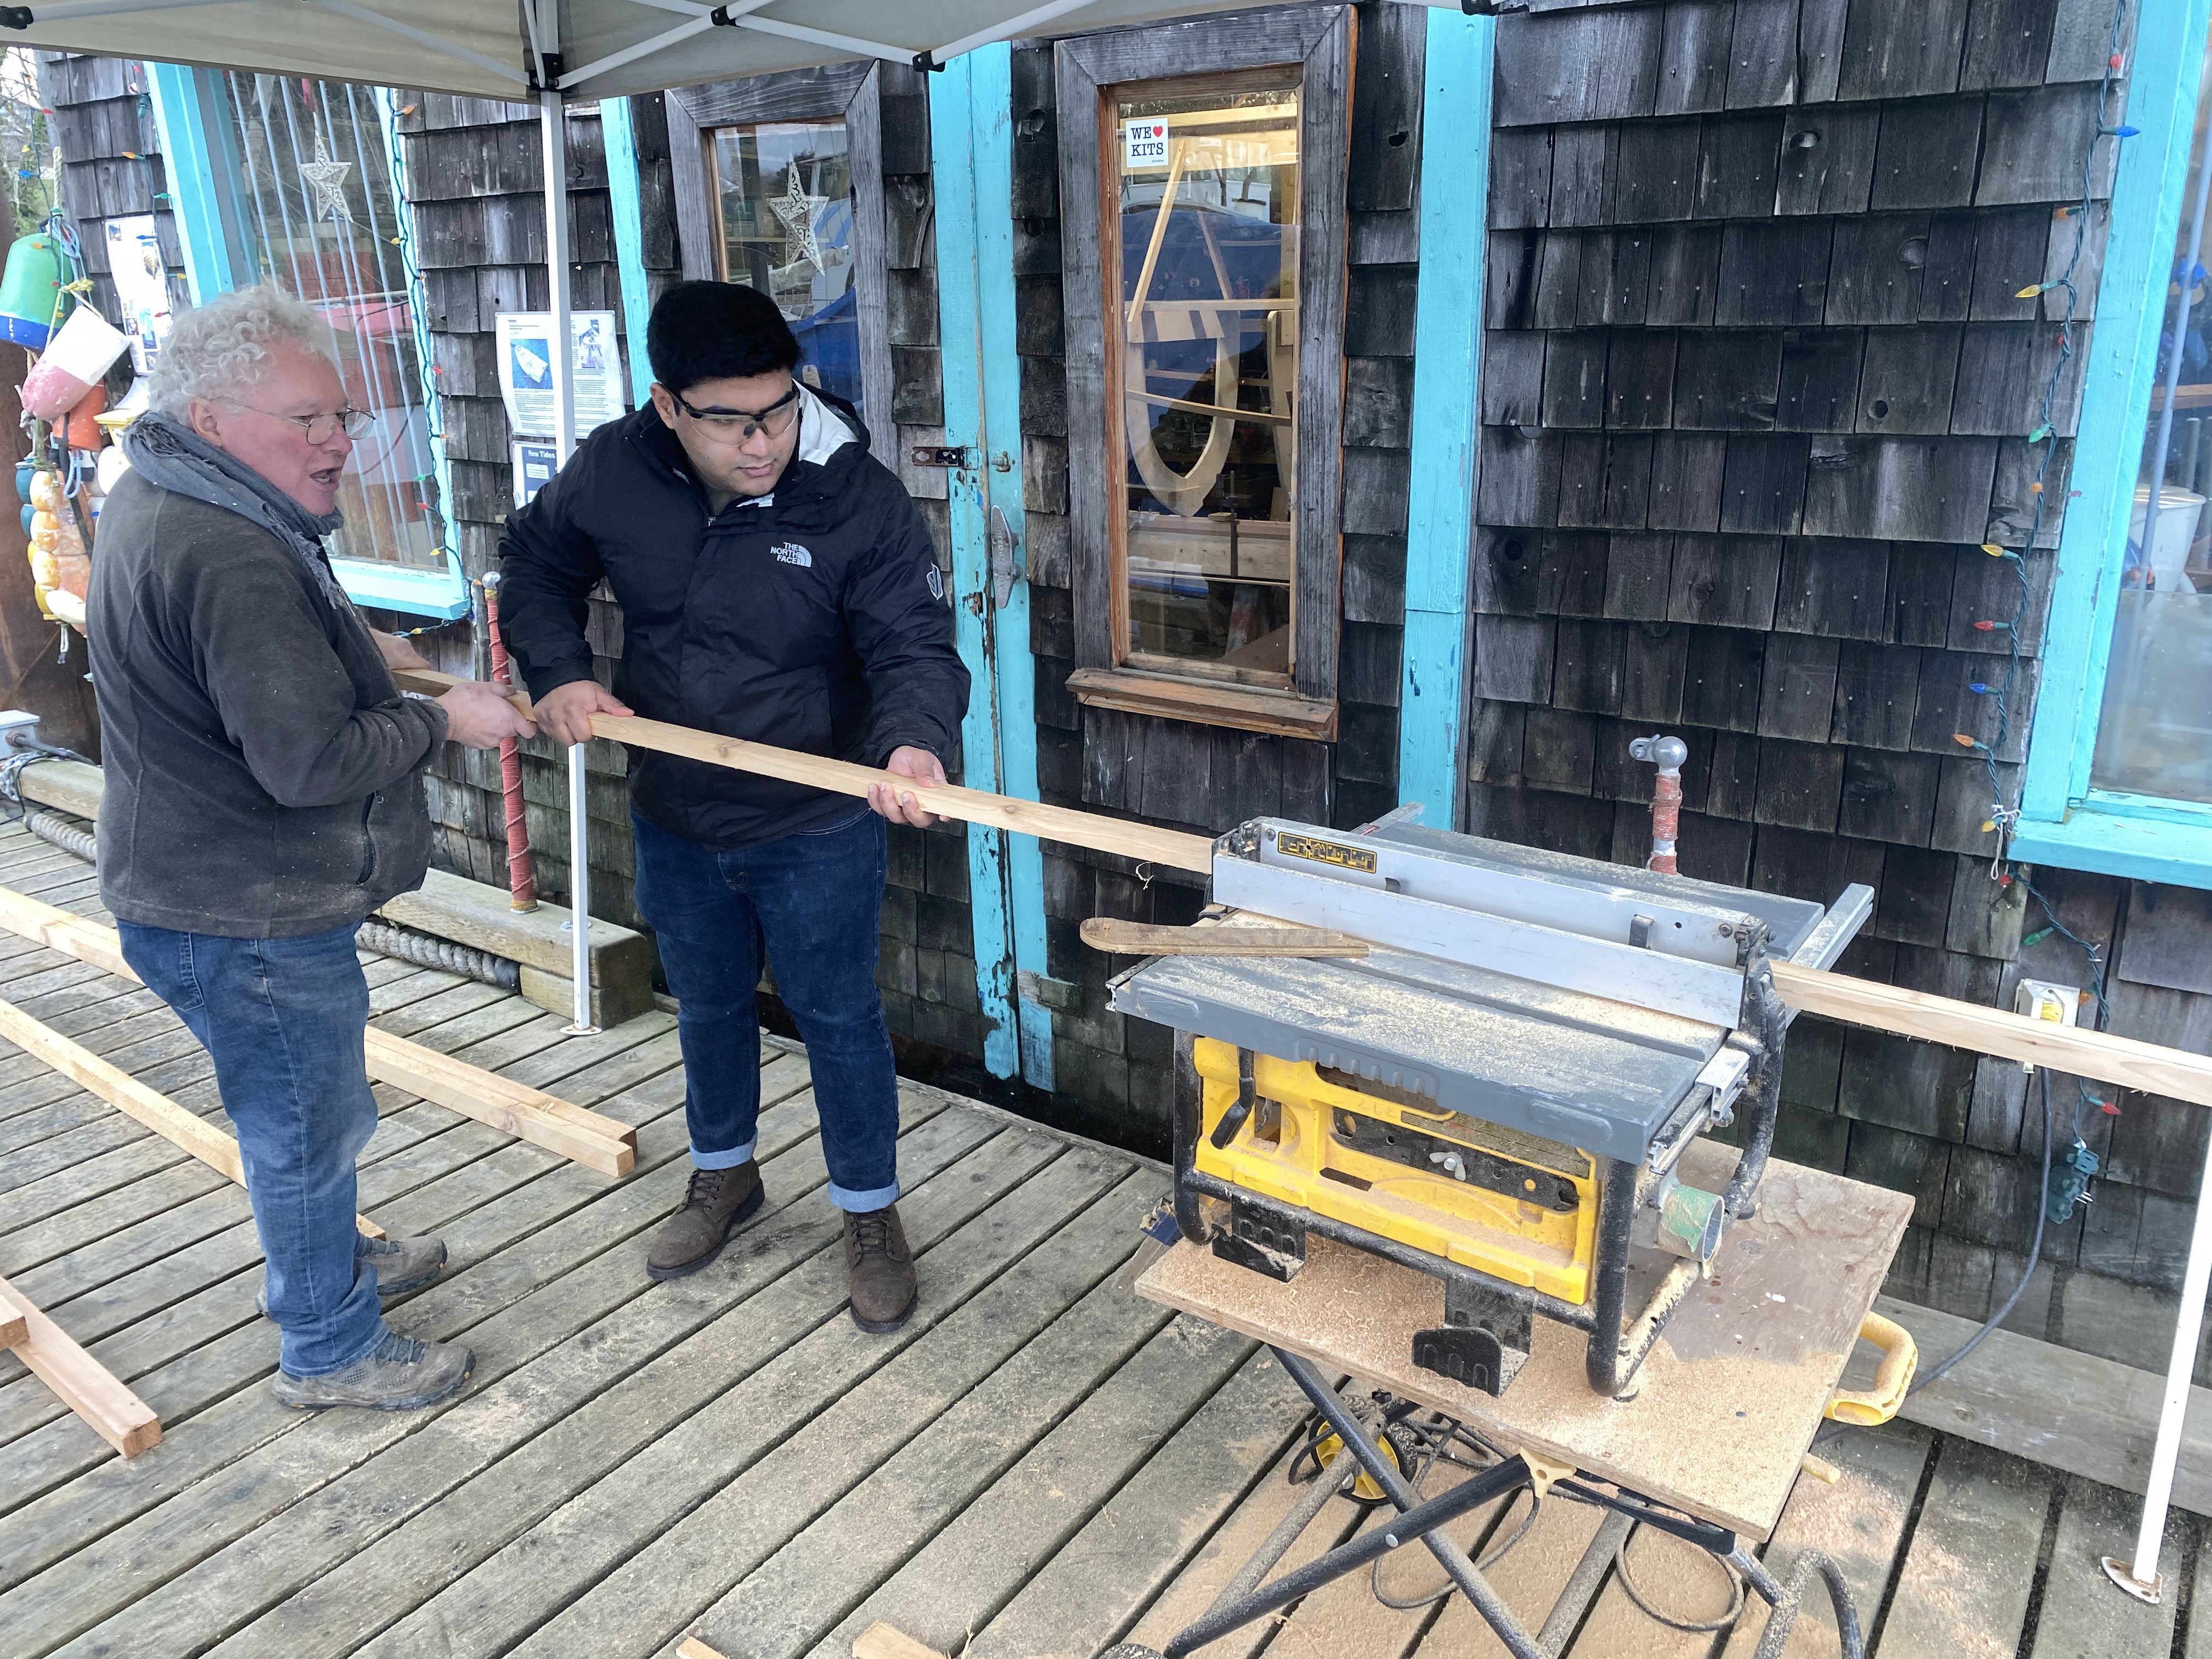
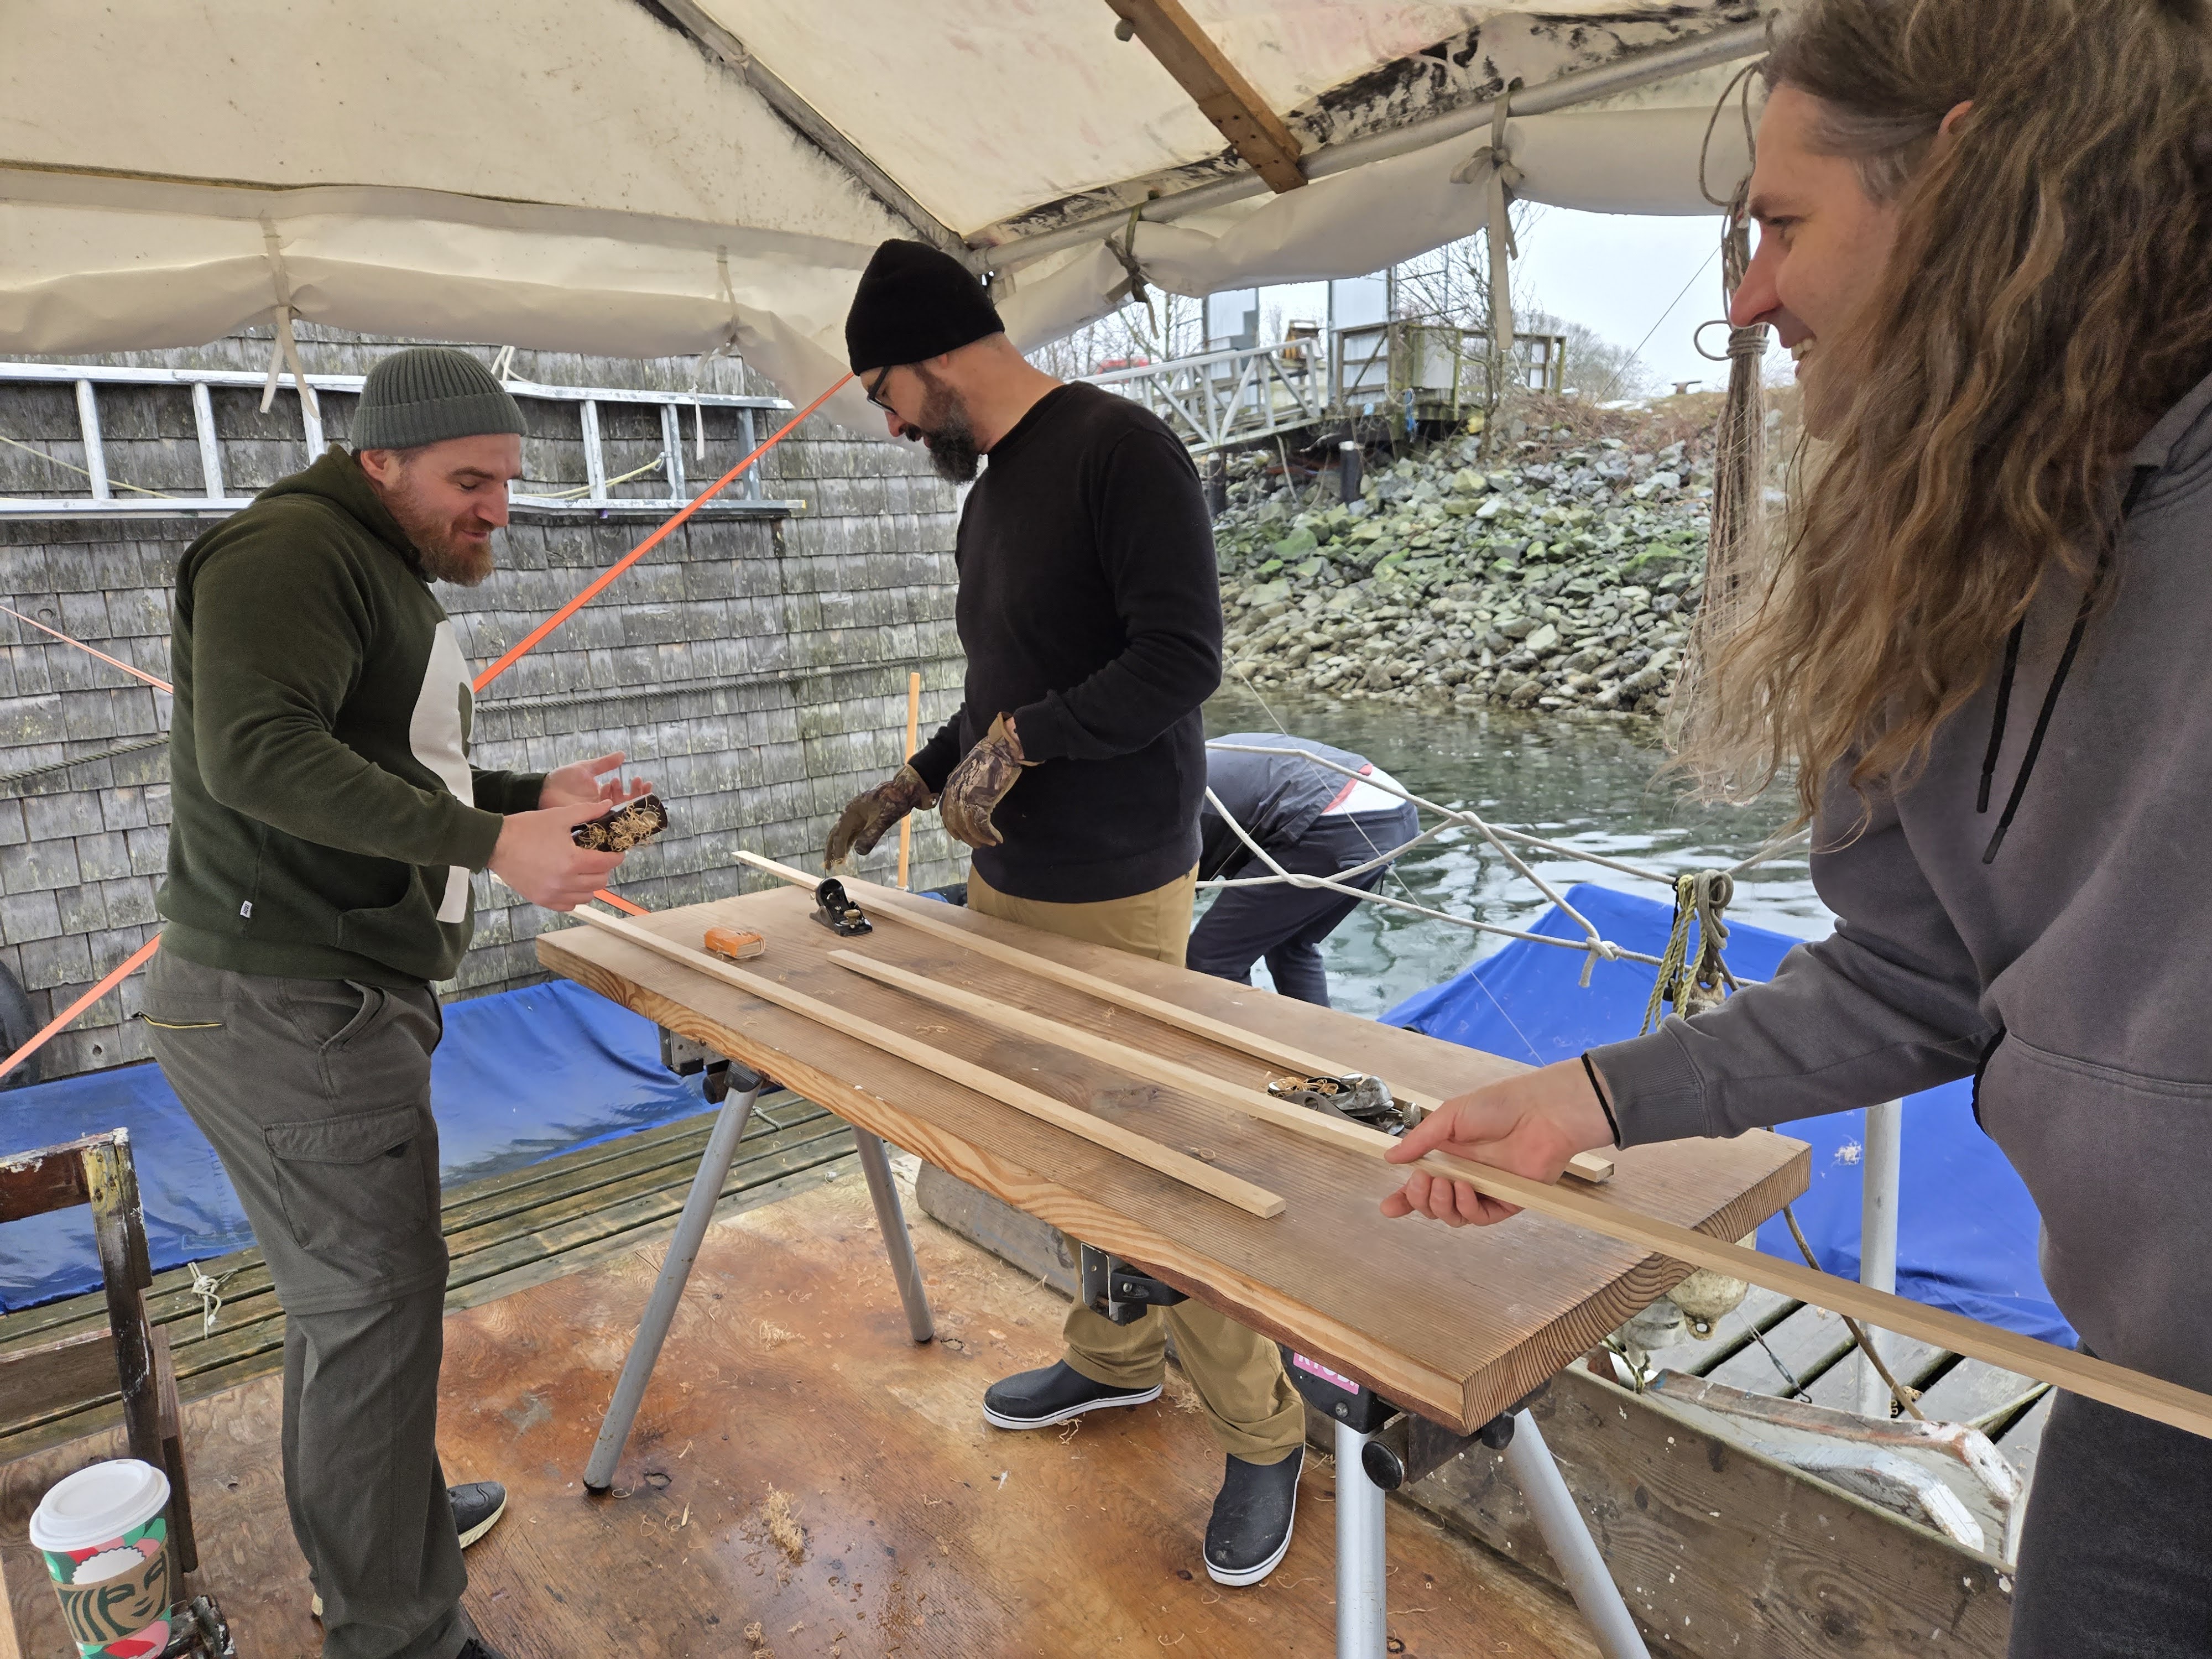
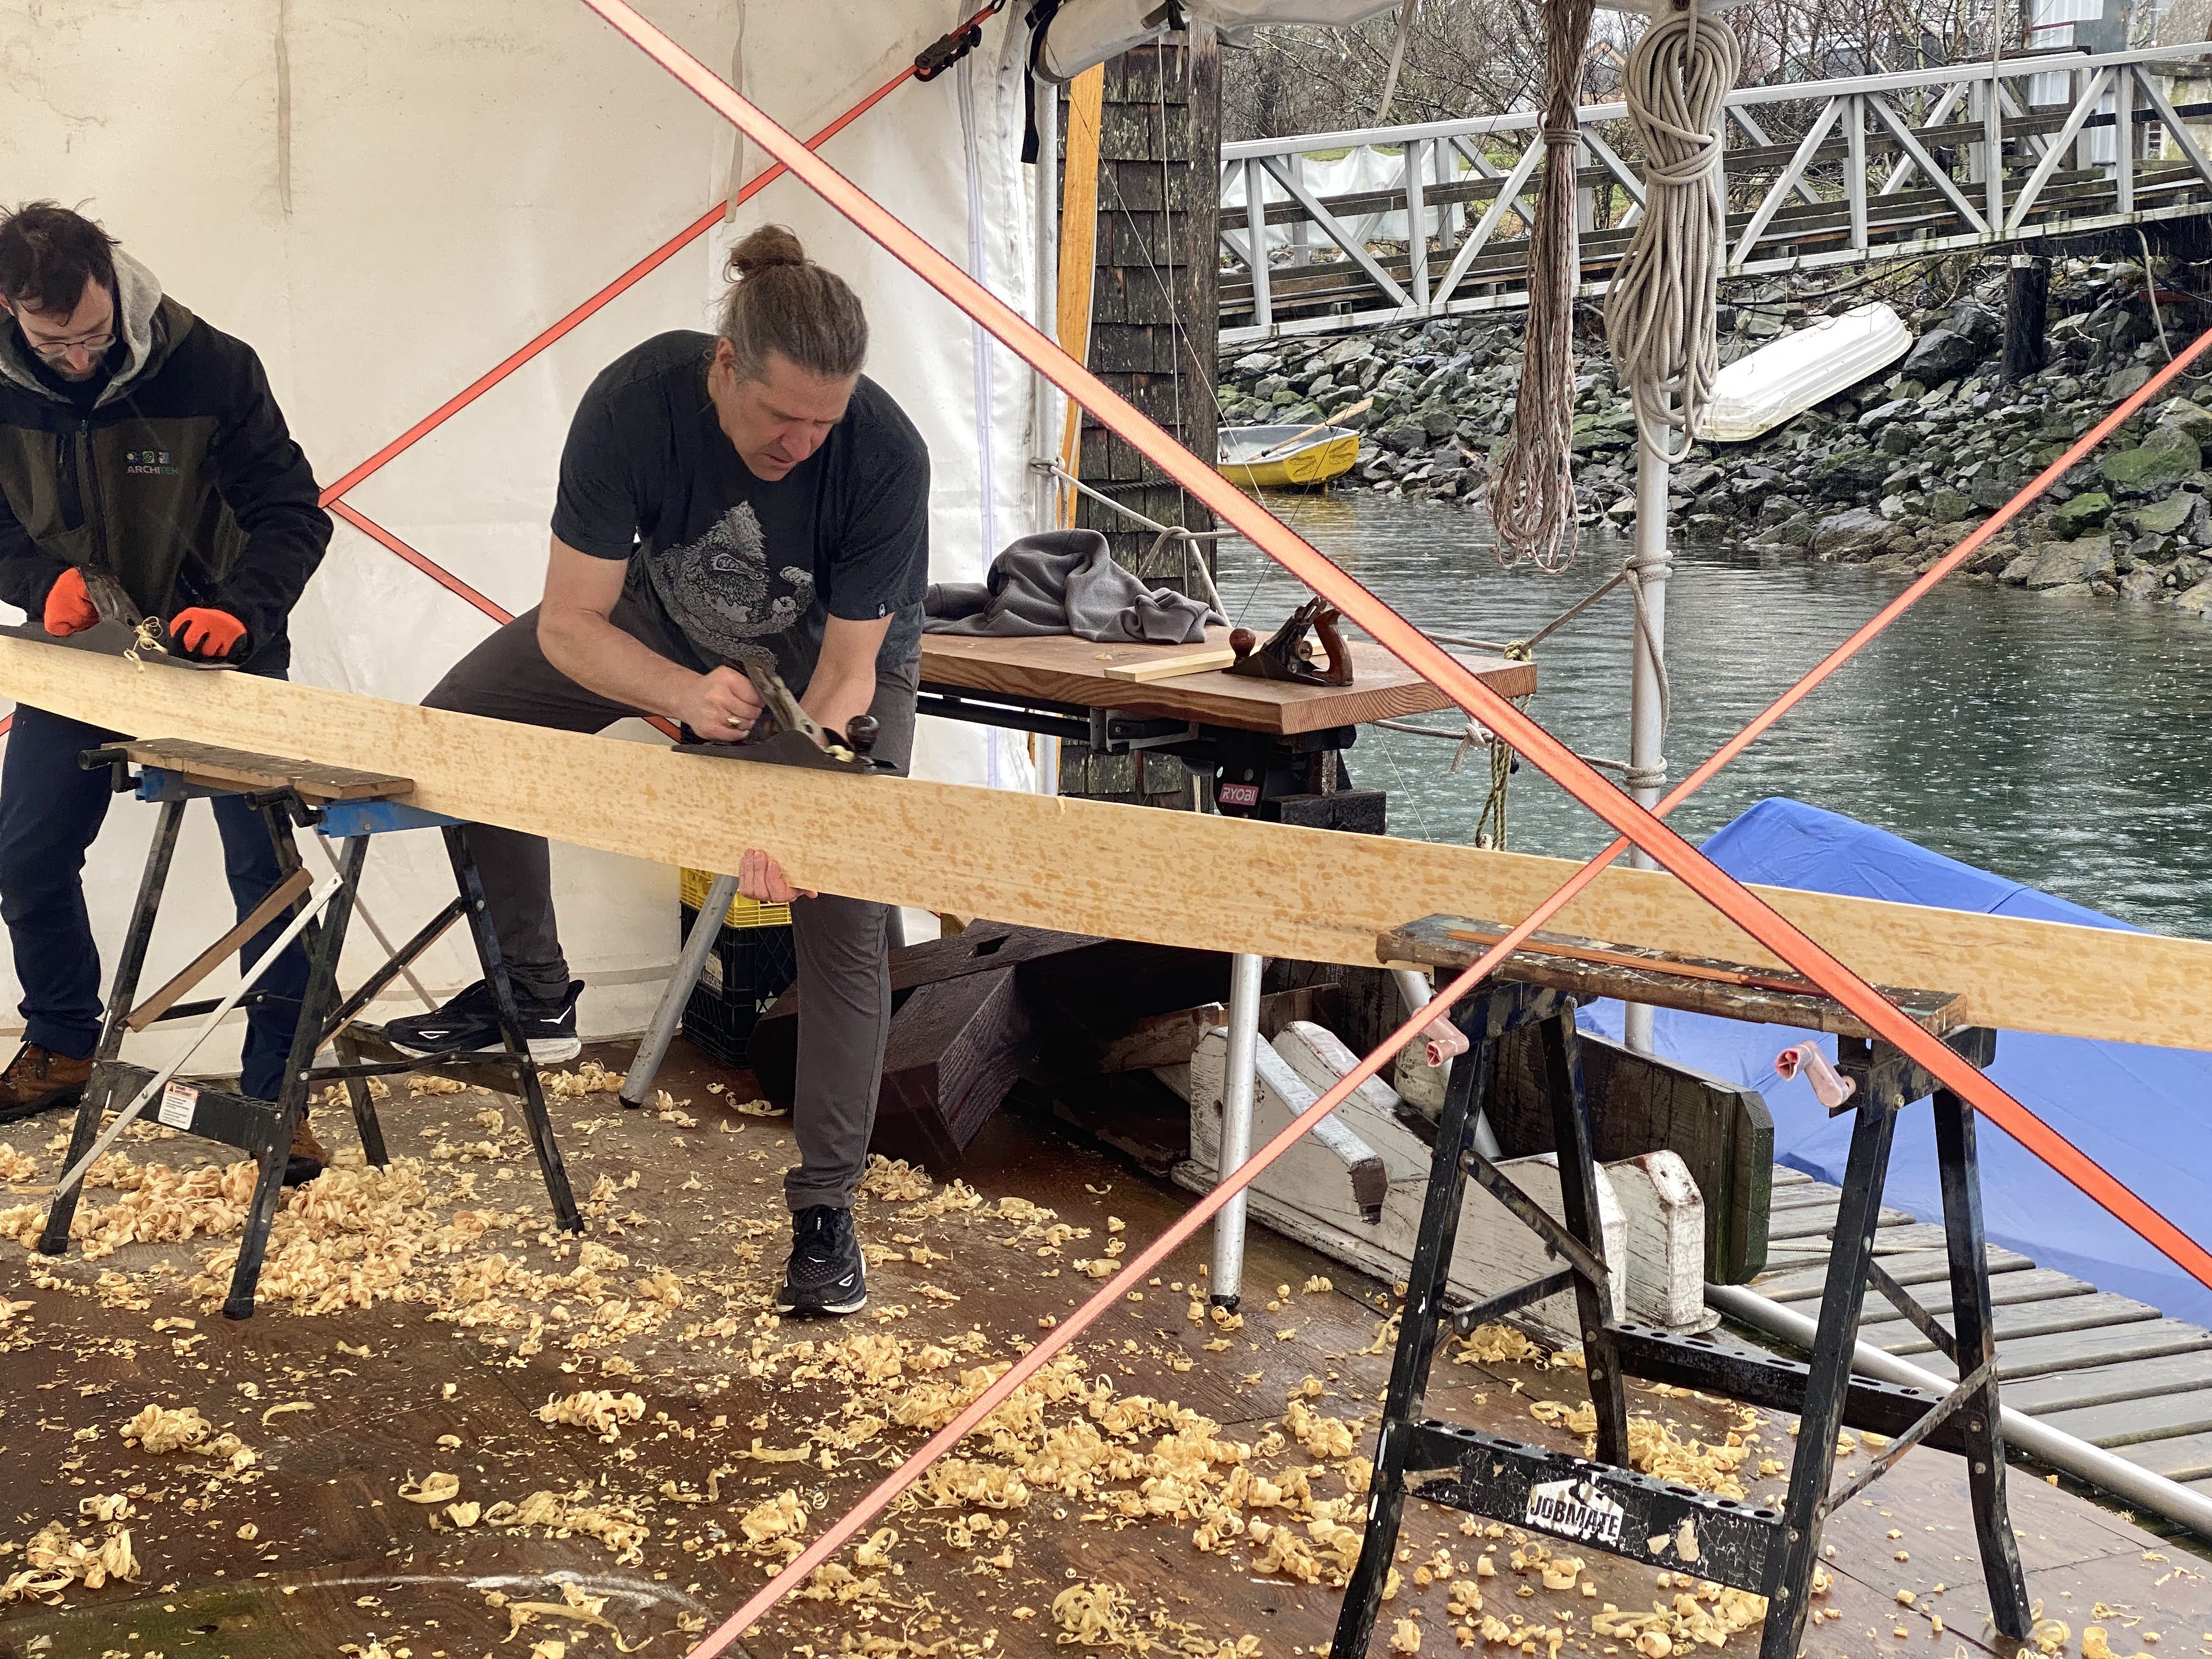
That pattern was then laid on our yellow cedar planking stock, and cut to rough shape, then refined by hand plane, creating lots of fragrant shavings!
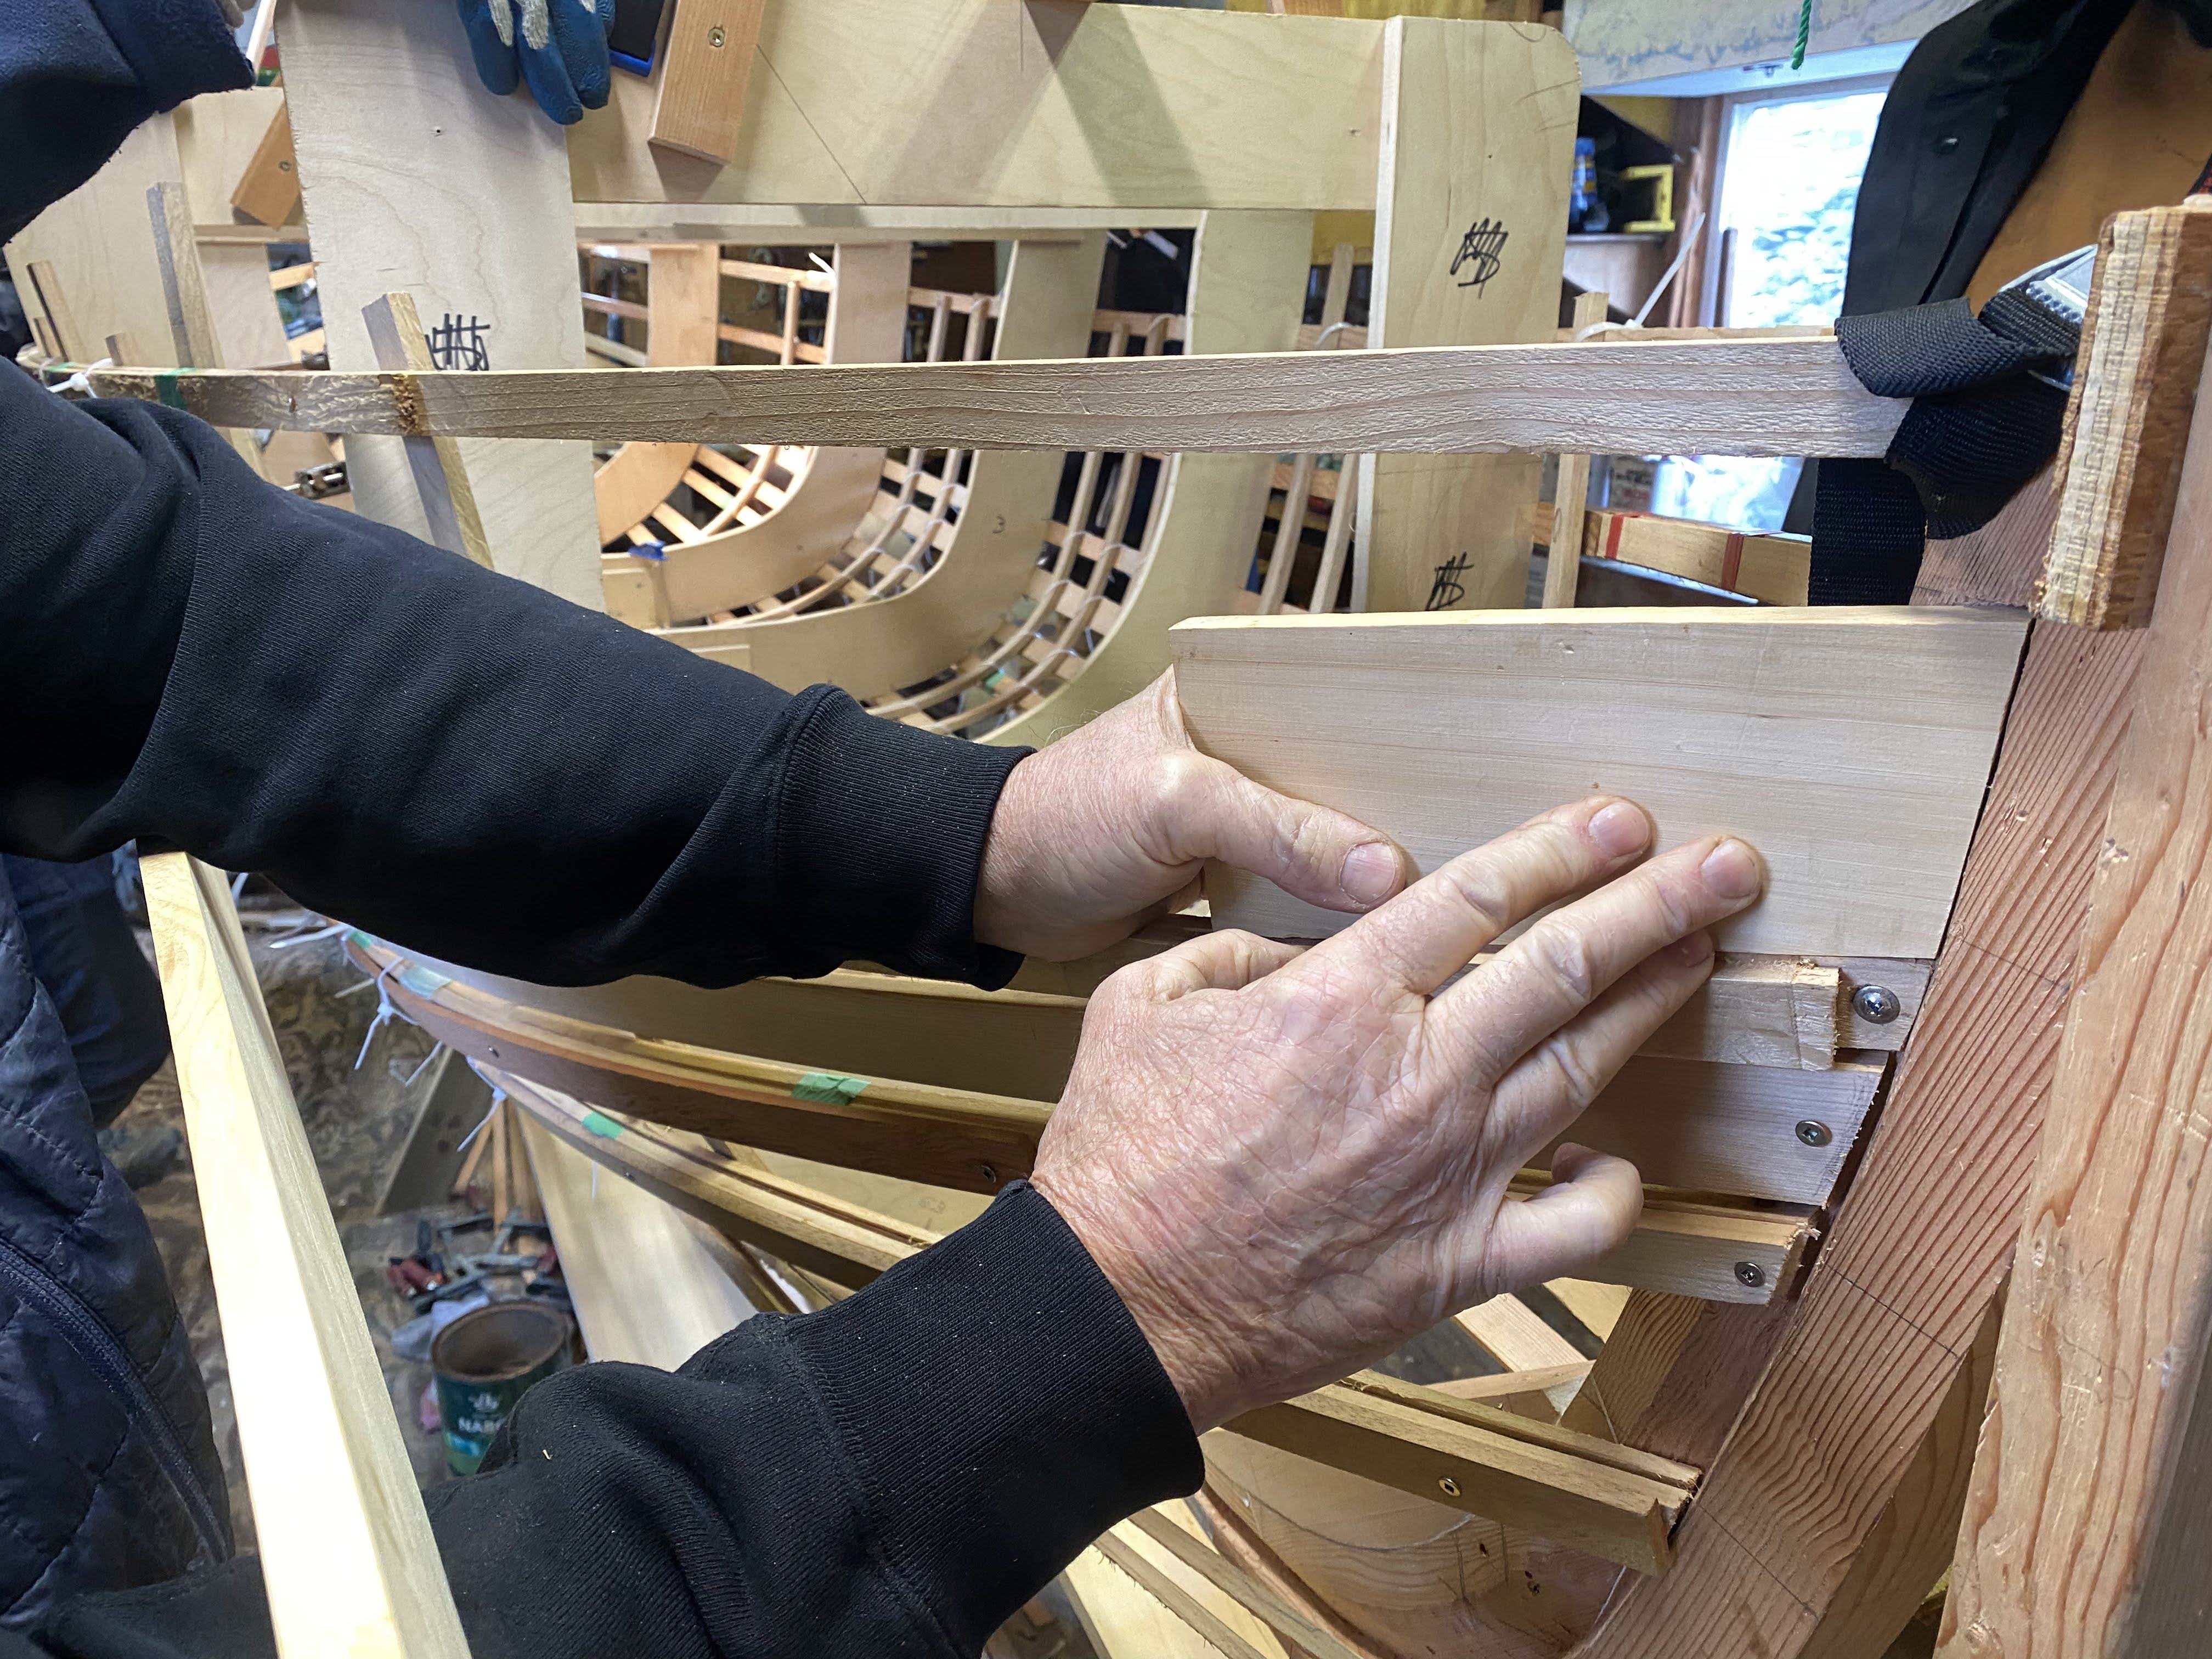

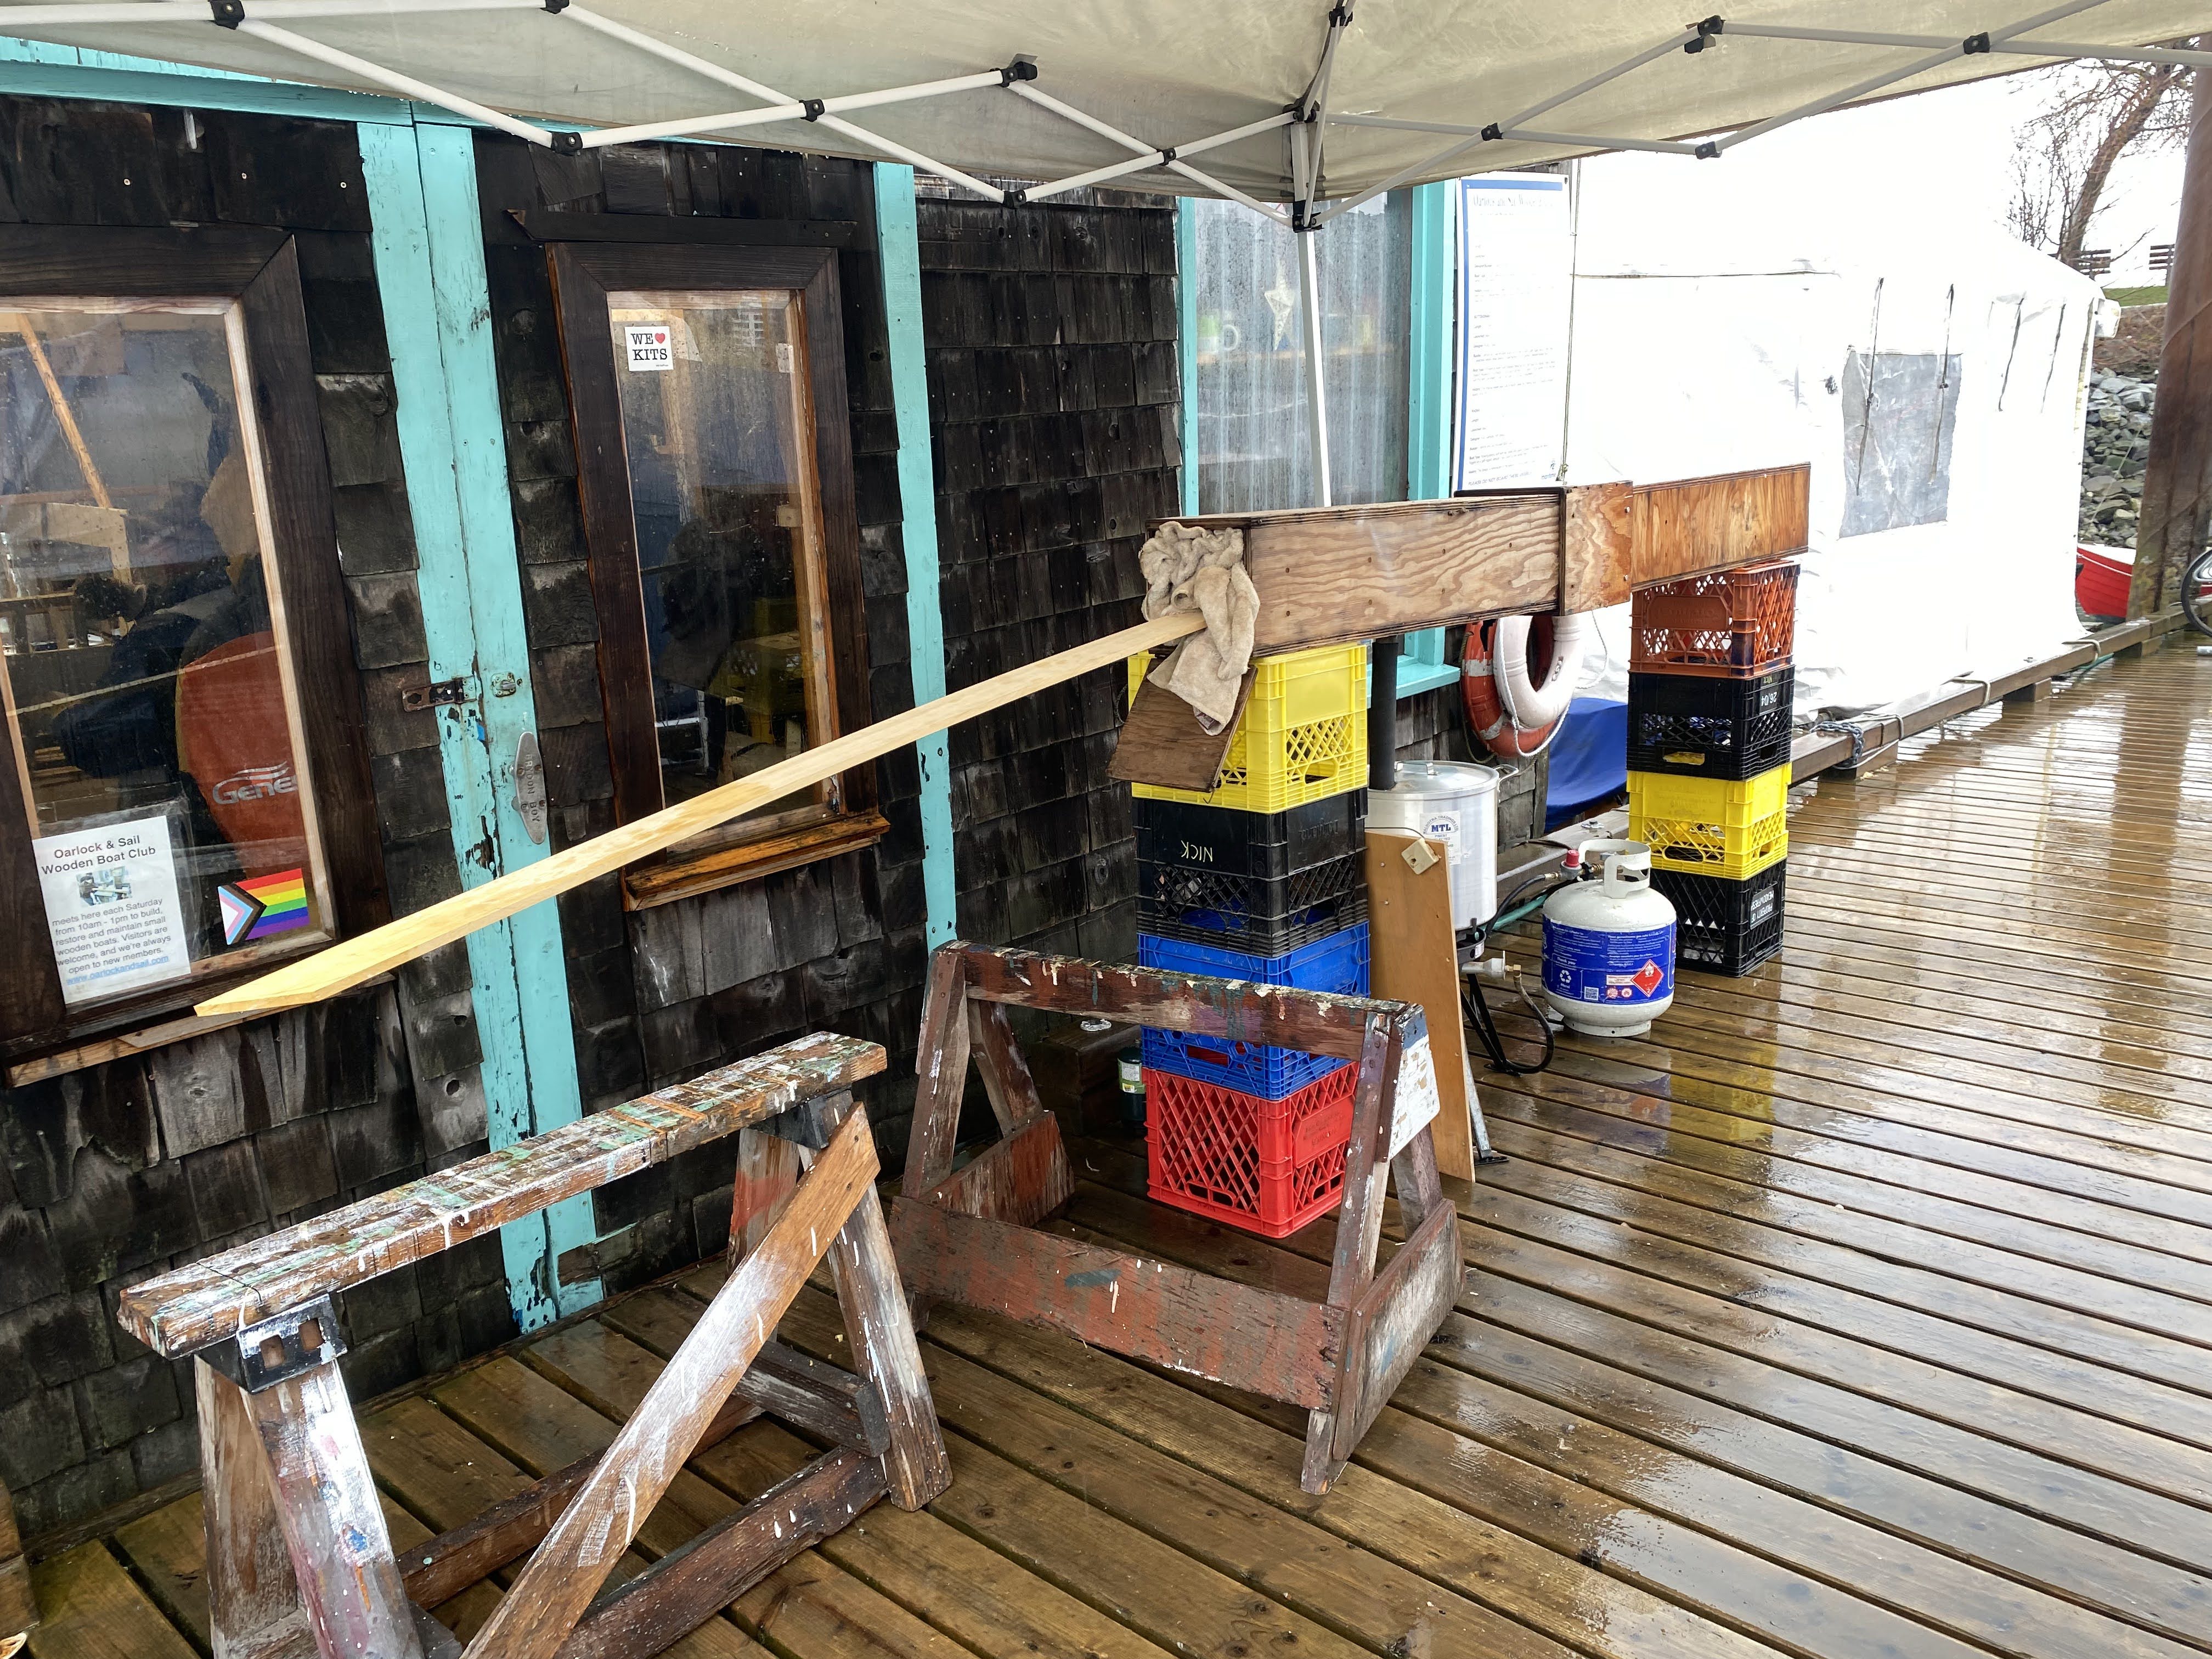

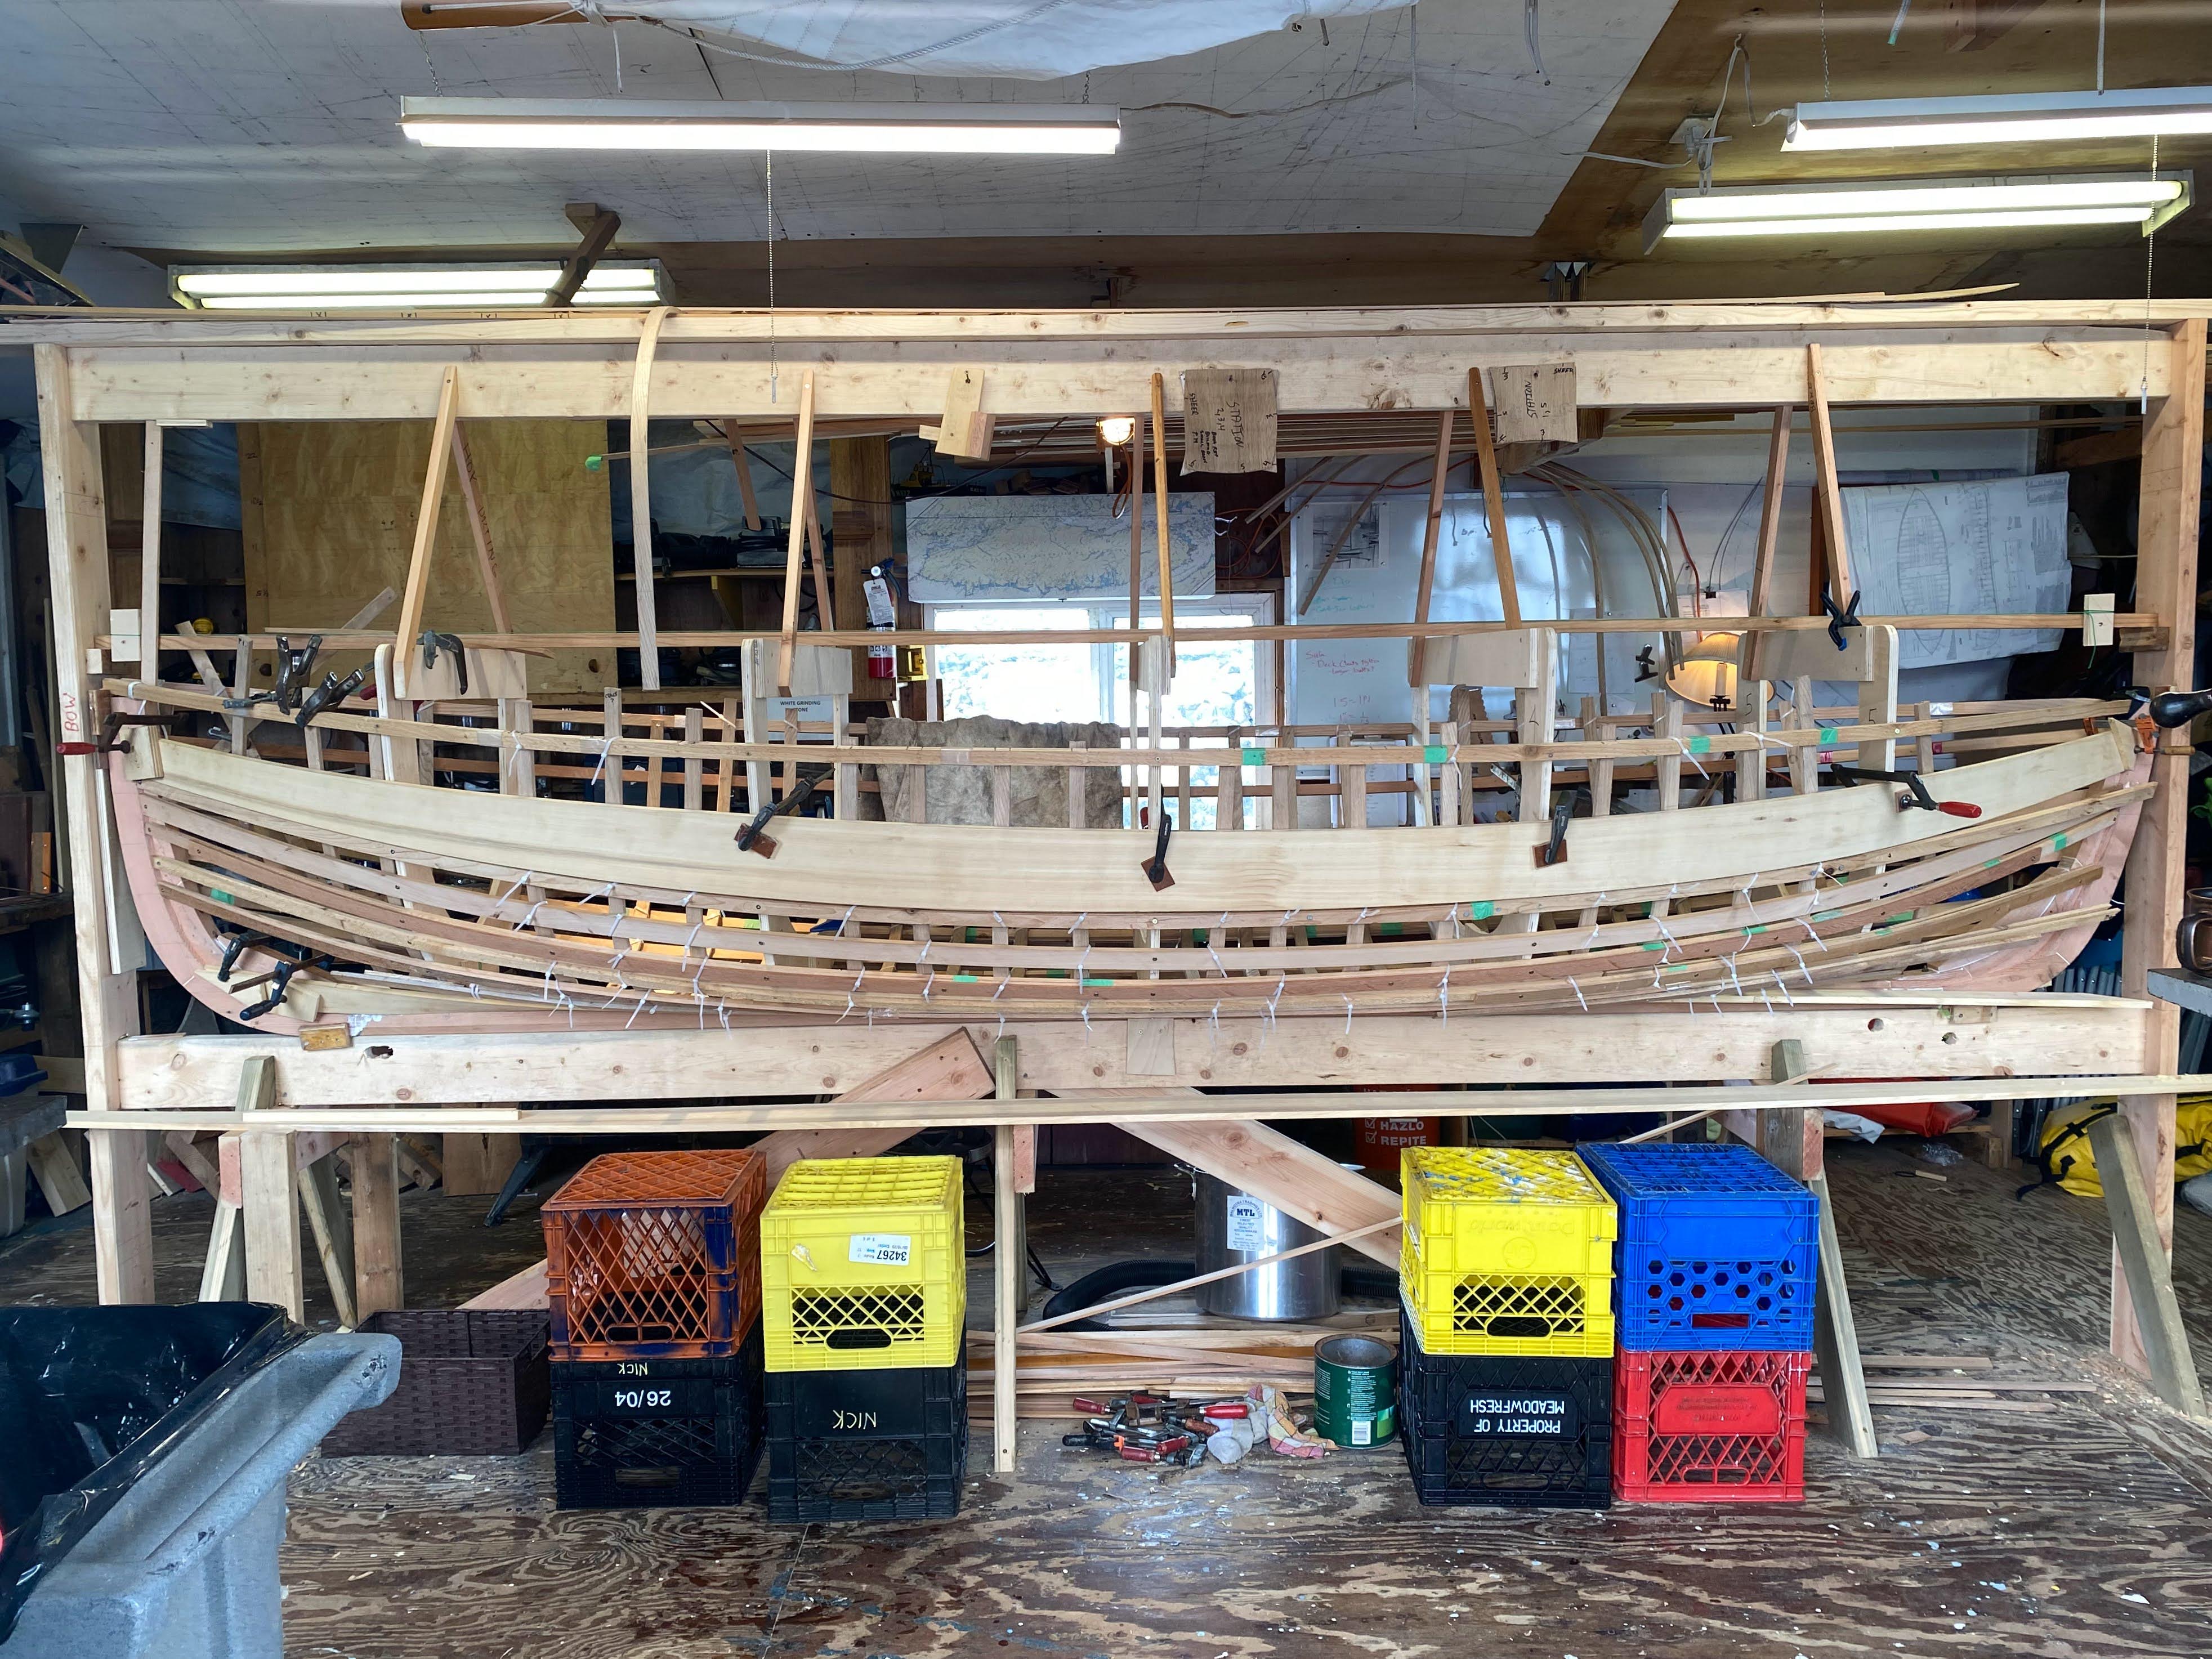
After that, we carefully shaped the ends of the planks to fit to the rabbets at each end, and used our steam box to heat each end so we could twist them into shape. The sheer strakes are close to final shape, and the garboards each have one end twisted, and the other end still needs to done.
We’ll still have some backing out (hollowing the inside face of the plank) so the planks fit closely to the ribs before we start doing any fastening, but it’s great to see some planks at least clamped to the boat!


Besides the boat-building, we’ve also been busy with some open house and Family Day events in partnership with the Vancouver Maritime Museum. Last Saturday we had a table set up in the museum showing some of our tools and planking patterns. A couple of our members, Tom & Georgina performed some music and story-telling, and Rob gave a talk about wooden boatbuilding, our club, and our boats. The day was very well-attended, and we welcomed many appreciative visitors into our shop!
A while ago we had a UBC Journalism student hang out with us in the shop for a few Saturdays, taking photos and video, interviewing members, and observing us in our work. He shared his final submission with us, and I think it looks fabulous!! Thank you Ashrit for sharing this with us!
https://ubcjournalism.shorthandstories.com/oarlock-and-sail-wooden-boat-club/index.html